

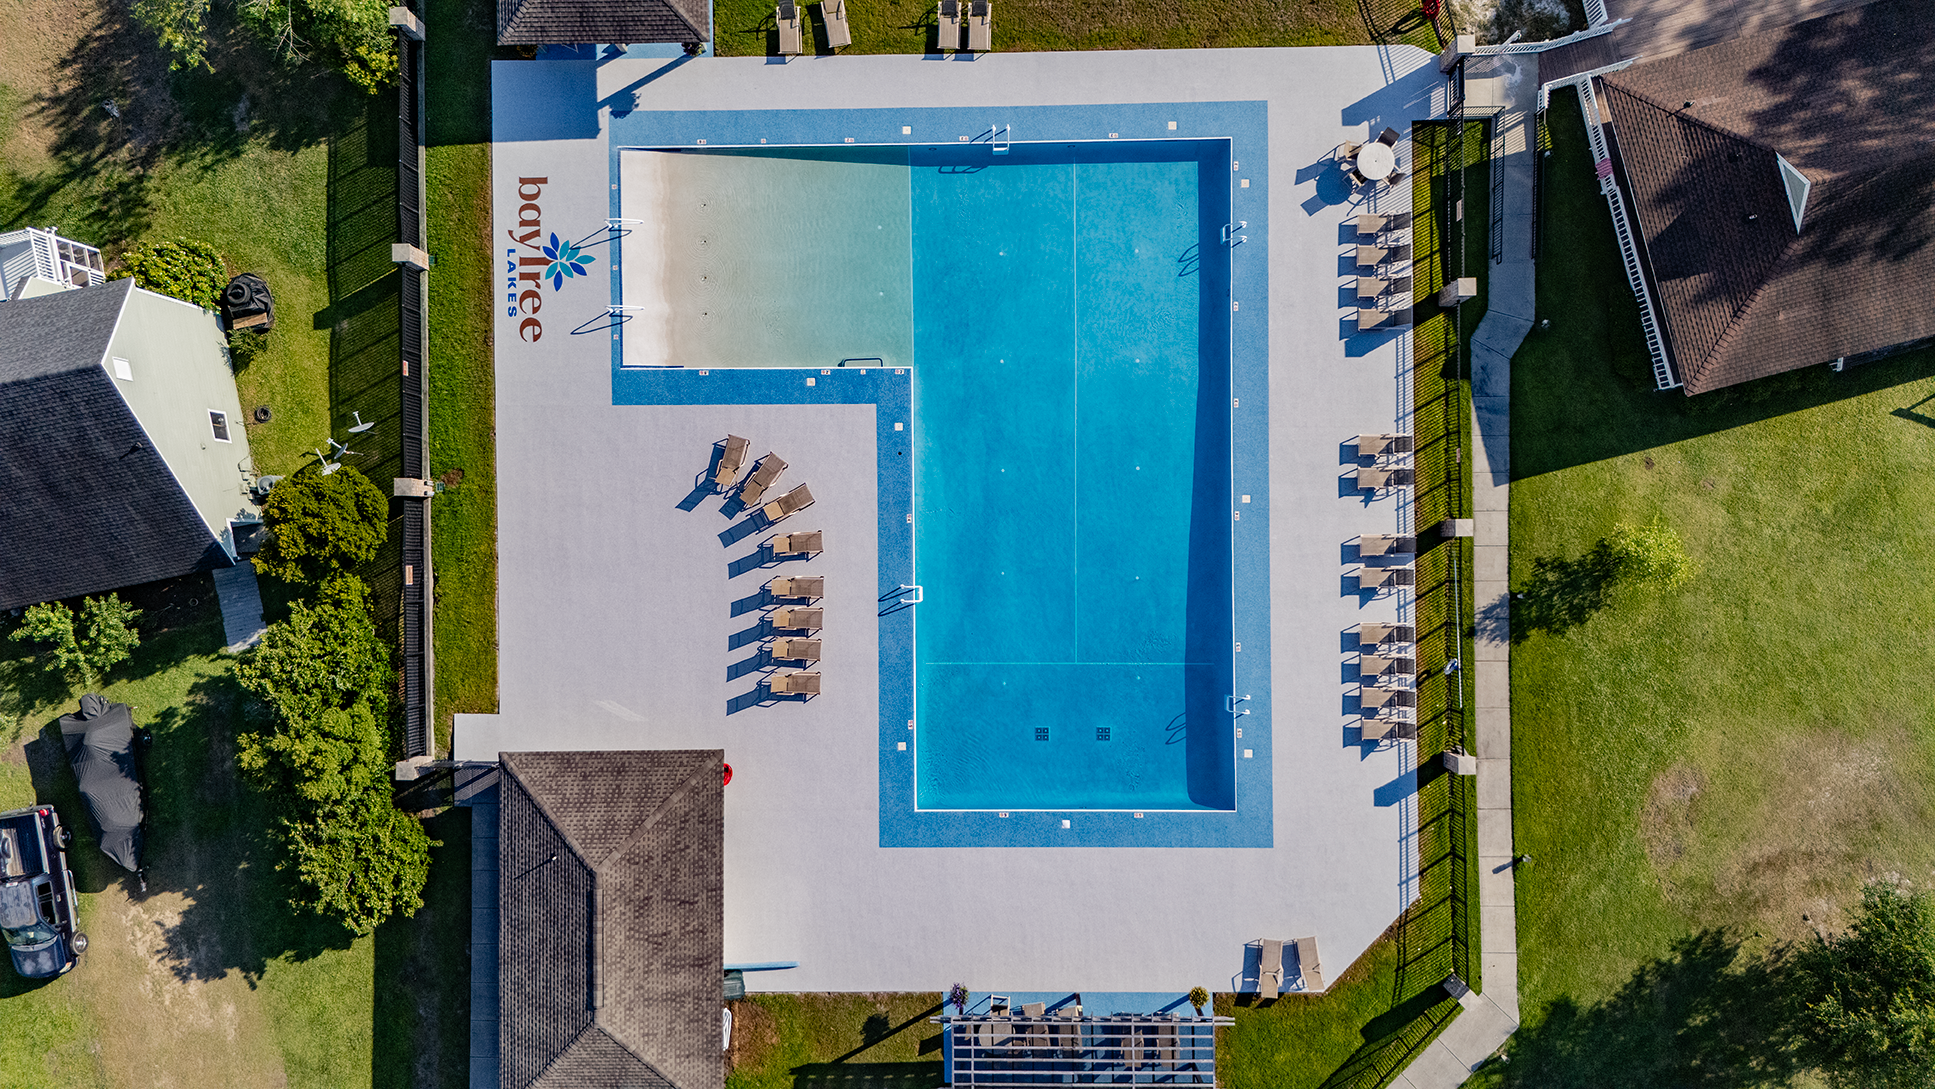
Why Rubber for HOA's?
Fewer complaints, safer shared spaces
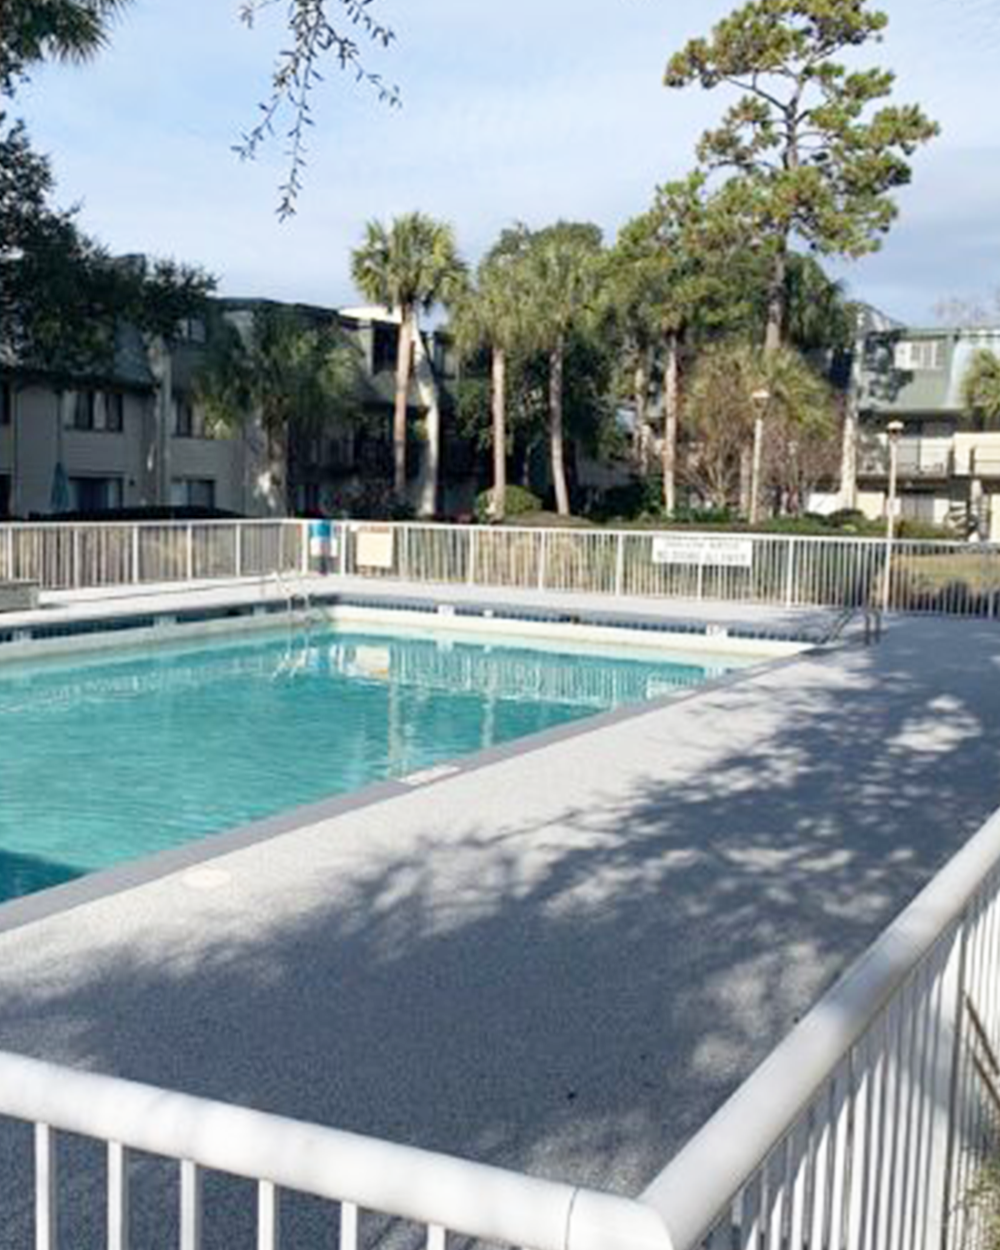
Slip-resistant texture helps reduce incidents around wet or high-traffic areas. It’s kinder underfoot (and on bare feet at the pool) and stays noticeably cooler than bare concrete.
Budget-smart and easy to maintain
Resurfaces many existing decks without full demo, with UV-stable color that keeps its look. Cleaning is simple, and future touch-ups are localized—great for predictable reserve planning.
Minimal disruption to residents
Install can be phased to keep paths and amenities open. Work is quiet and tidy, and our in-house crew manages scheduling and cleanup so the community rhythm stays intact.

Before & After
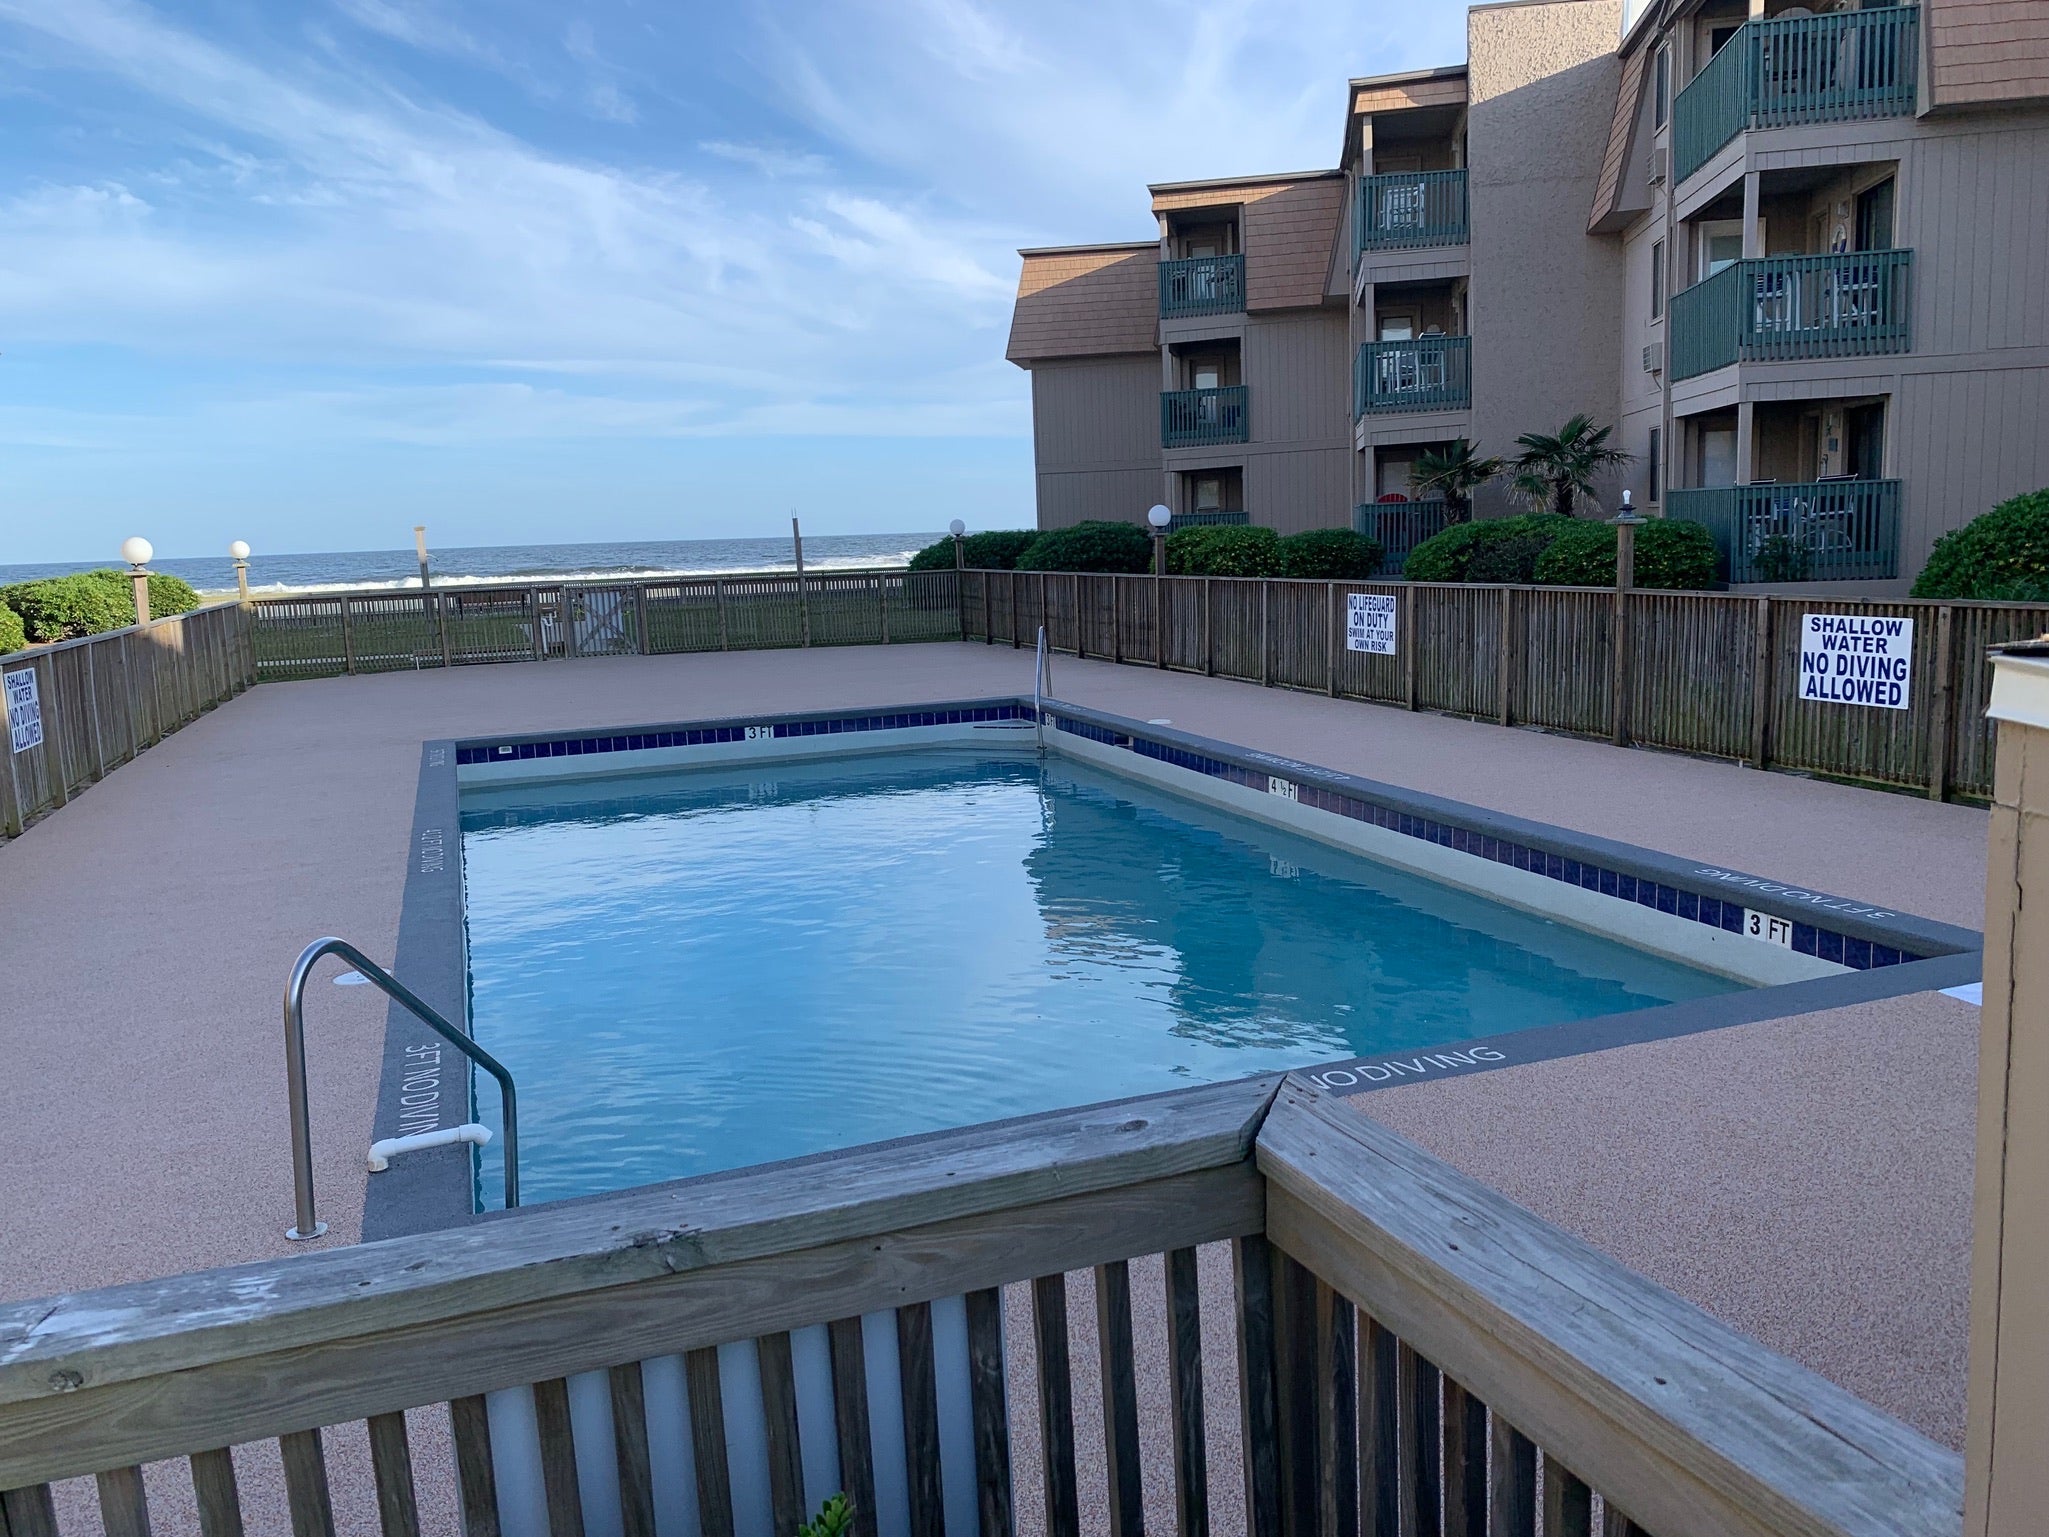
Before
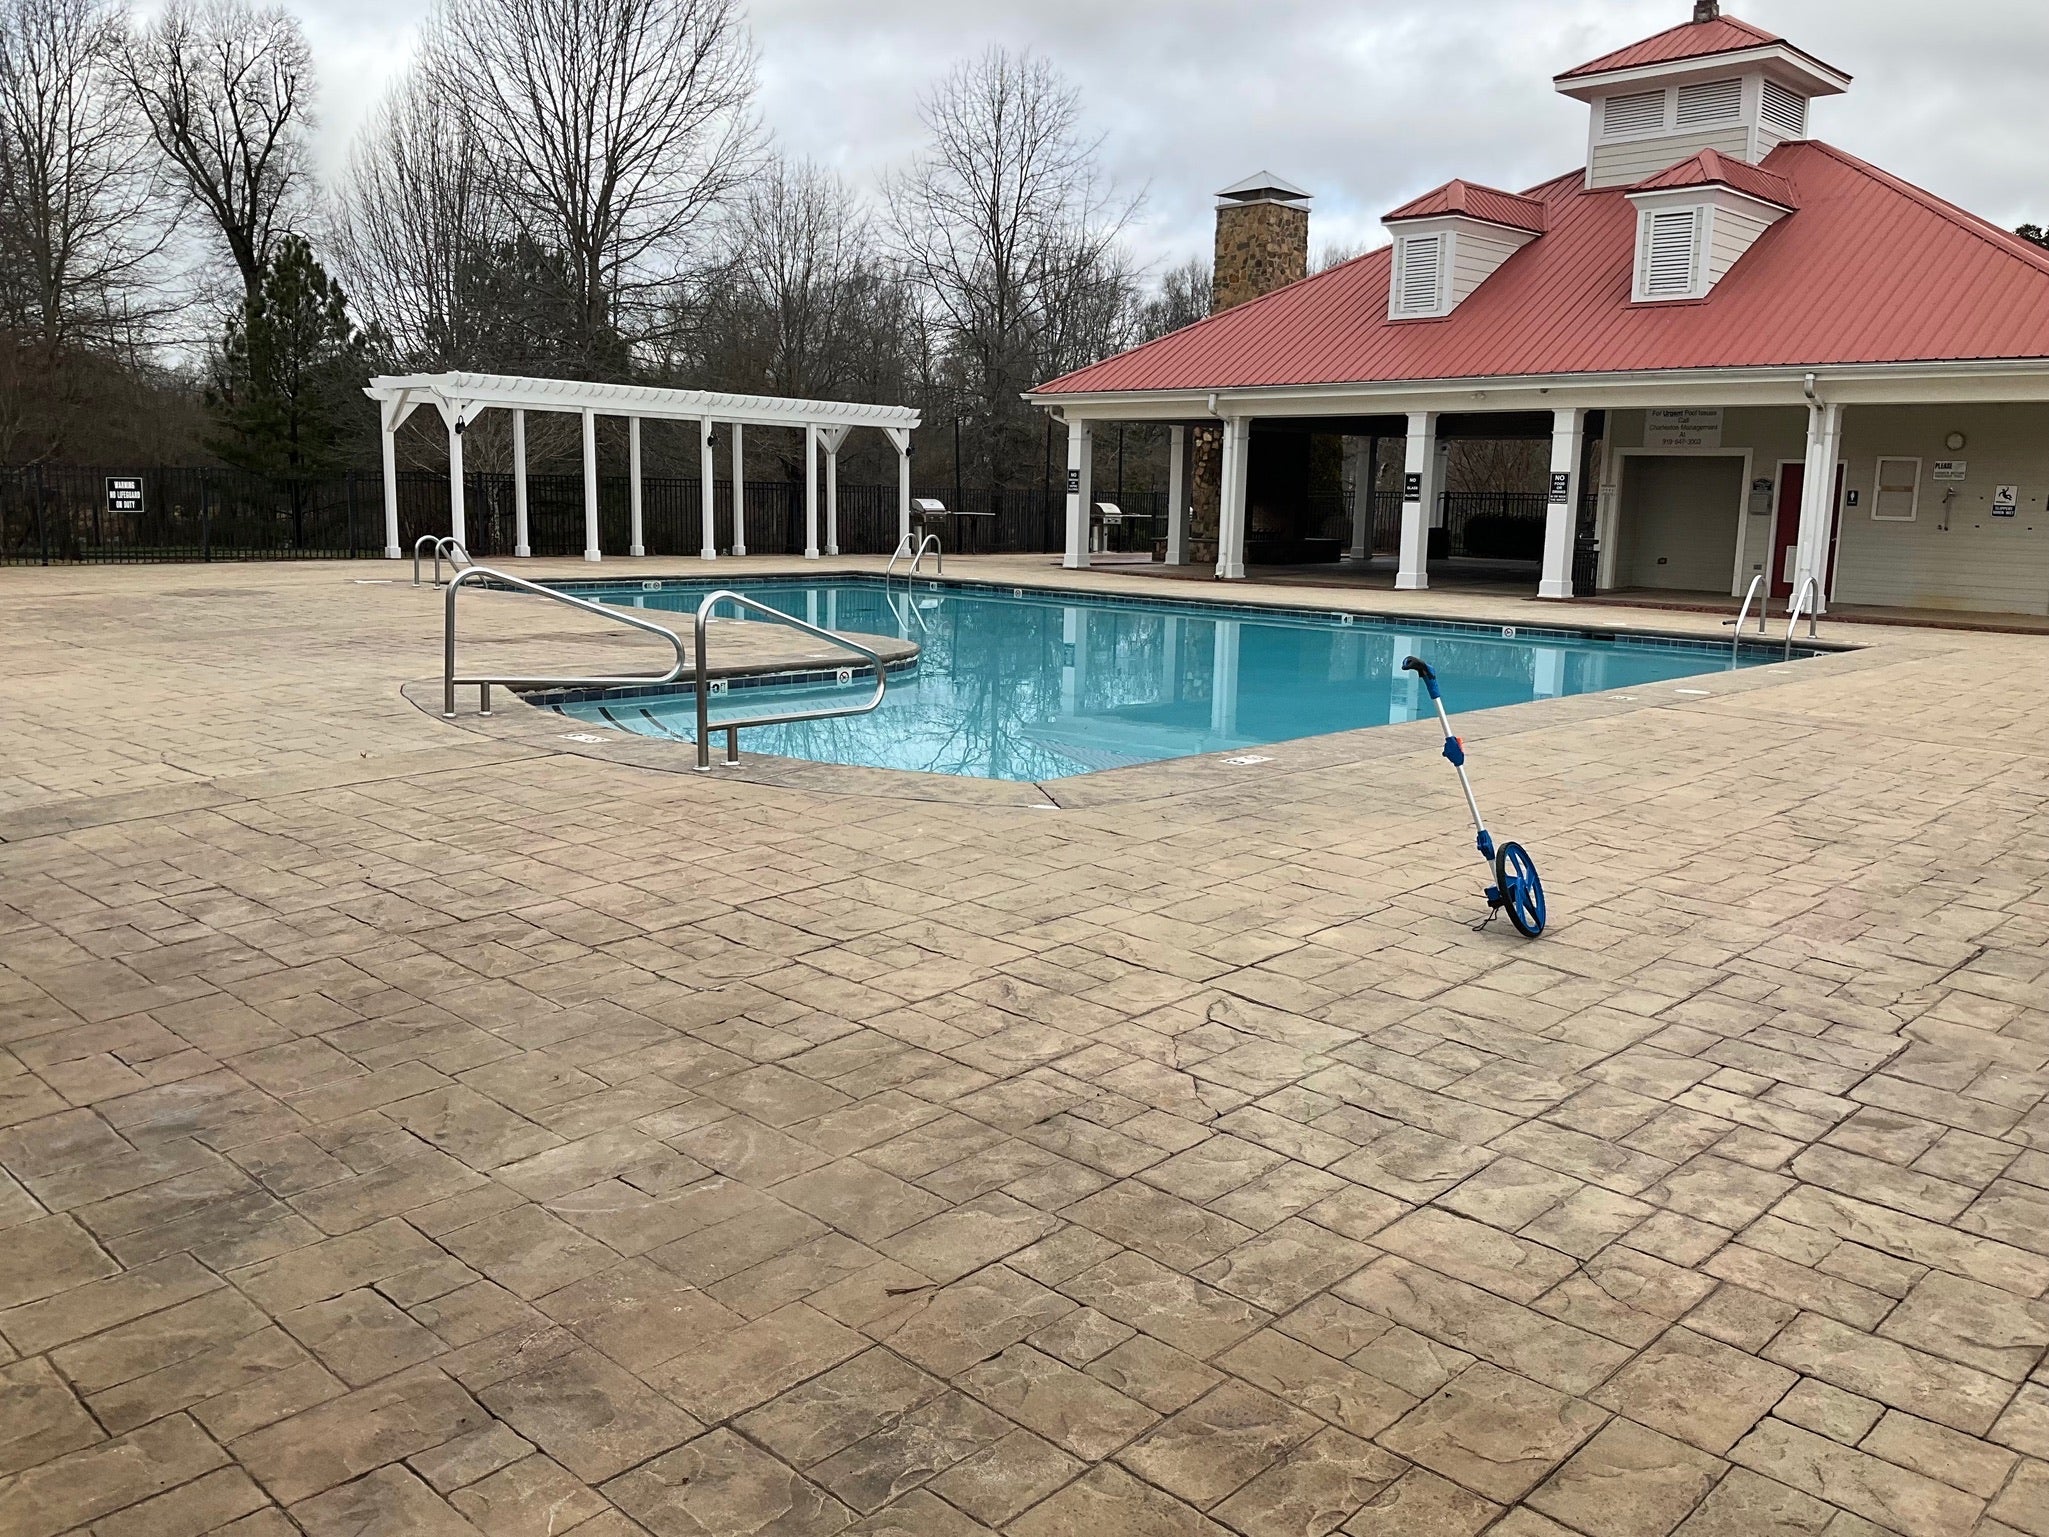
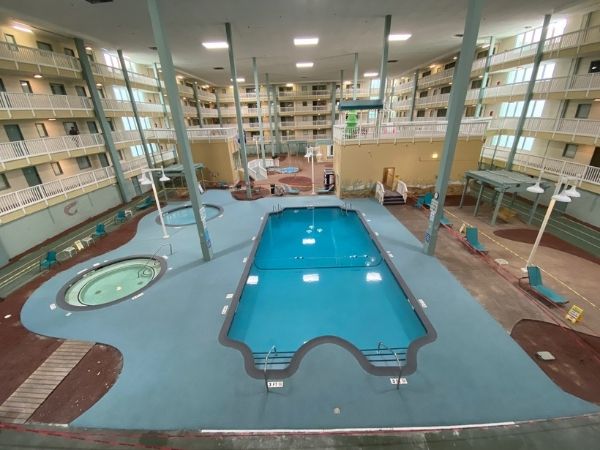
Cracked, patchy concrete that runs hot in the sun—plus puddles, stains, and mismatched repairs that draw complaints and extra maintenance.
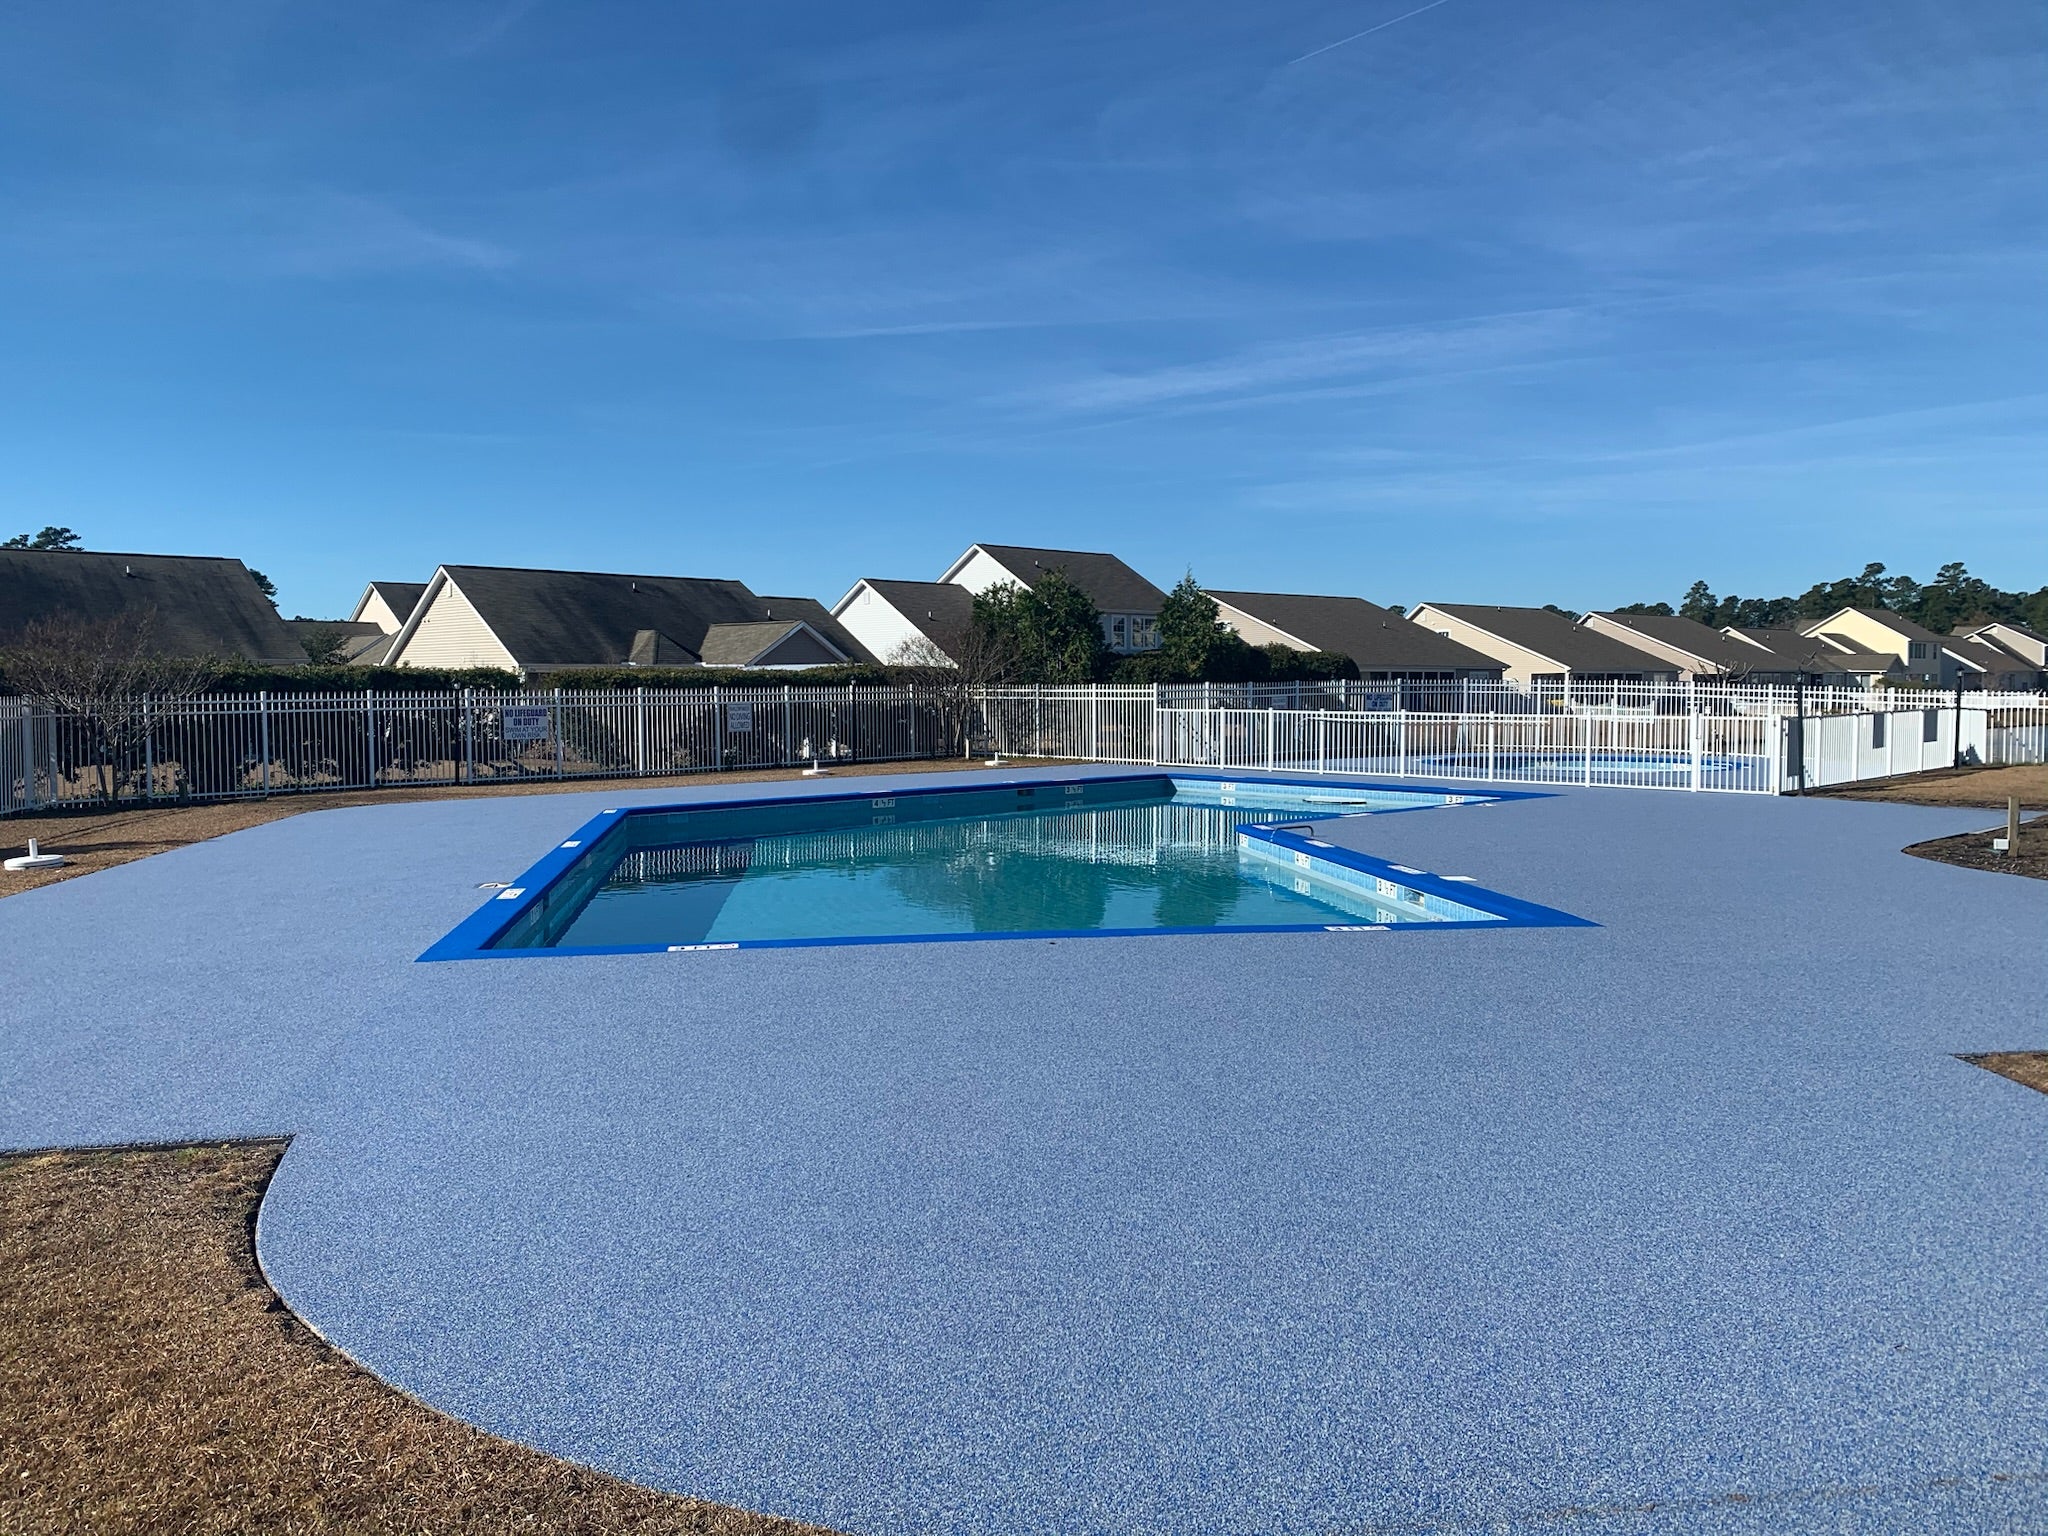
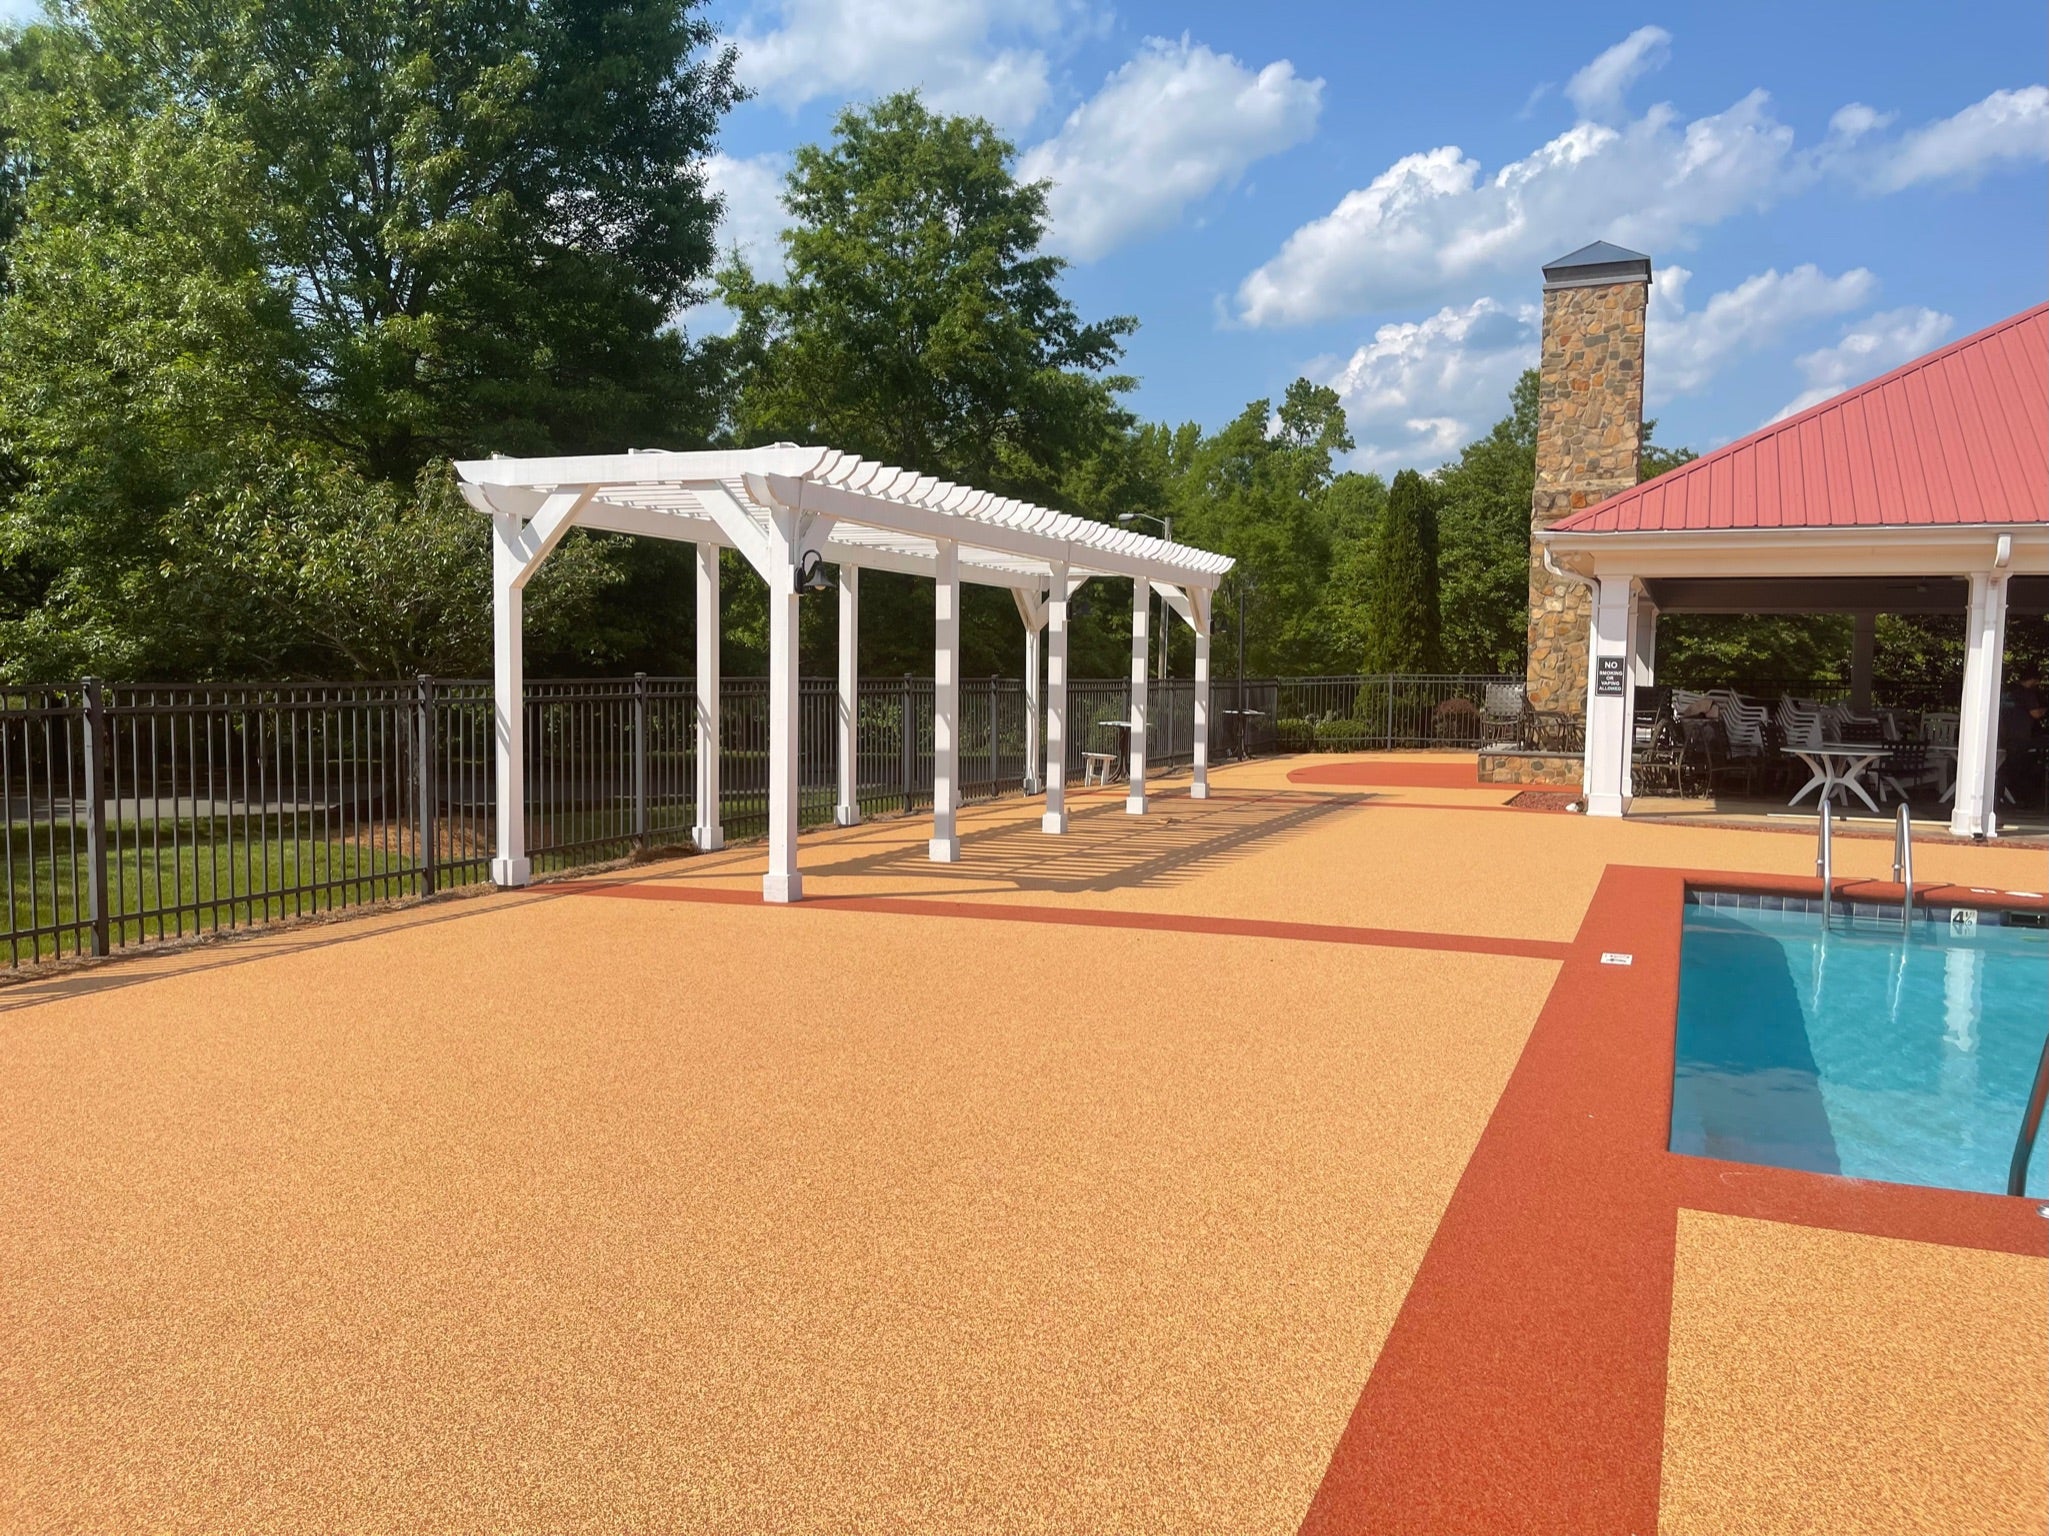
After
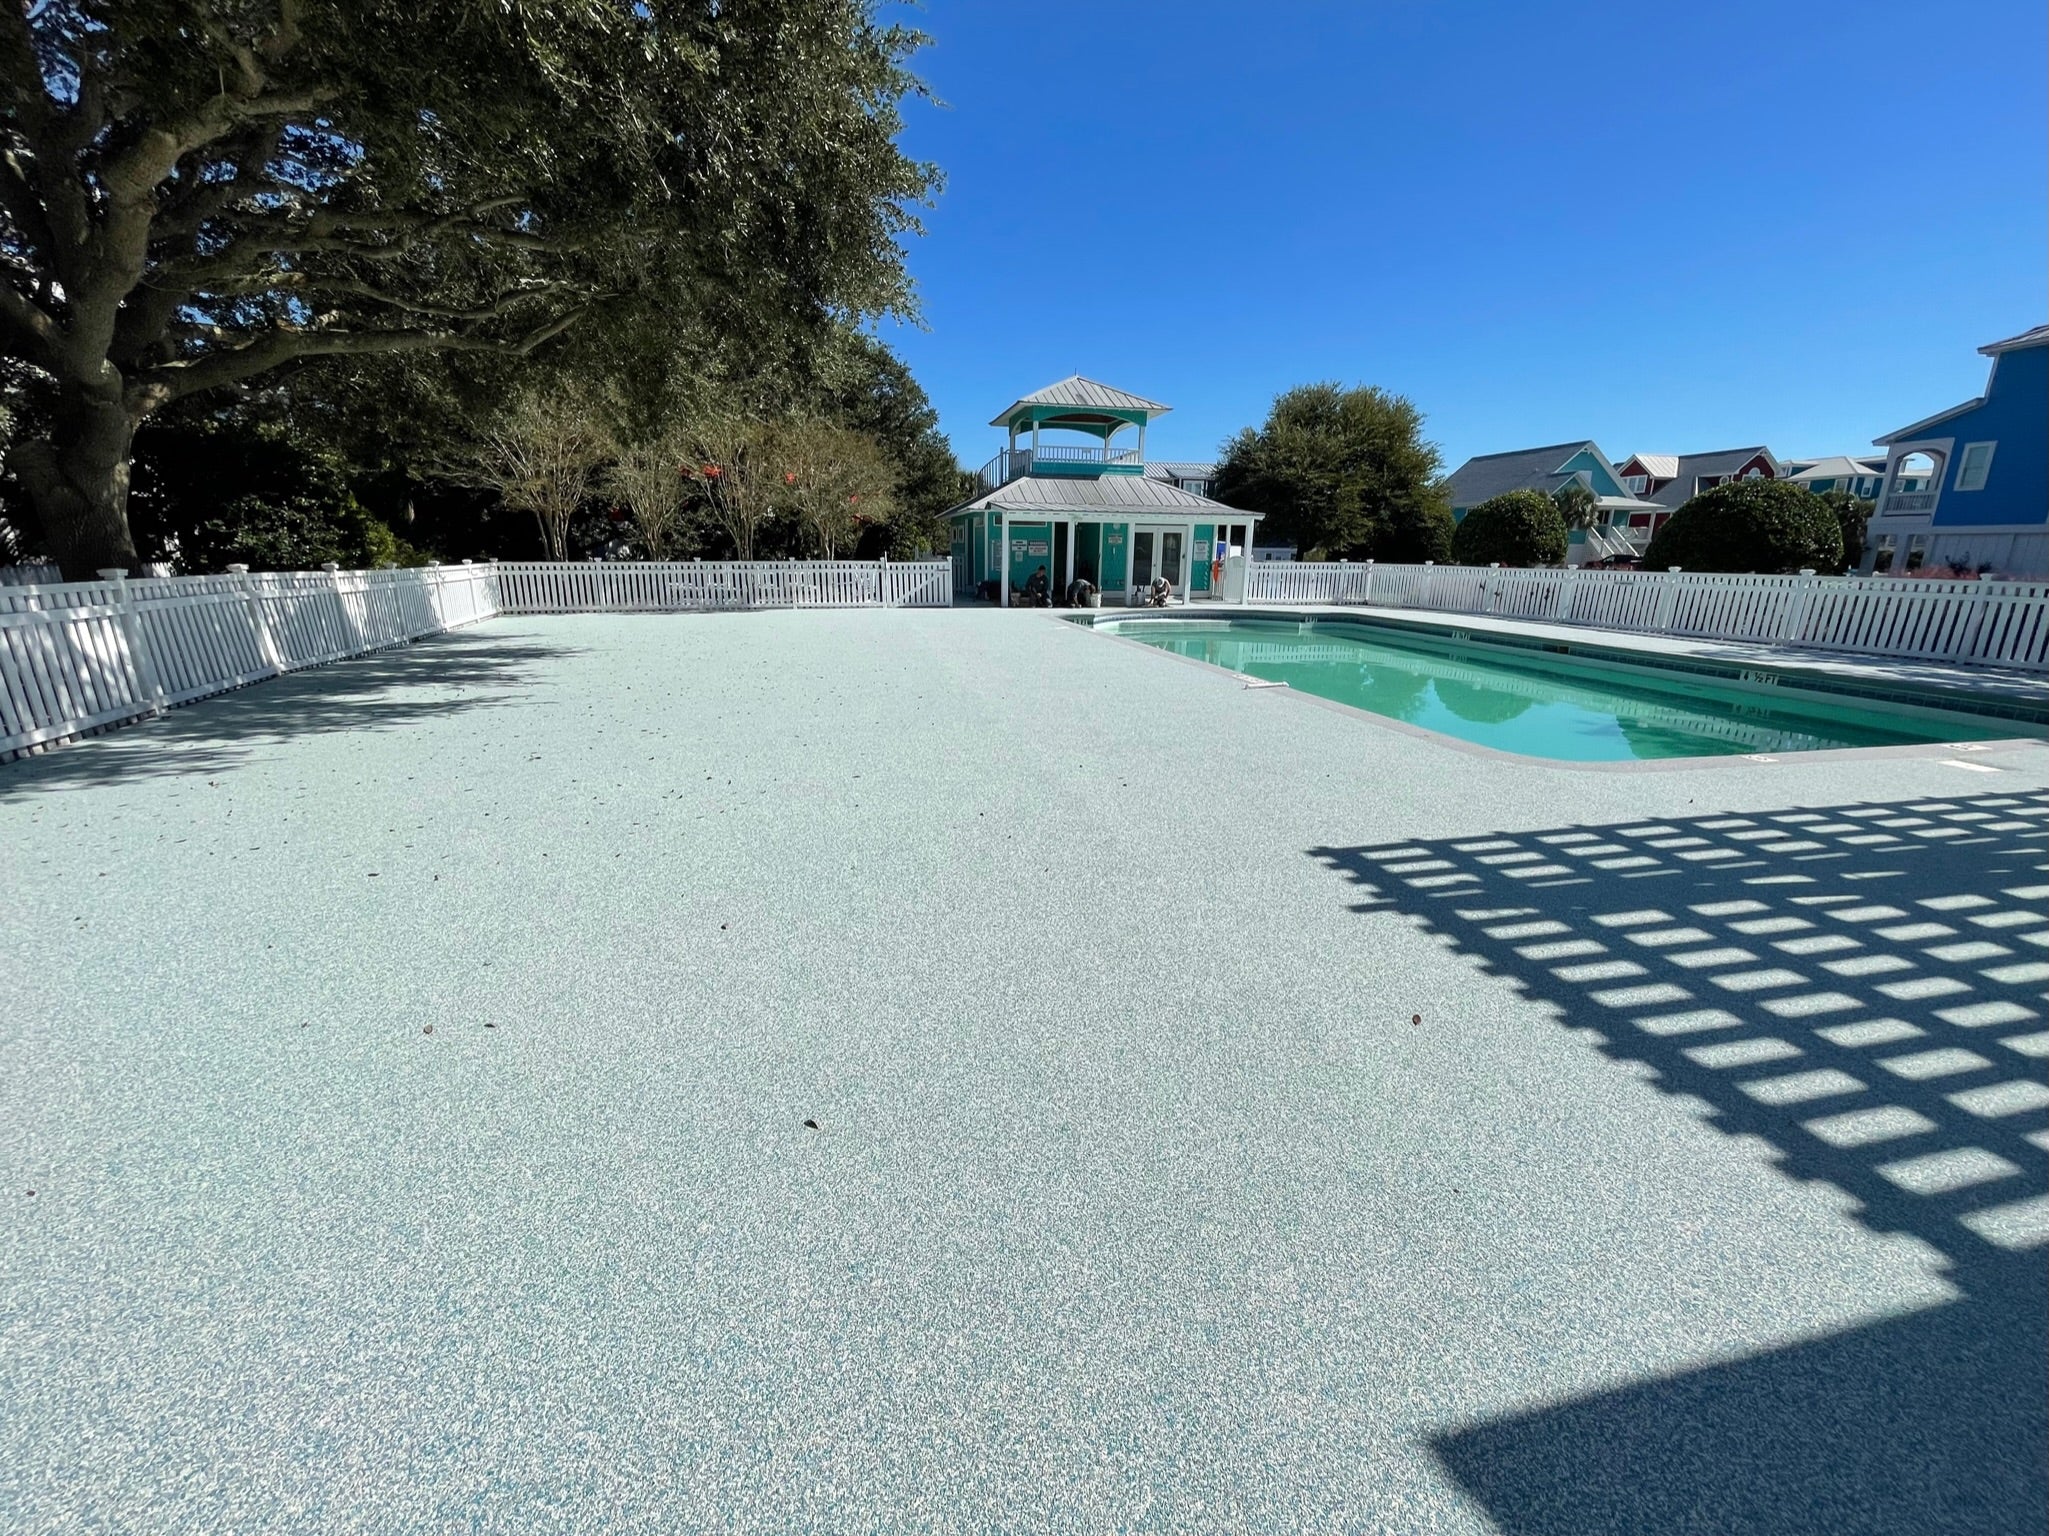
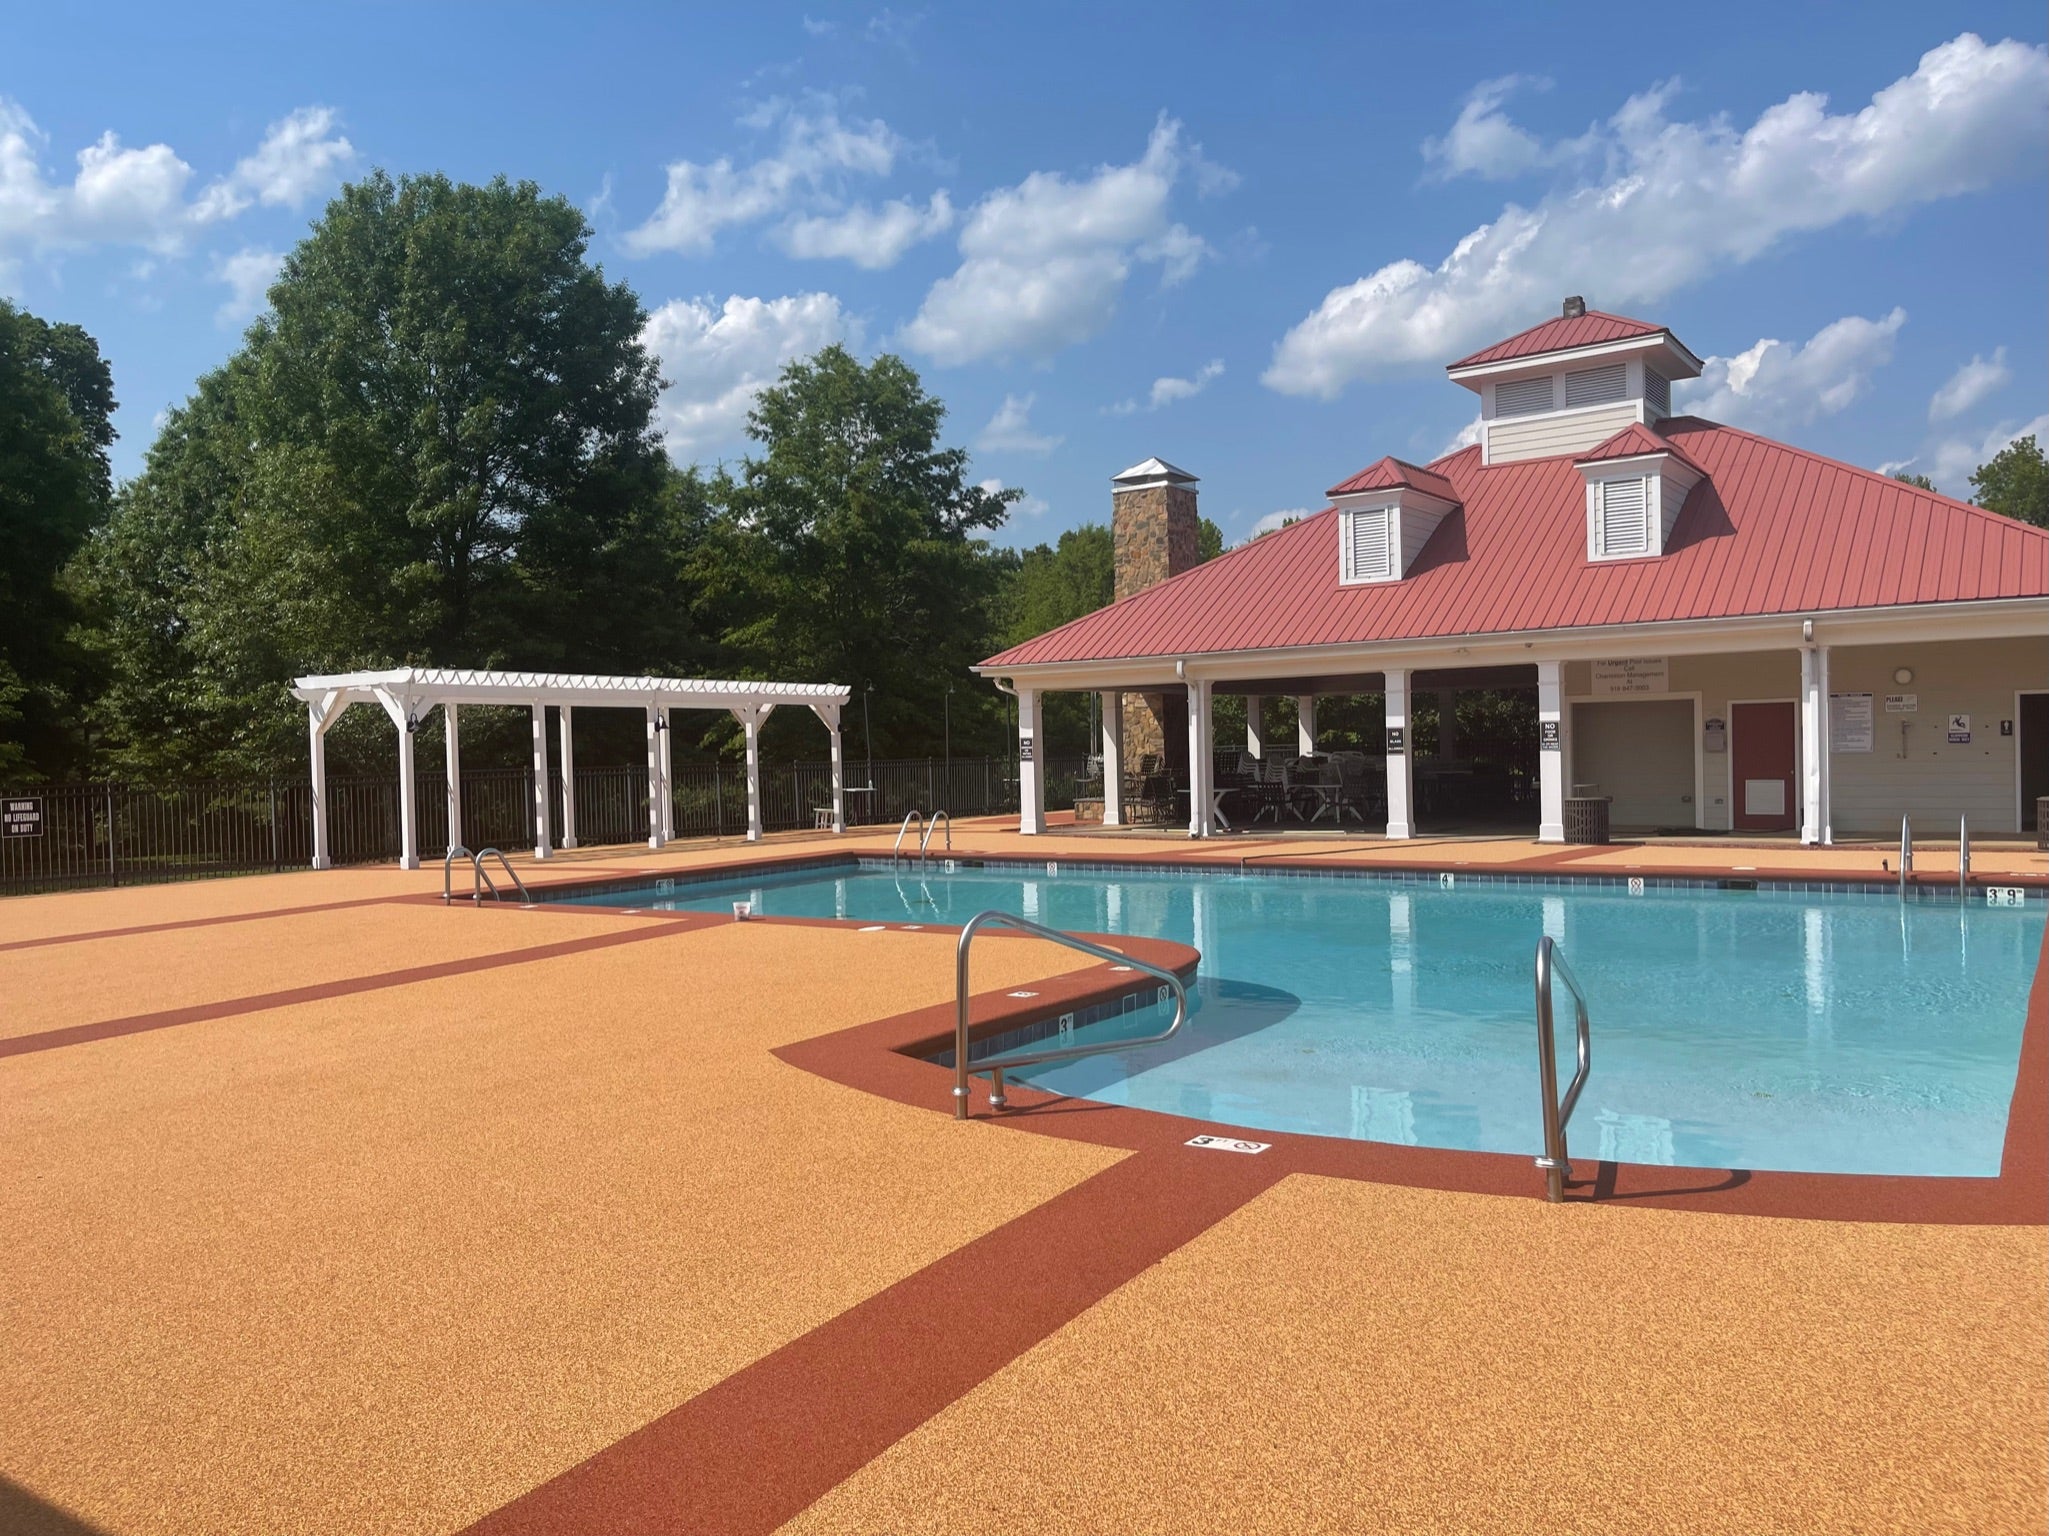
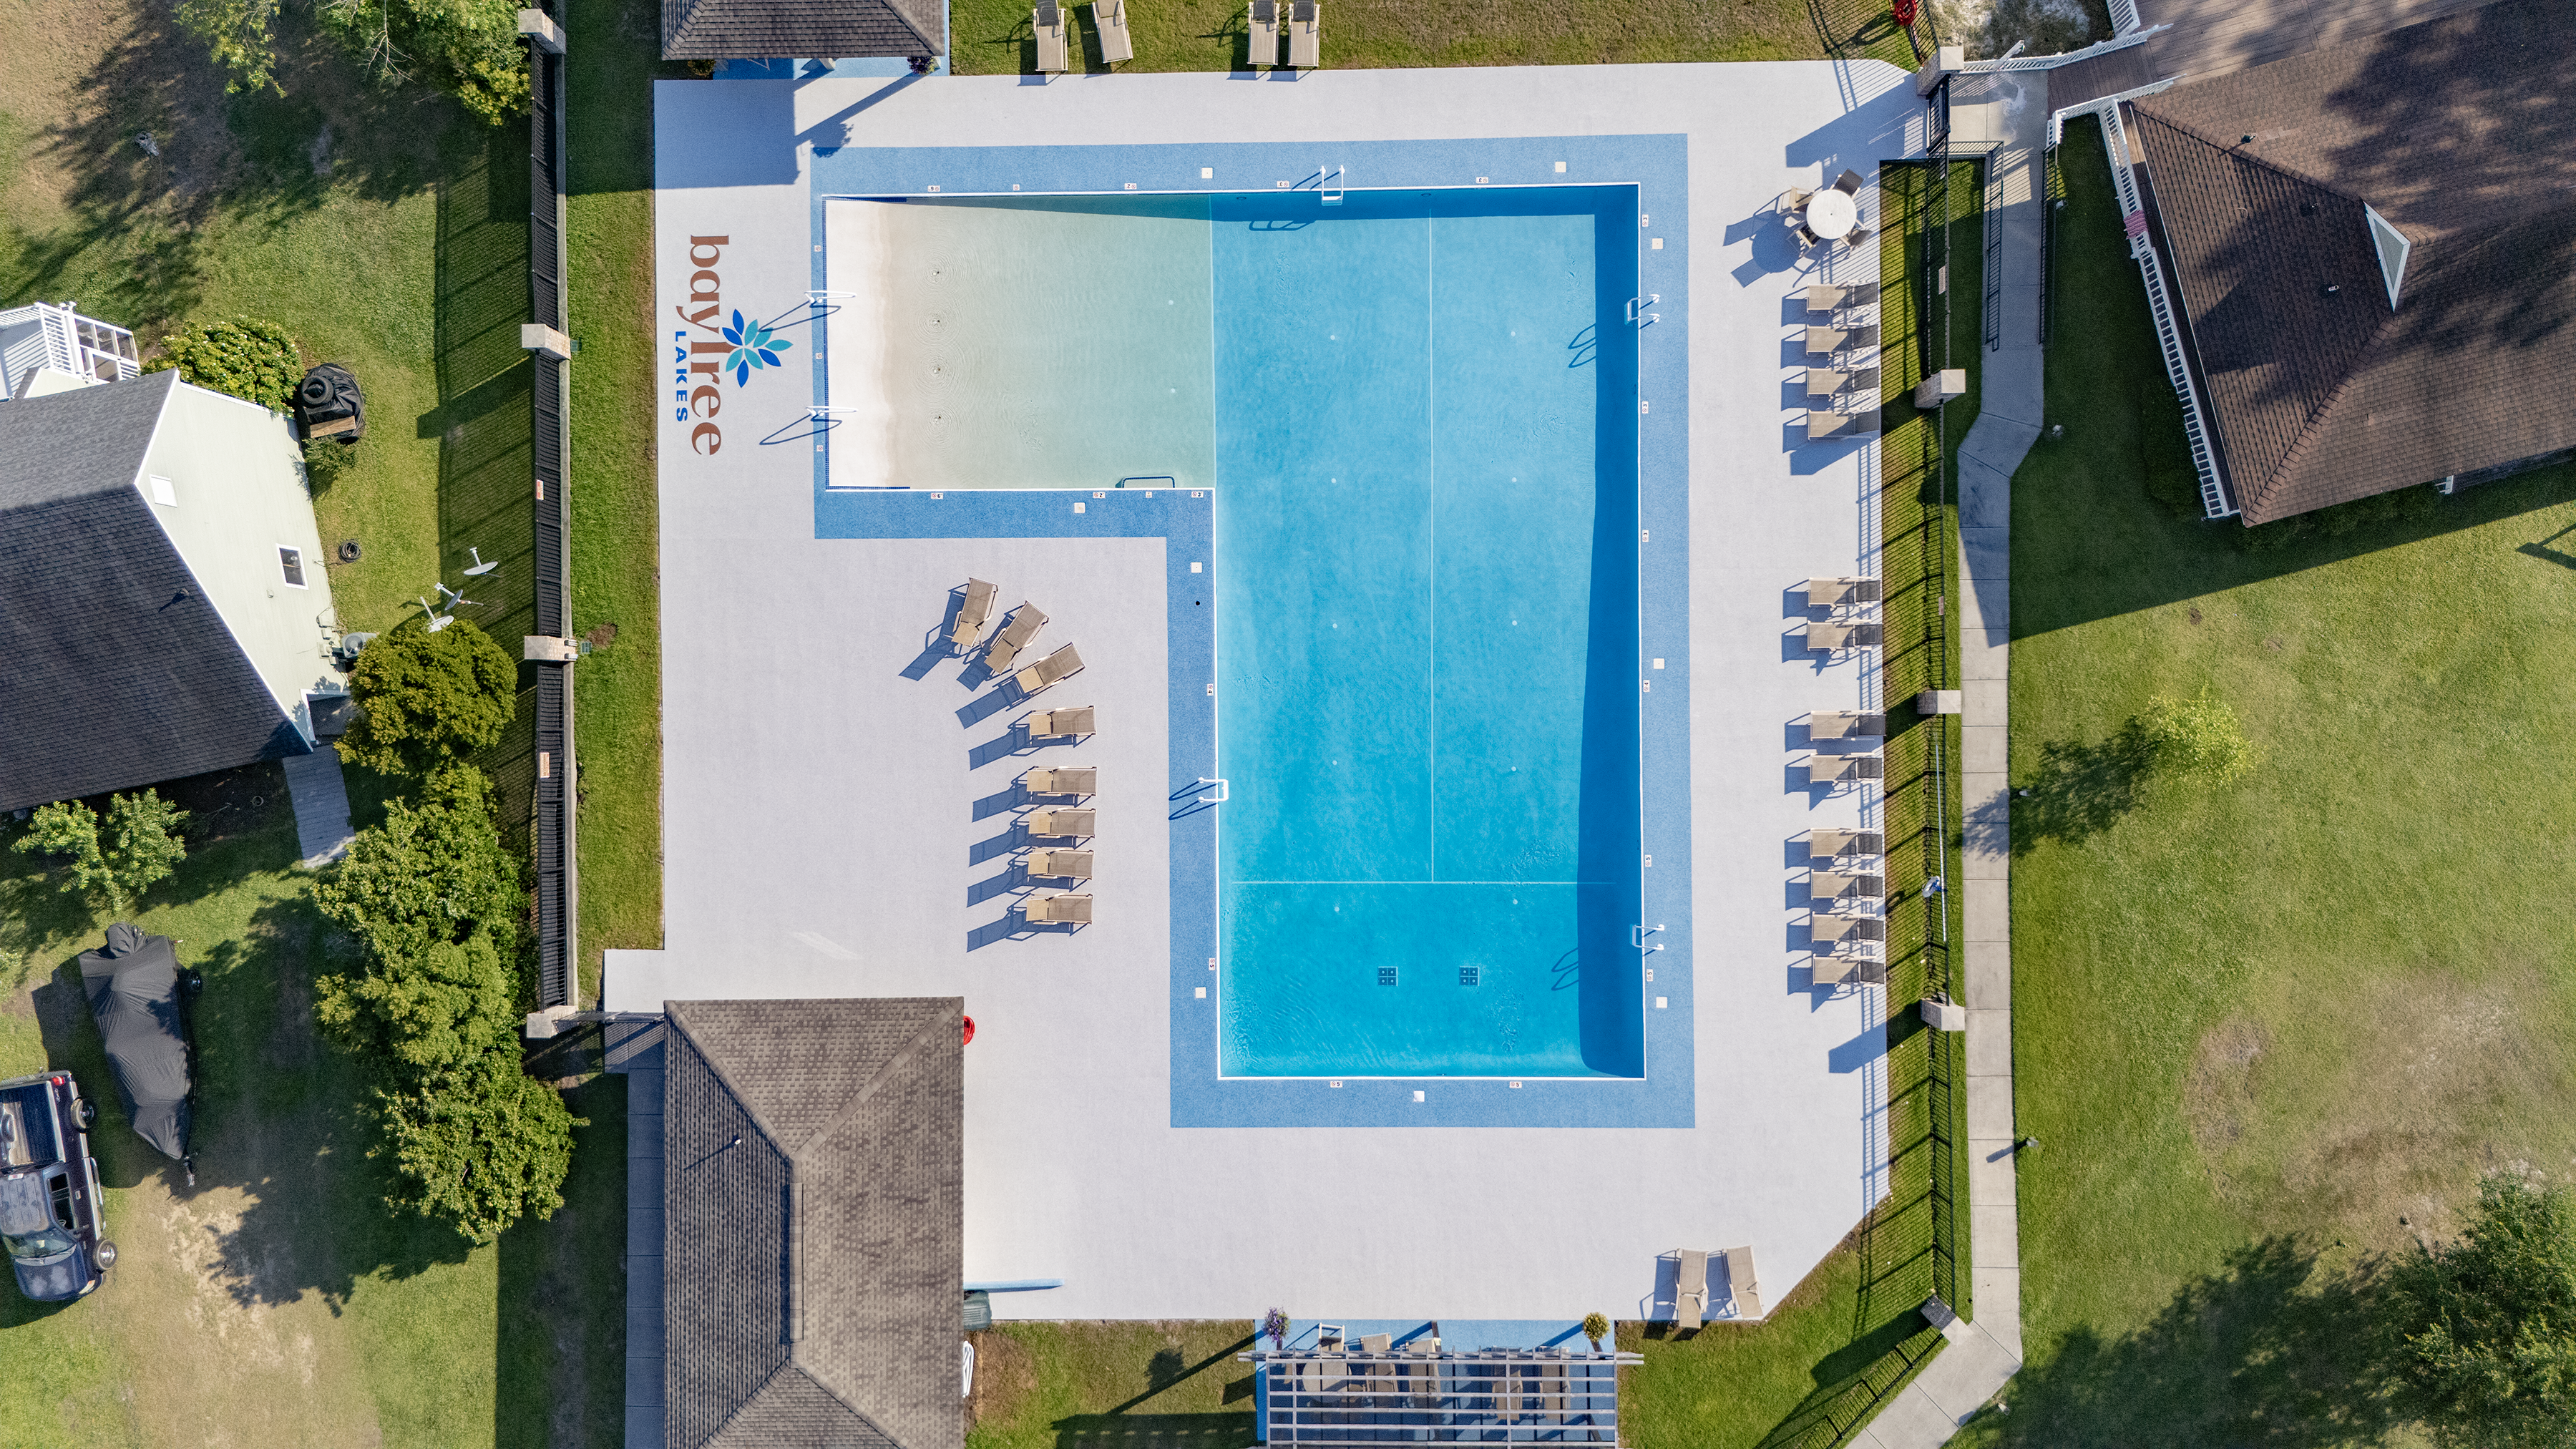
A seamless, slip-resistant surface that looks unified with your community palette, feels cooler, and cleans quickly—so common areas stay welcoming and low-stress to maintain.
How It’s Installed
1. Community Walk + Scope Confirmation – We start with a walk-through with your board or property manager to confirm scope, measurements, and drainage. We align on priorities (safety issues first, high-visibility areas, key transitions) and establish a clear plan for access, staging, and resident communication.
2. Resident-Friendly Setup + Protection – We protect surrounding finishes and keep the work area clean and controlled: masking at coping/edges, debris containment, and clear signage. If the project is phased, we establish safe, clearly marked routes so residents can move through the area confidently.
3. Deep Clean + Surface Preparation – We pressure wash, degrease, and mechanically prep the substrate as needed to ensure maximum bond. This step removes buildup and opens the surface so the new system adheres properly and performs long-term.
4. Repairs + Drainage Transitions – We address cracks, spalls, hollow spots, damaged edges, and low areas to create a stable, even foundation. Transitions to drains, thresholds, and existing surfaces are rebuilt for smooth flow and a clean finished look. A primer/adhesion promoter is applied as needed based on the substrate and conditions.
5. Install Rubber Surfacing System – The rubber system is hand-troweled to the specified thickness and texture for pool decks and wet areas. The result is a smooth, slip-resistant finish designed for comfort underfoot, better durability, and a cleaner overall presentation for the community.
6. Detailing + Final Walkthrough – We detail steps, ramps/ADA transitions, drains, skimmers, rail posts, perimeters, and tie-ins so everything looks seamless and intentional. After cure protection, we complete a final walk-through, cleanup, and turnover with care guidance and re-opening timeline (plus warranty documentation where applicable).
Make it your own
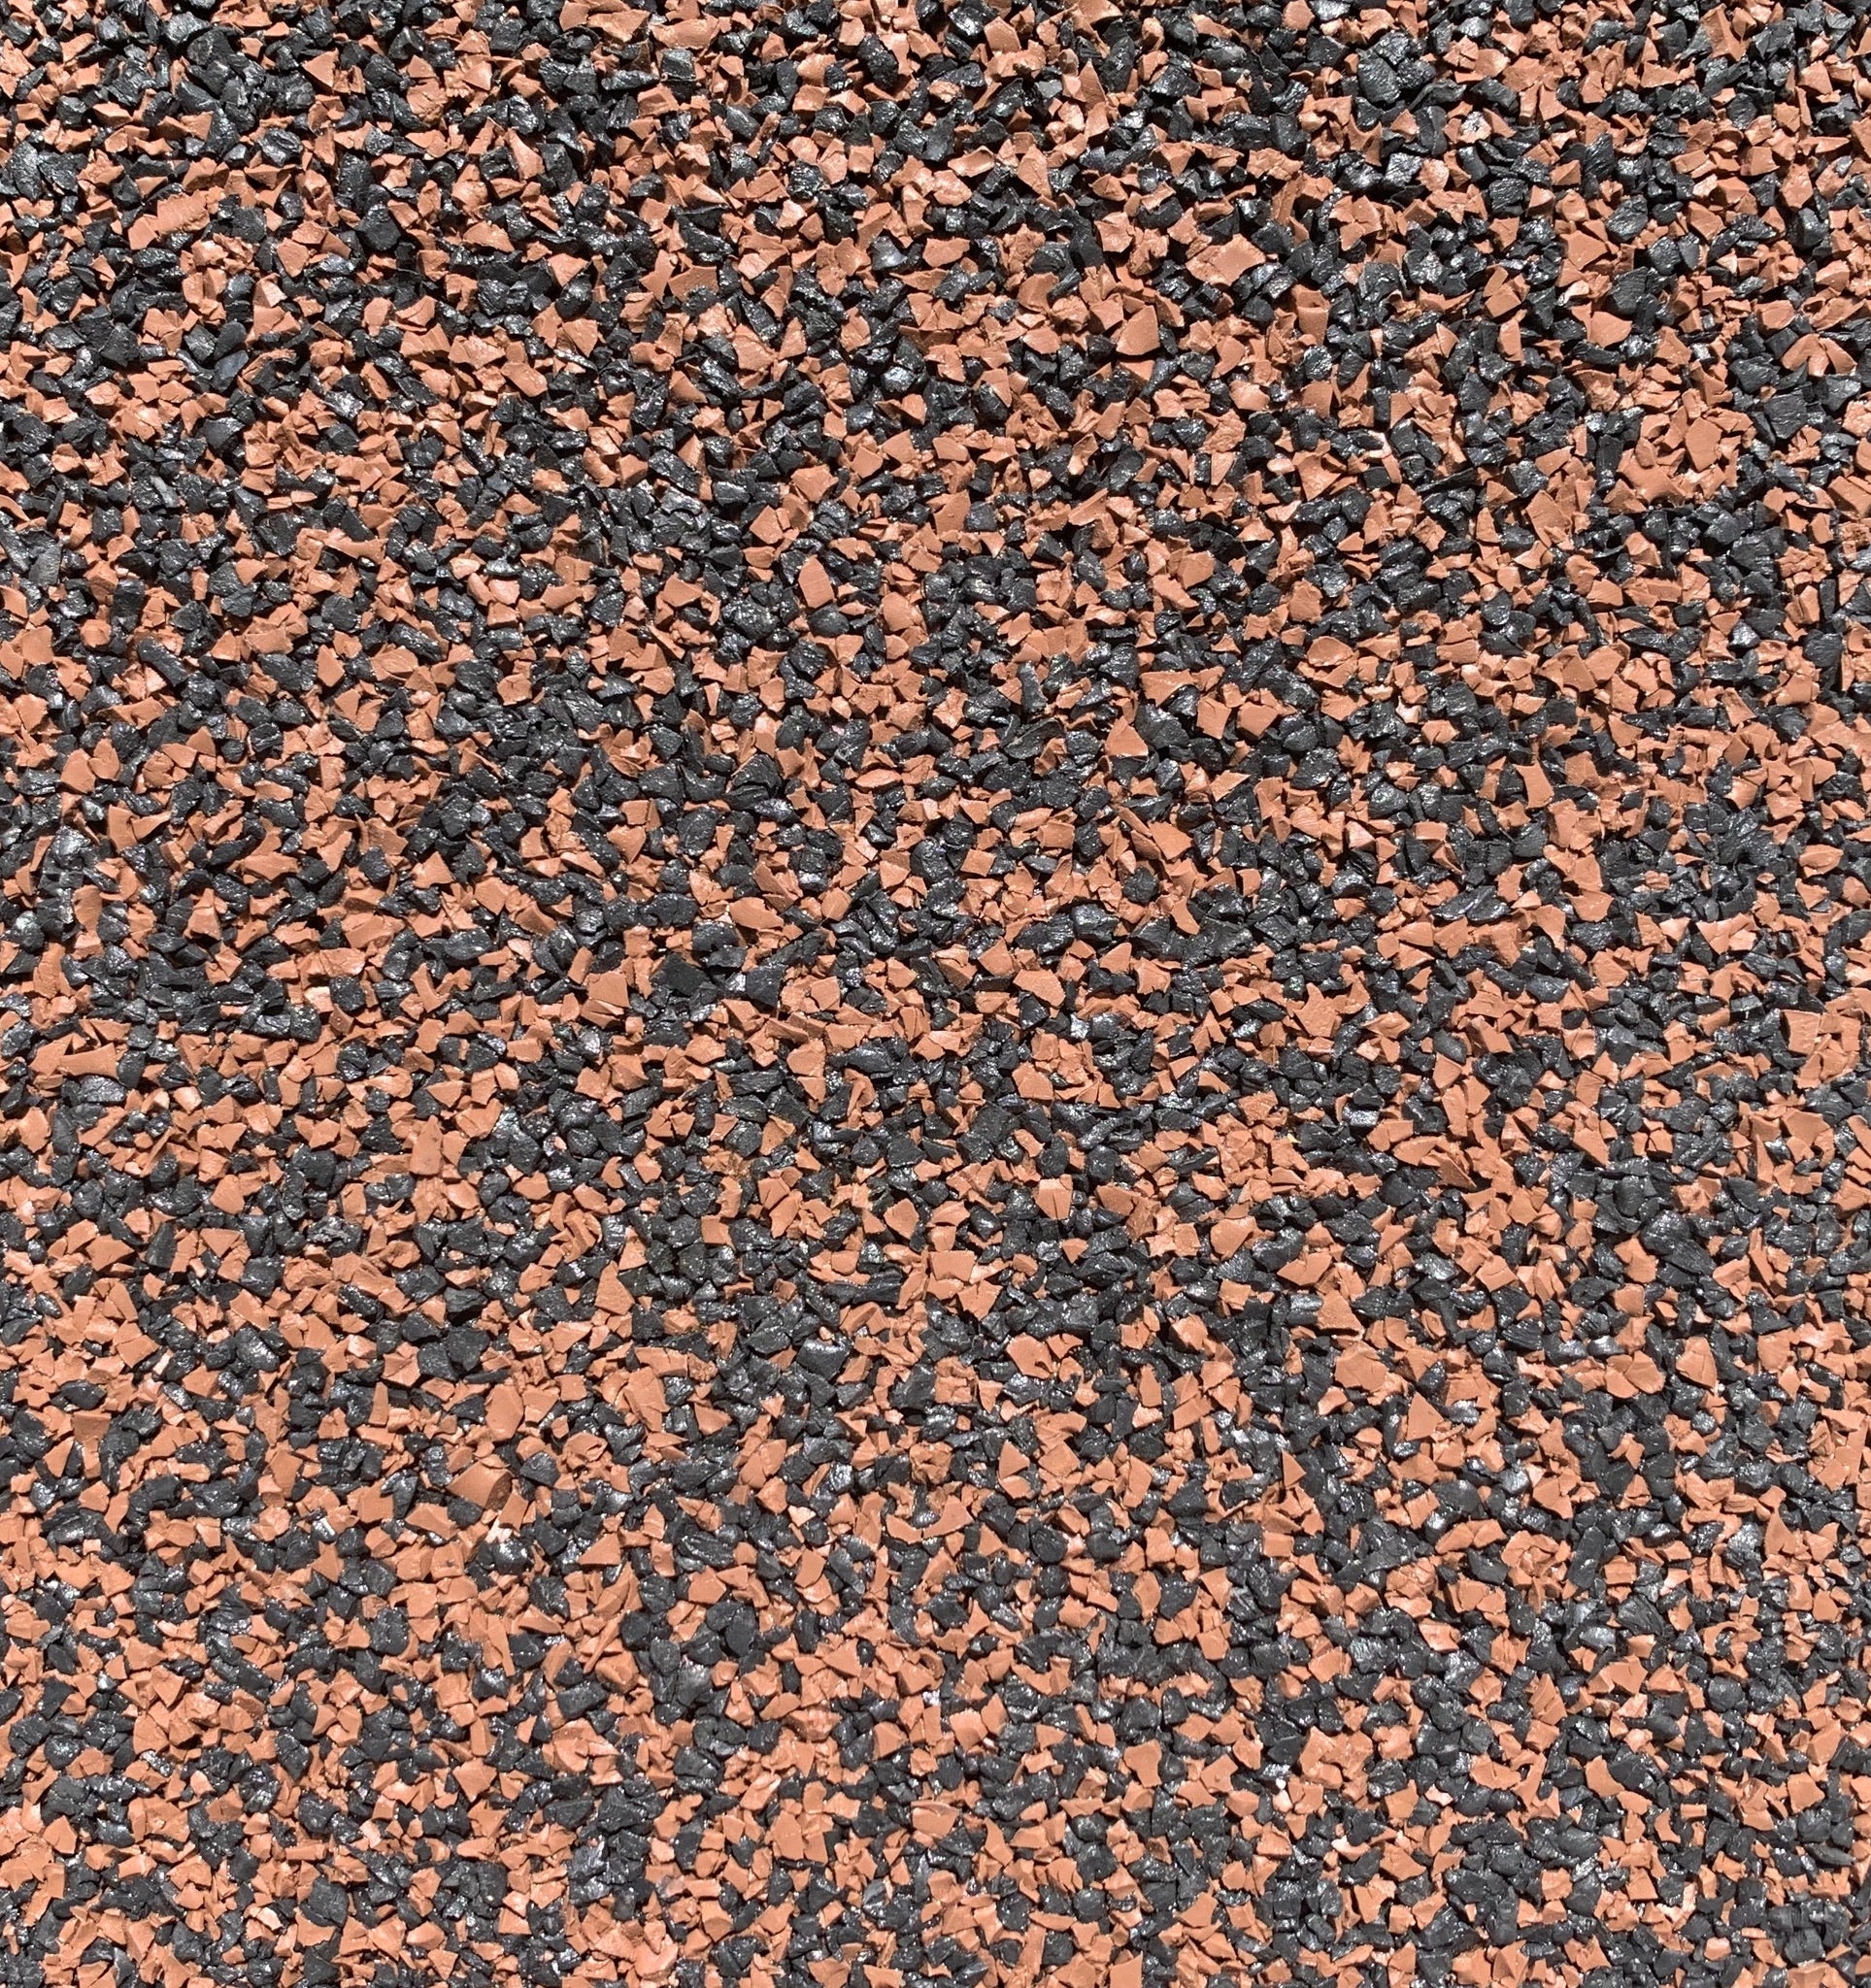
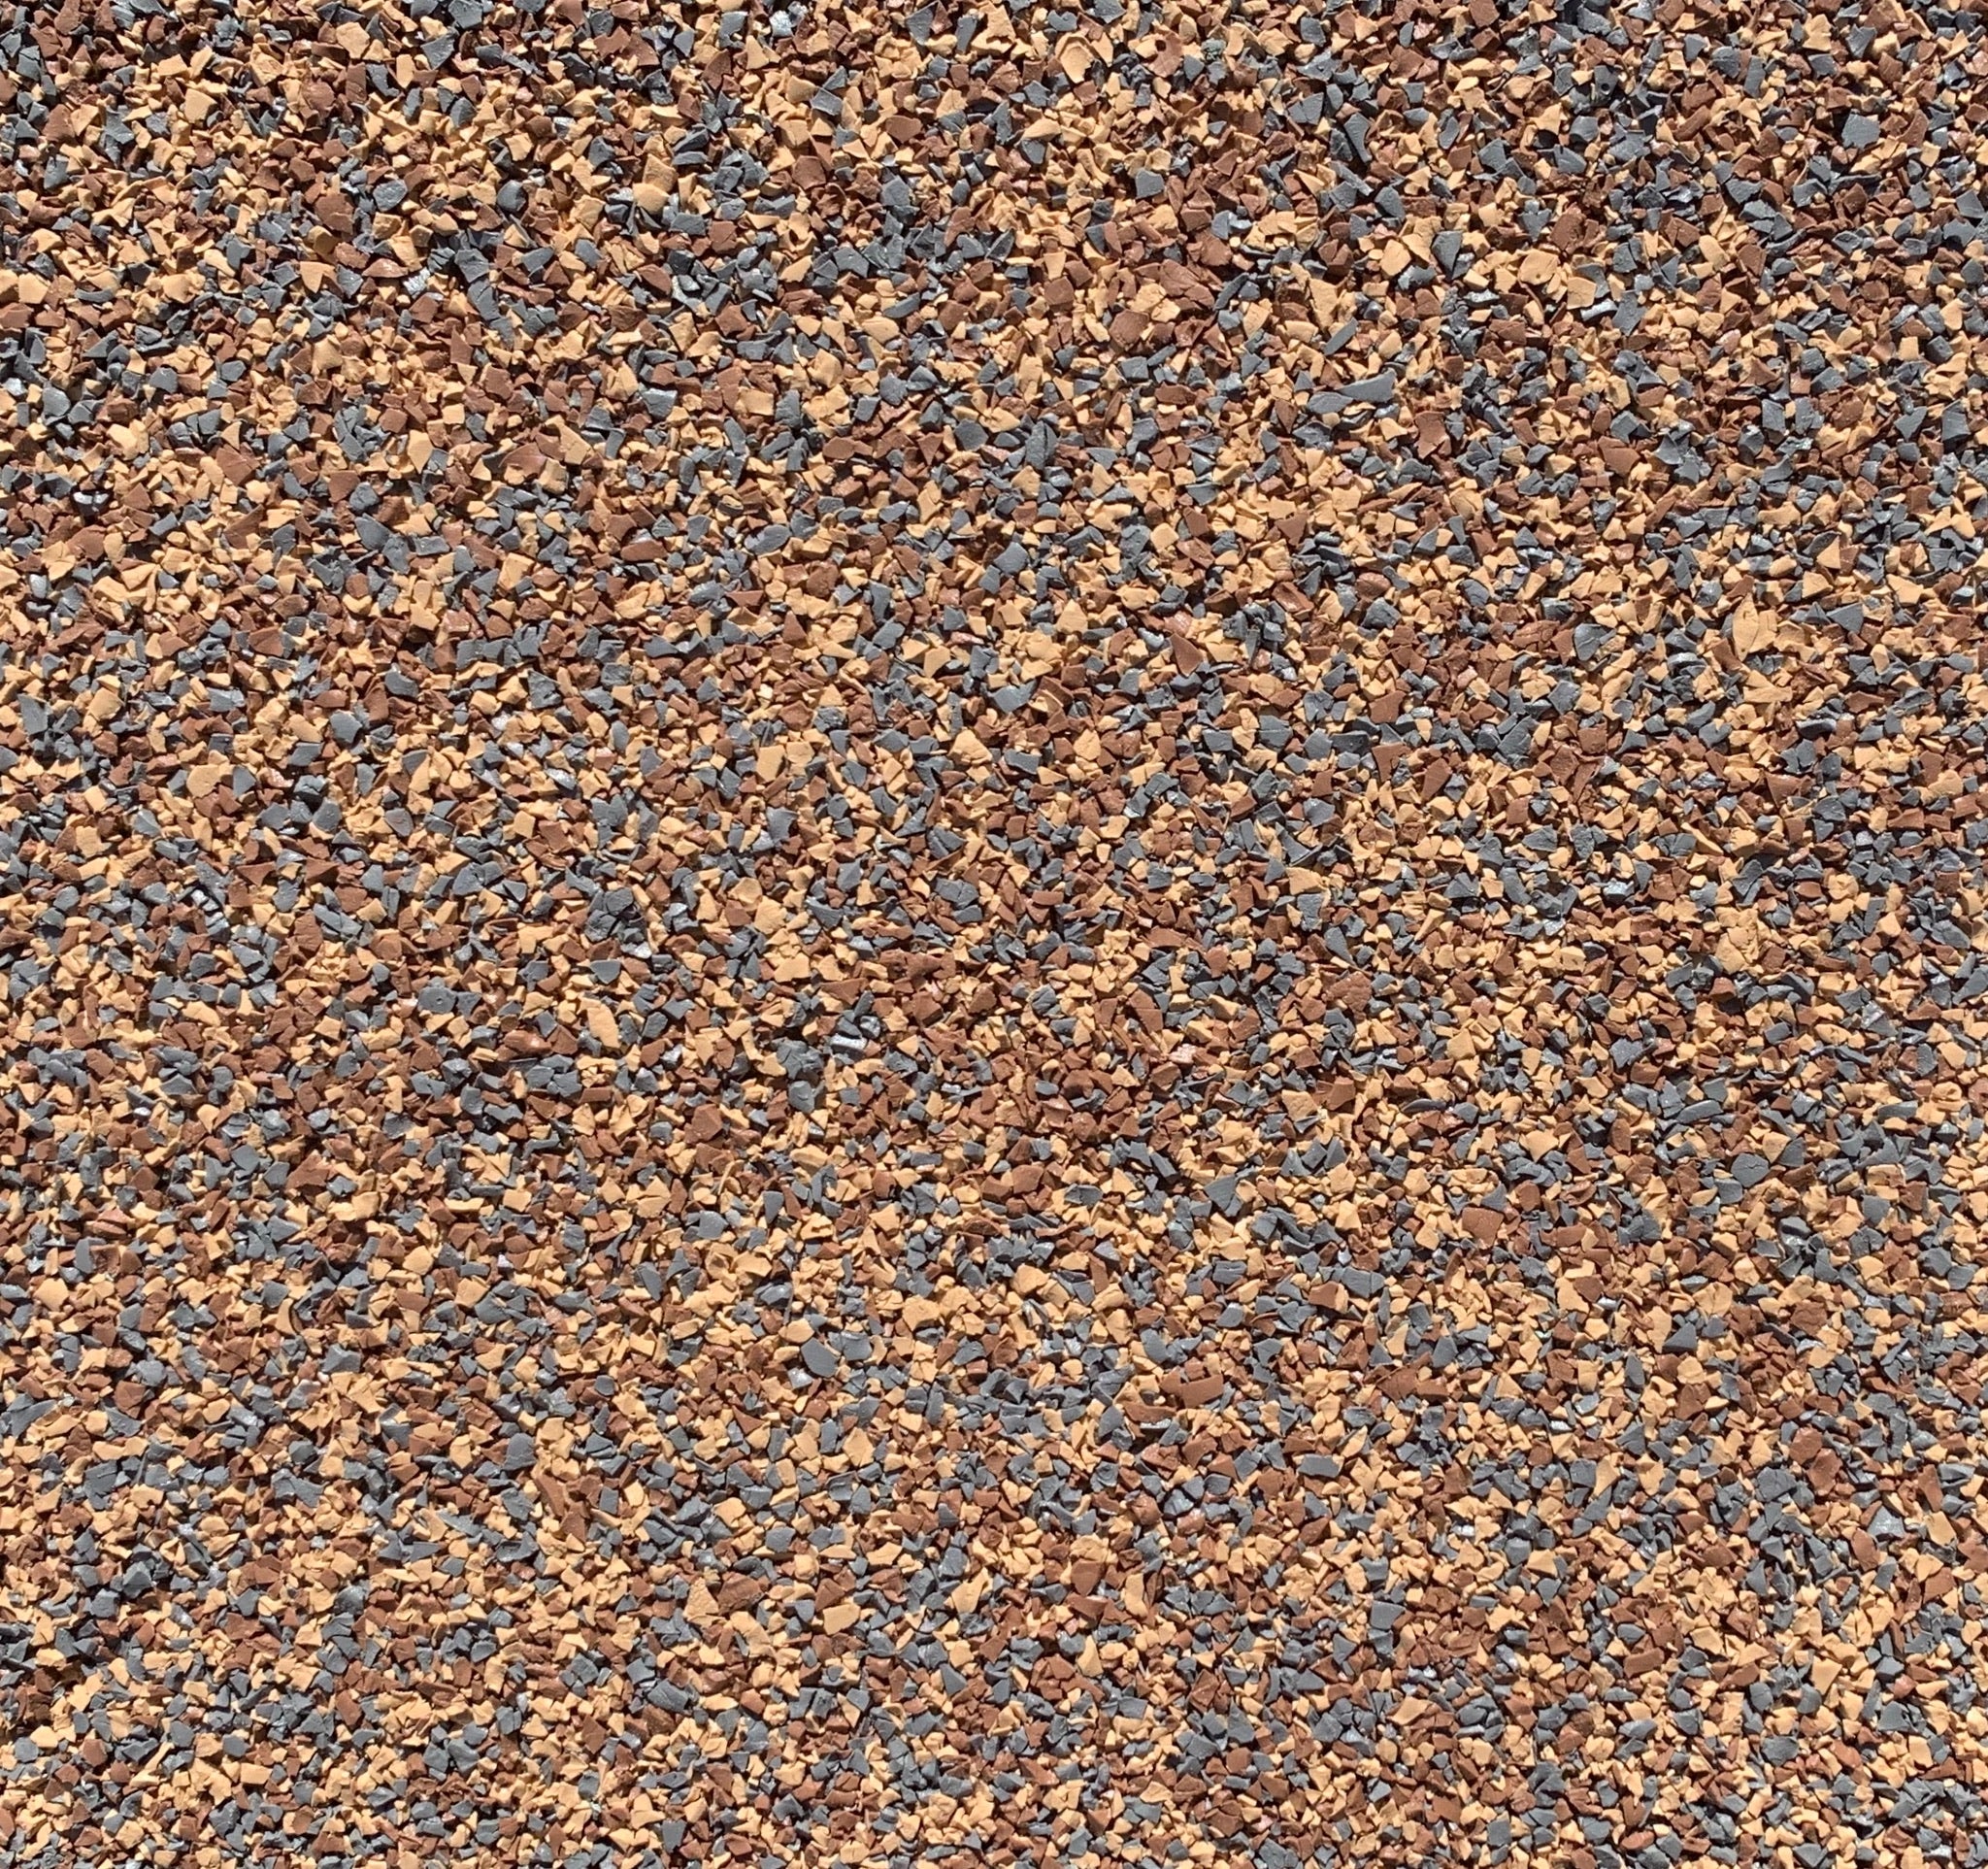
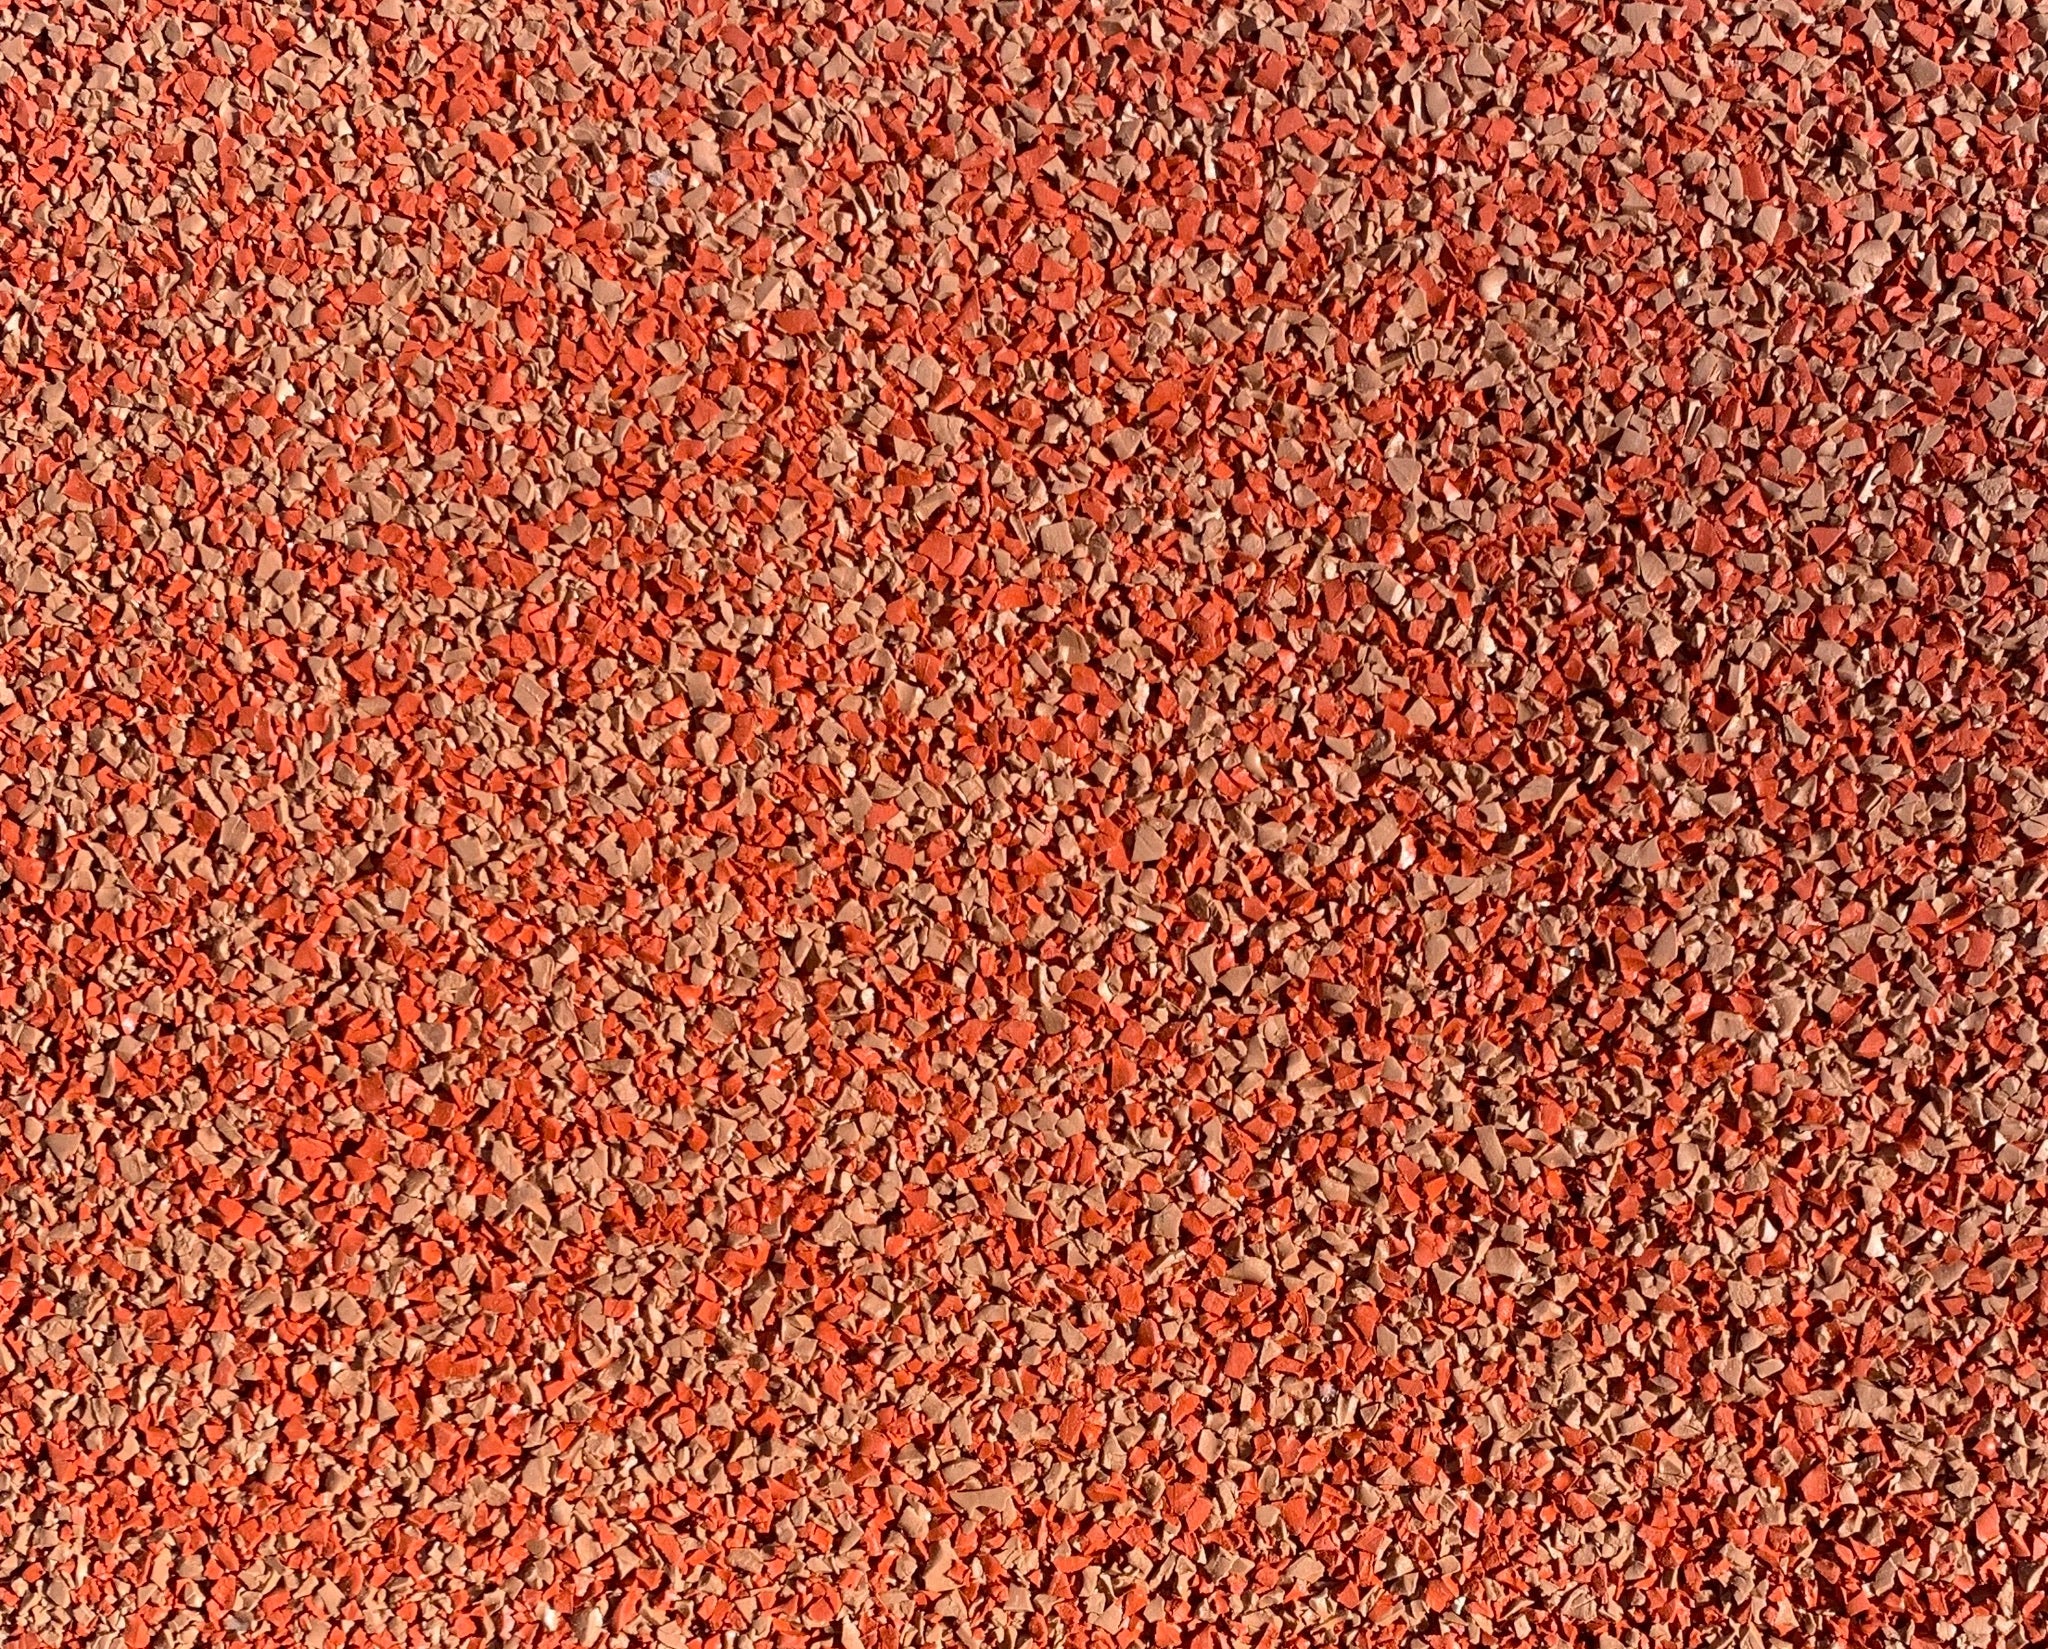
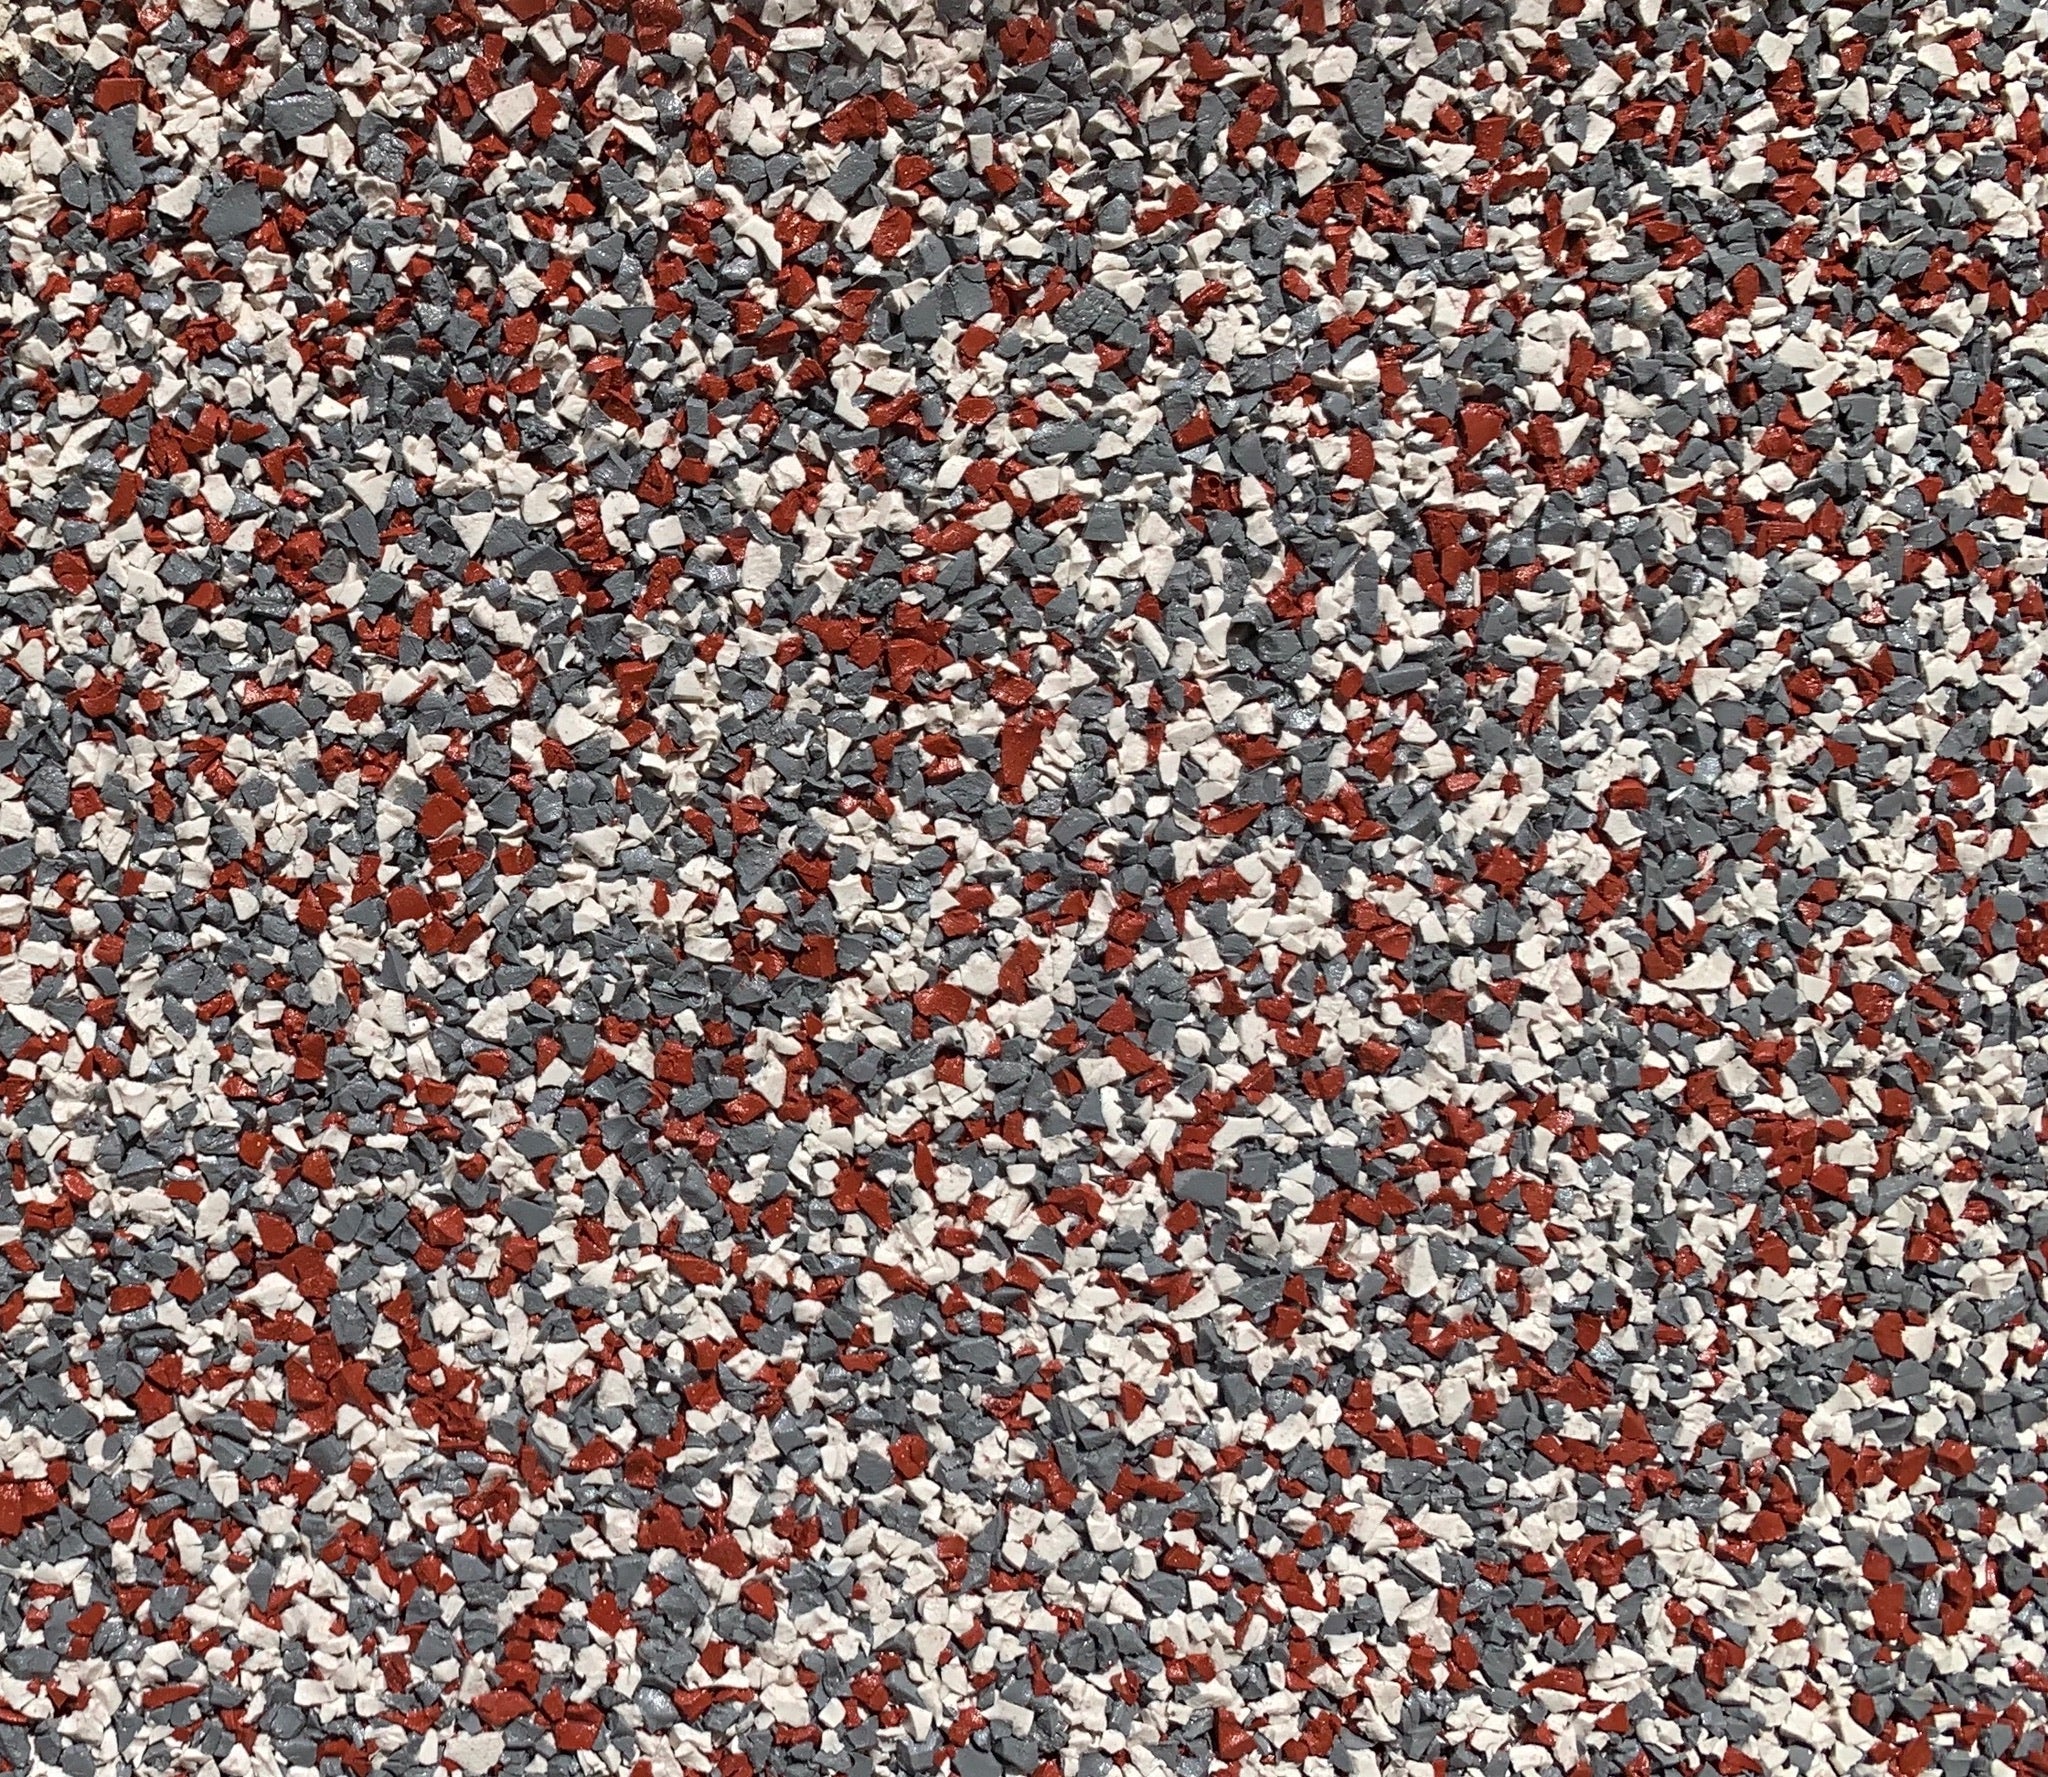
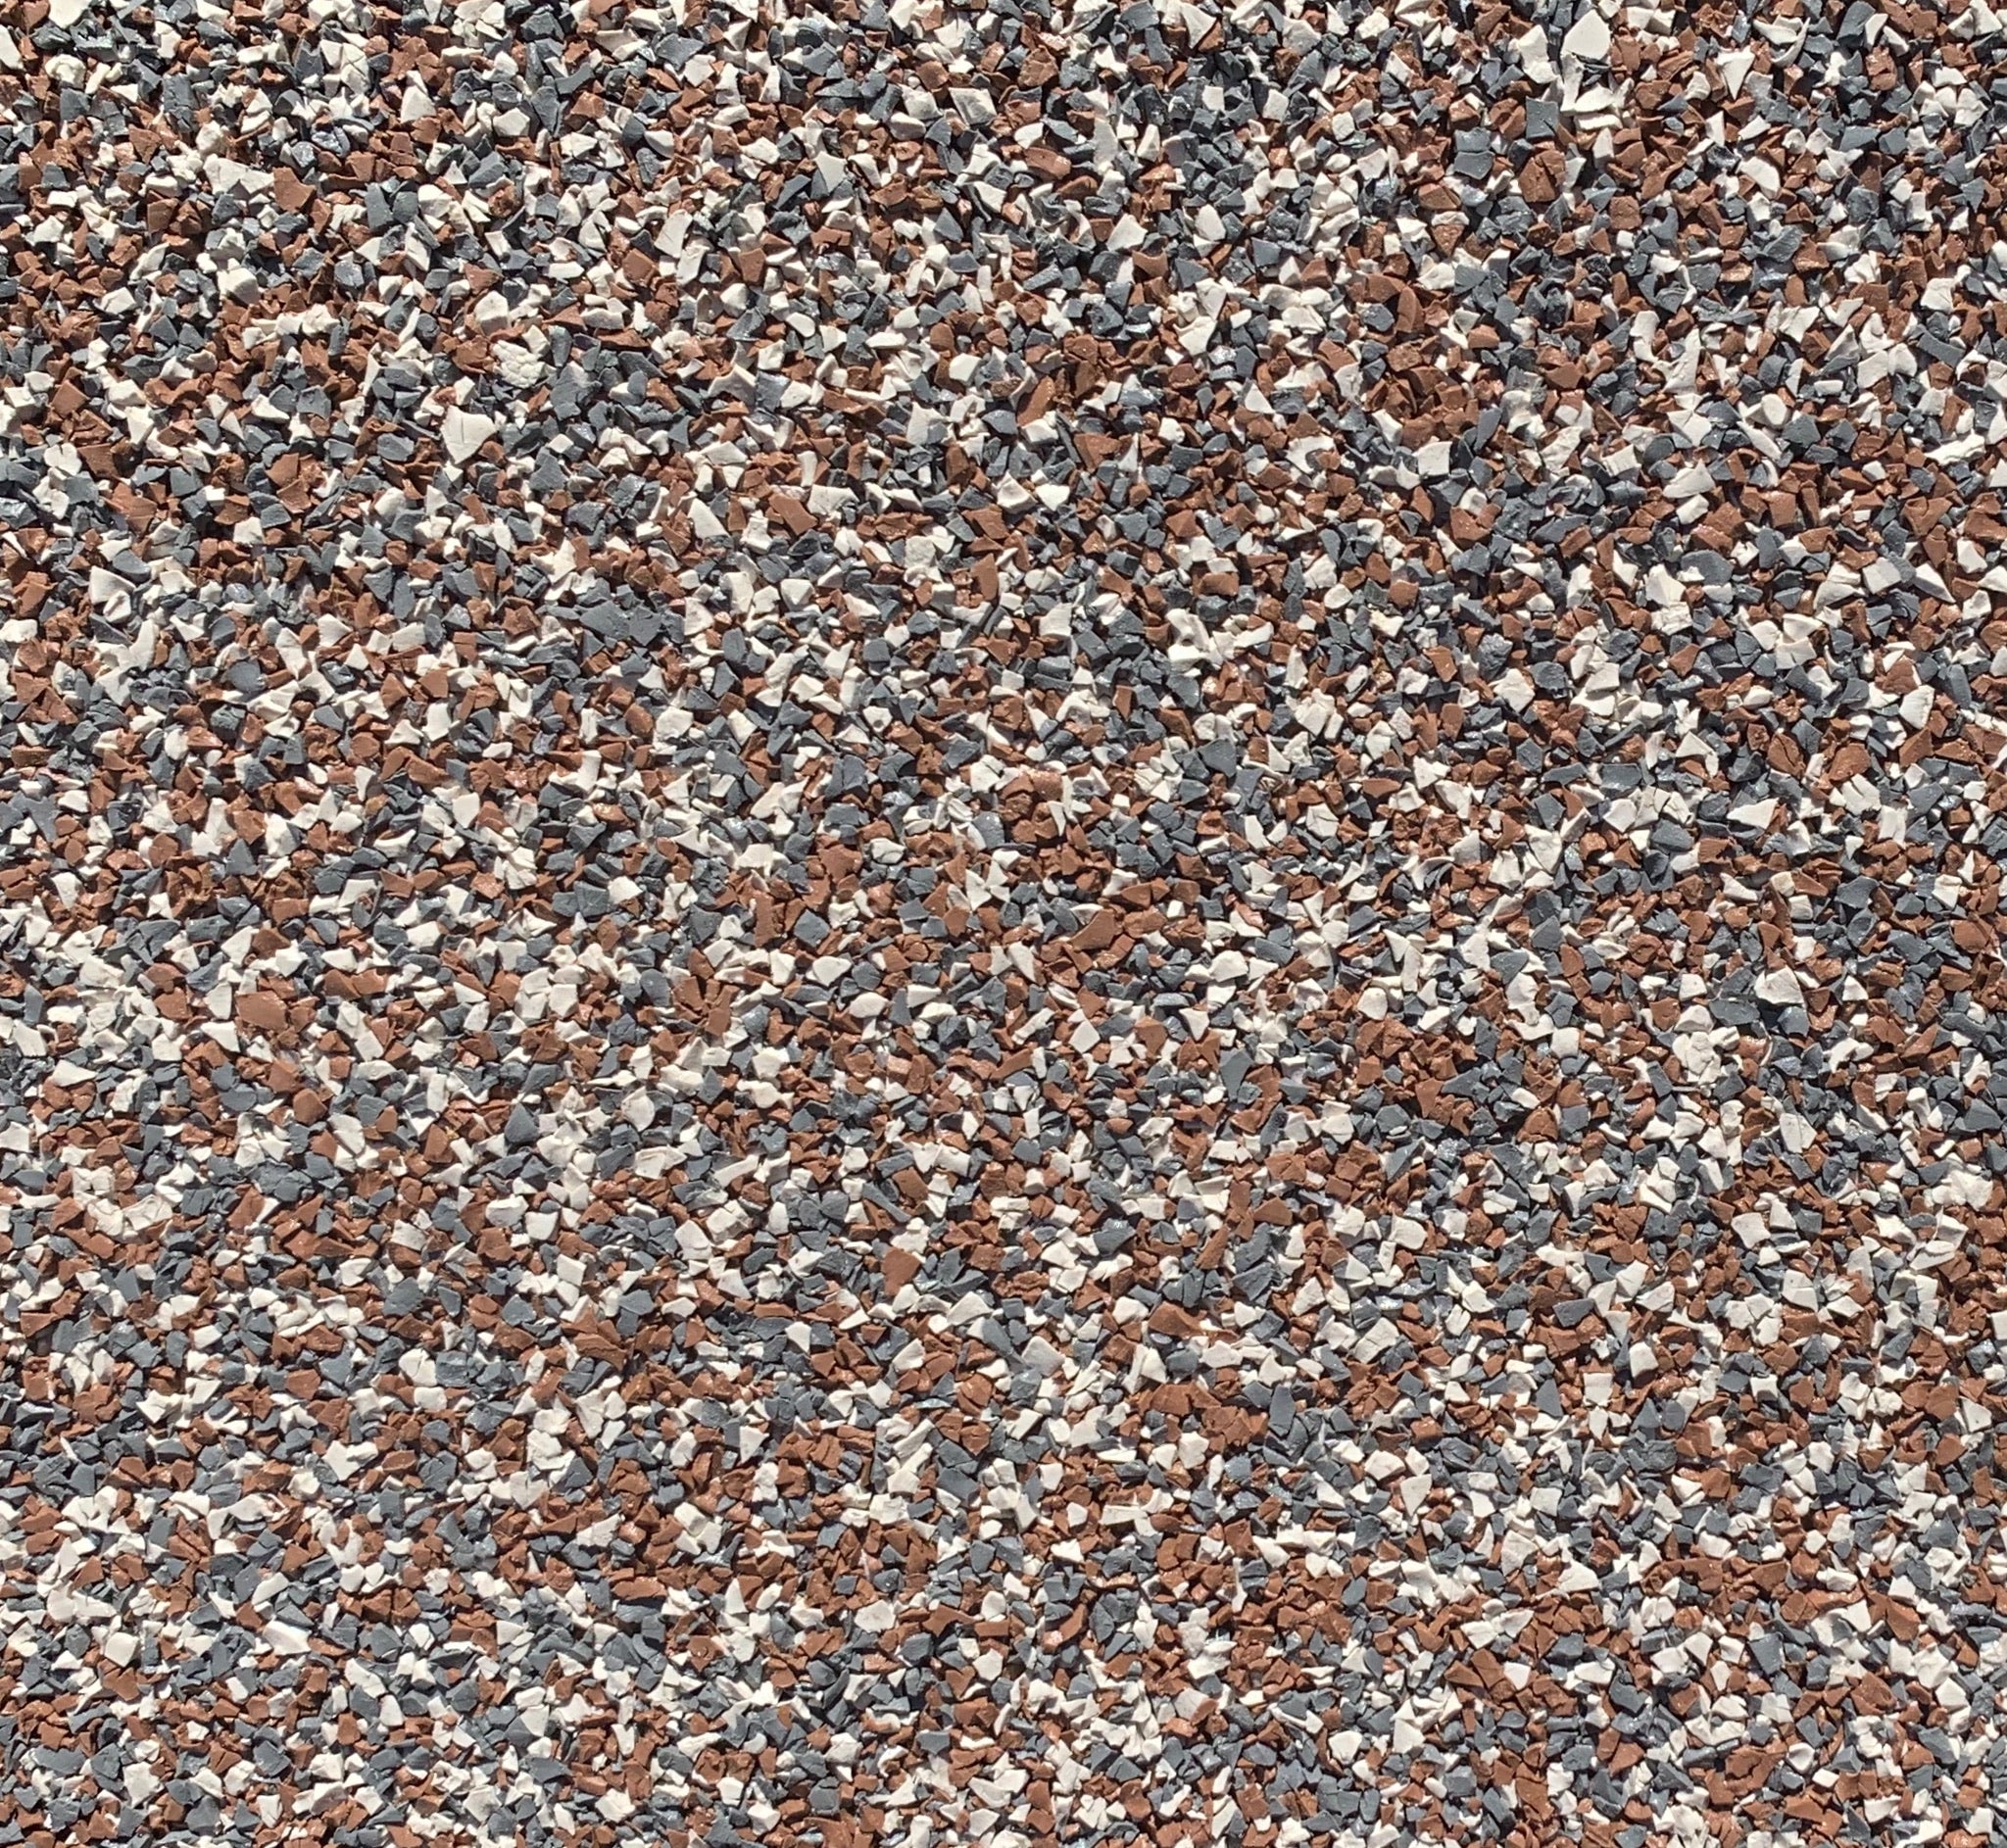
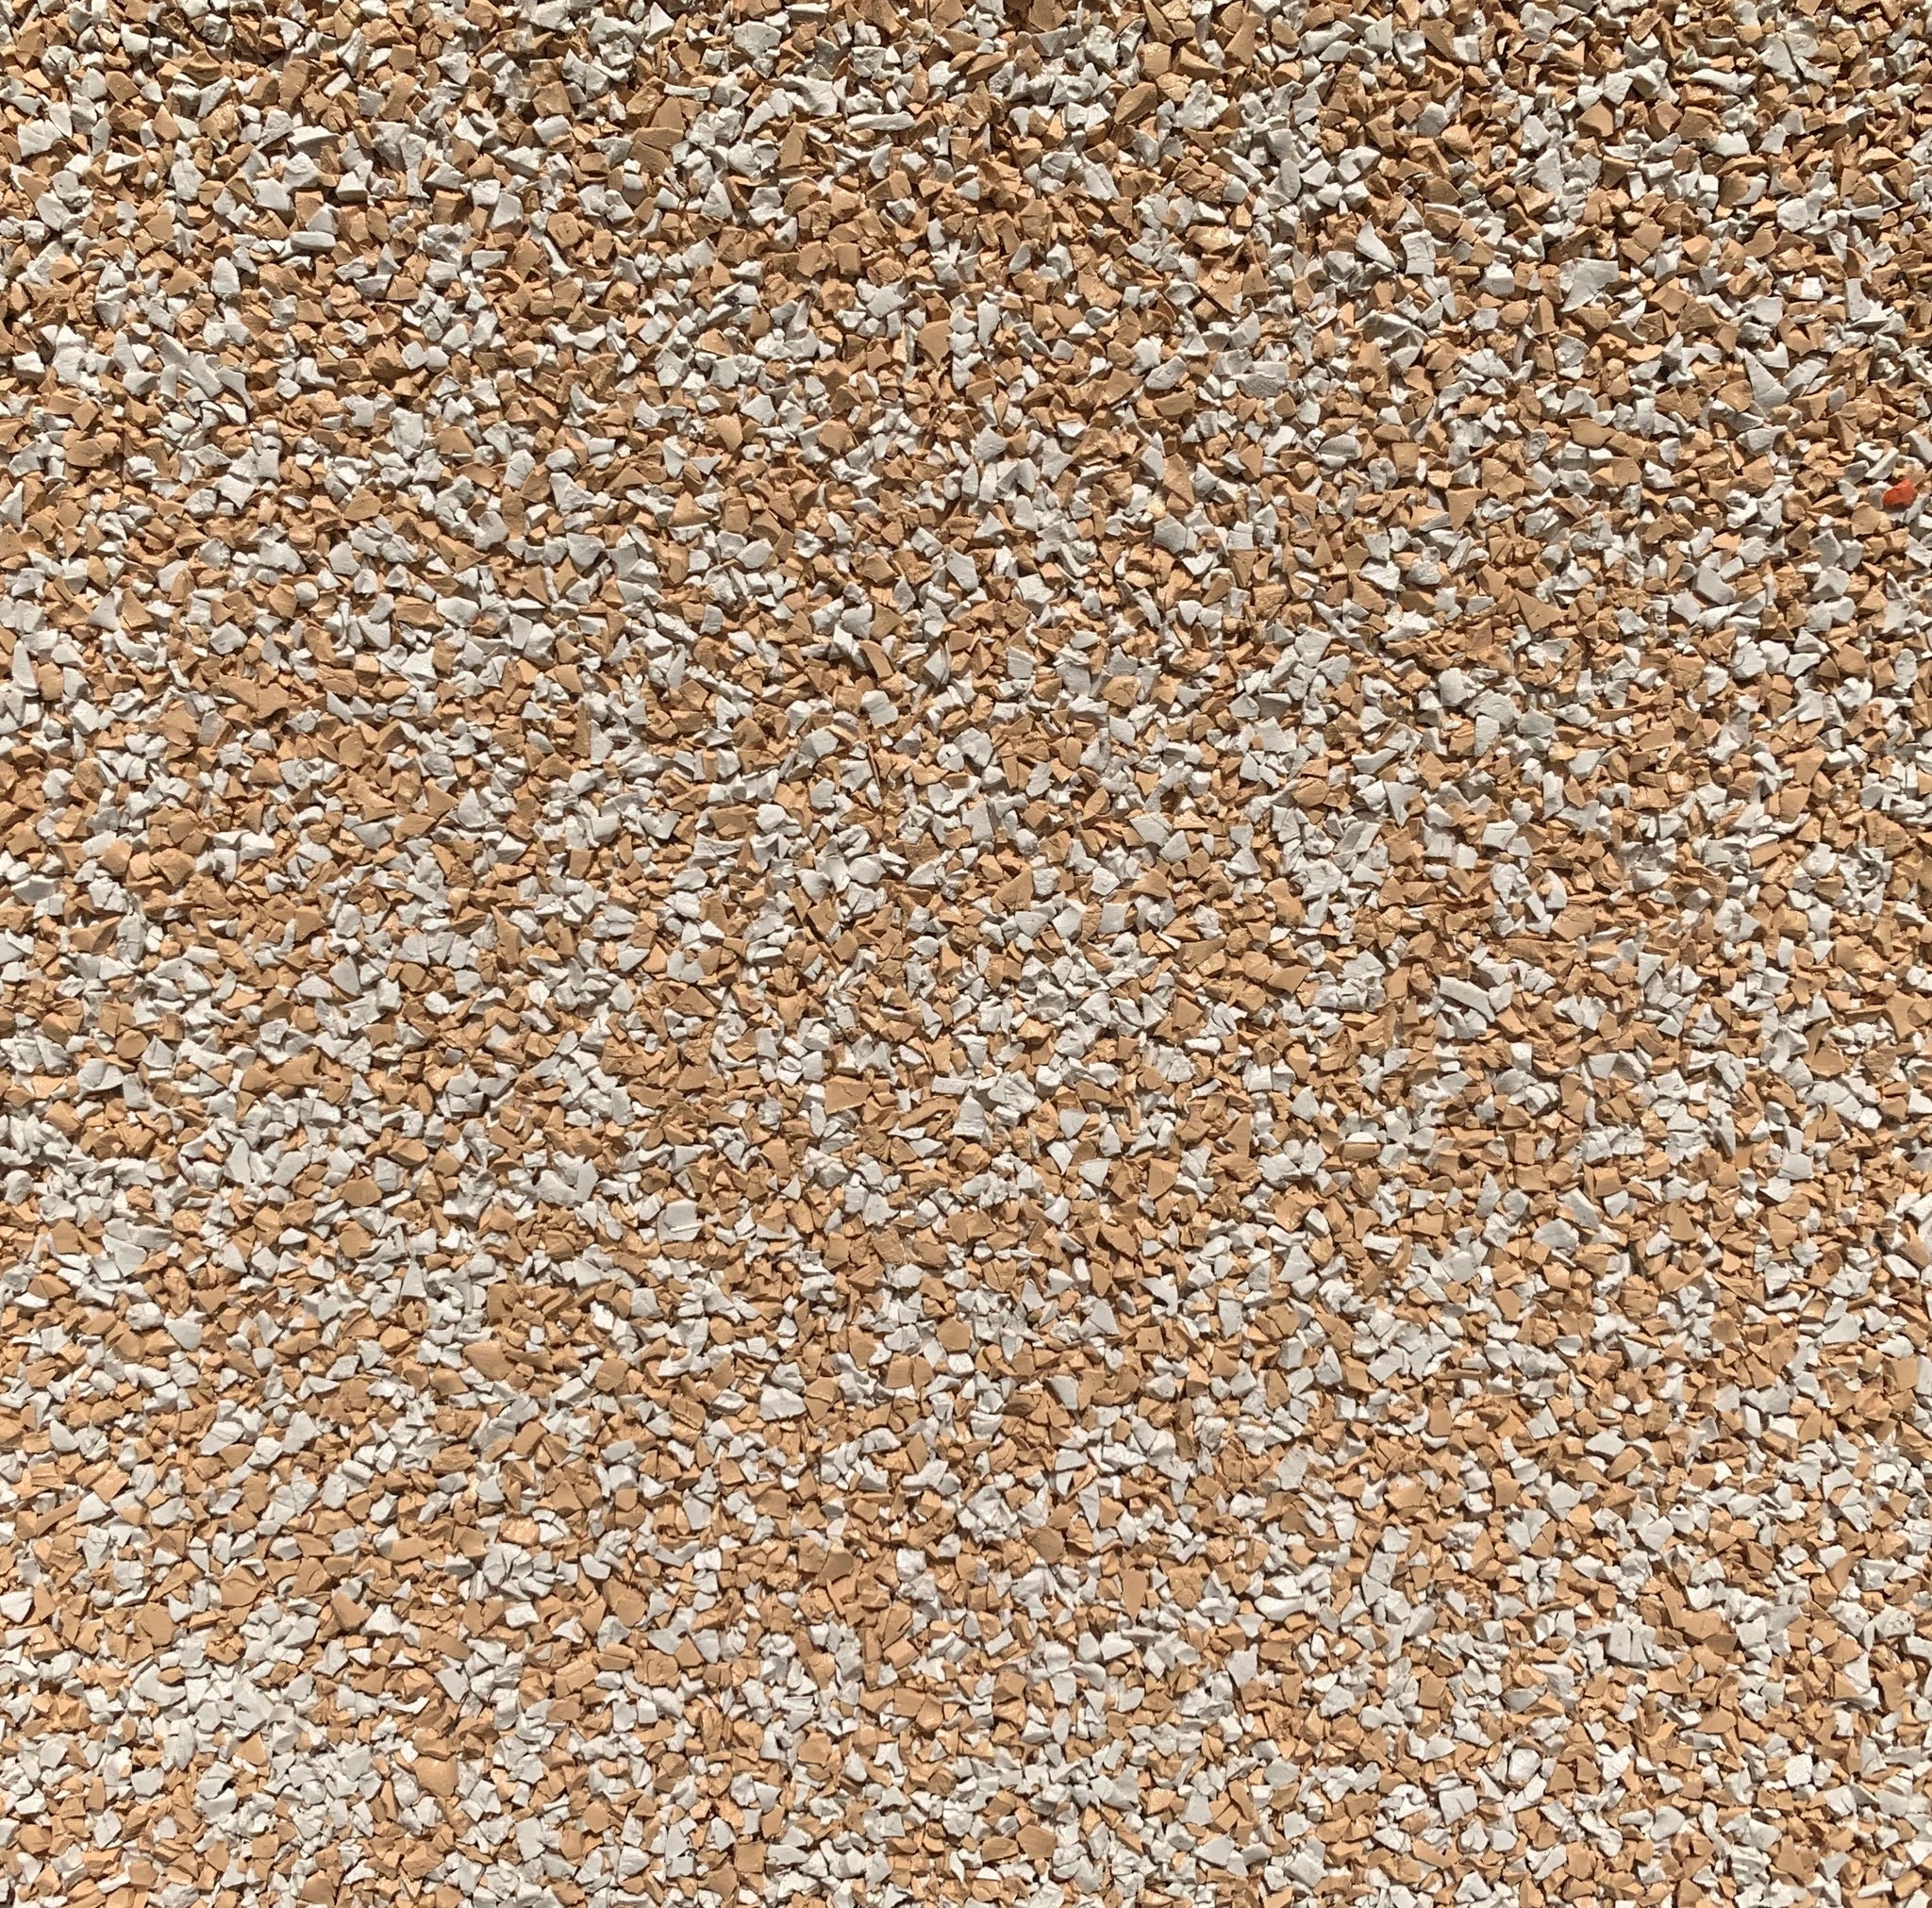
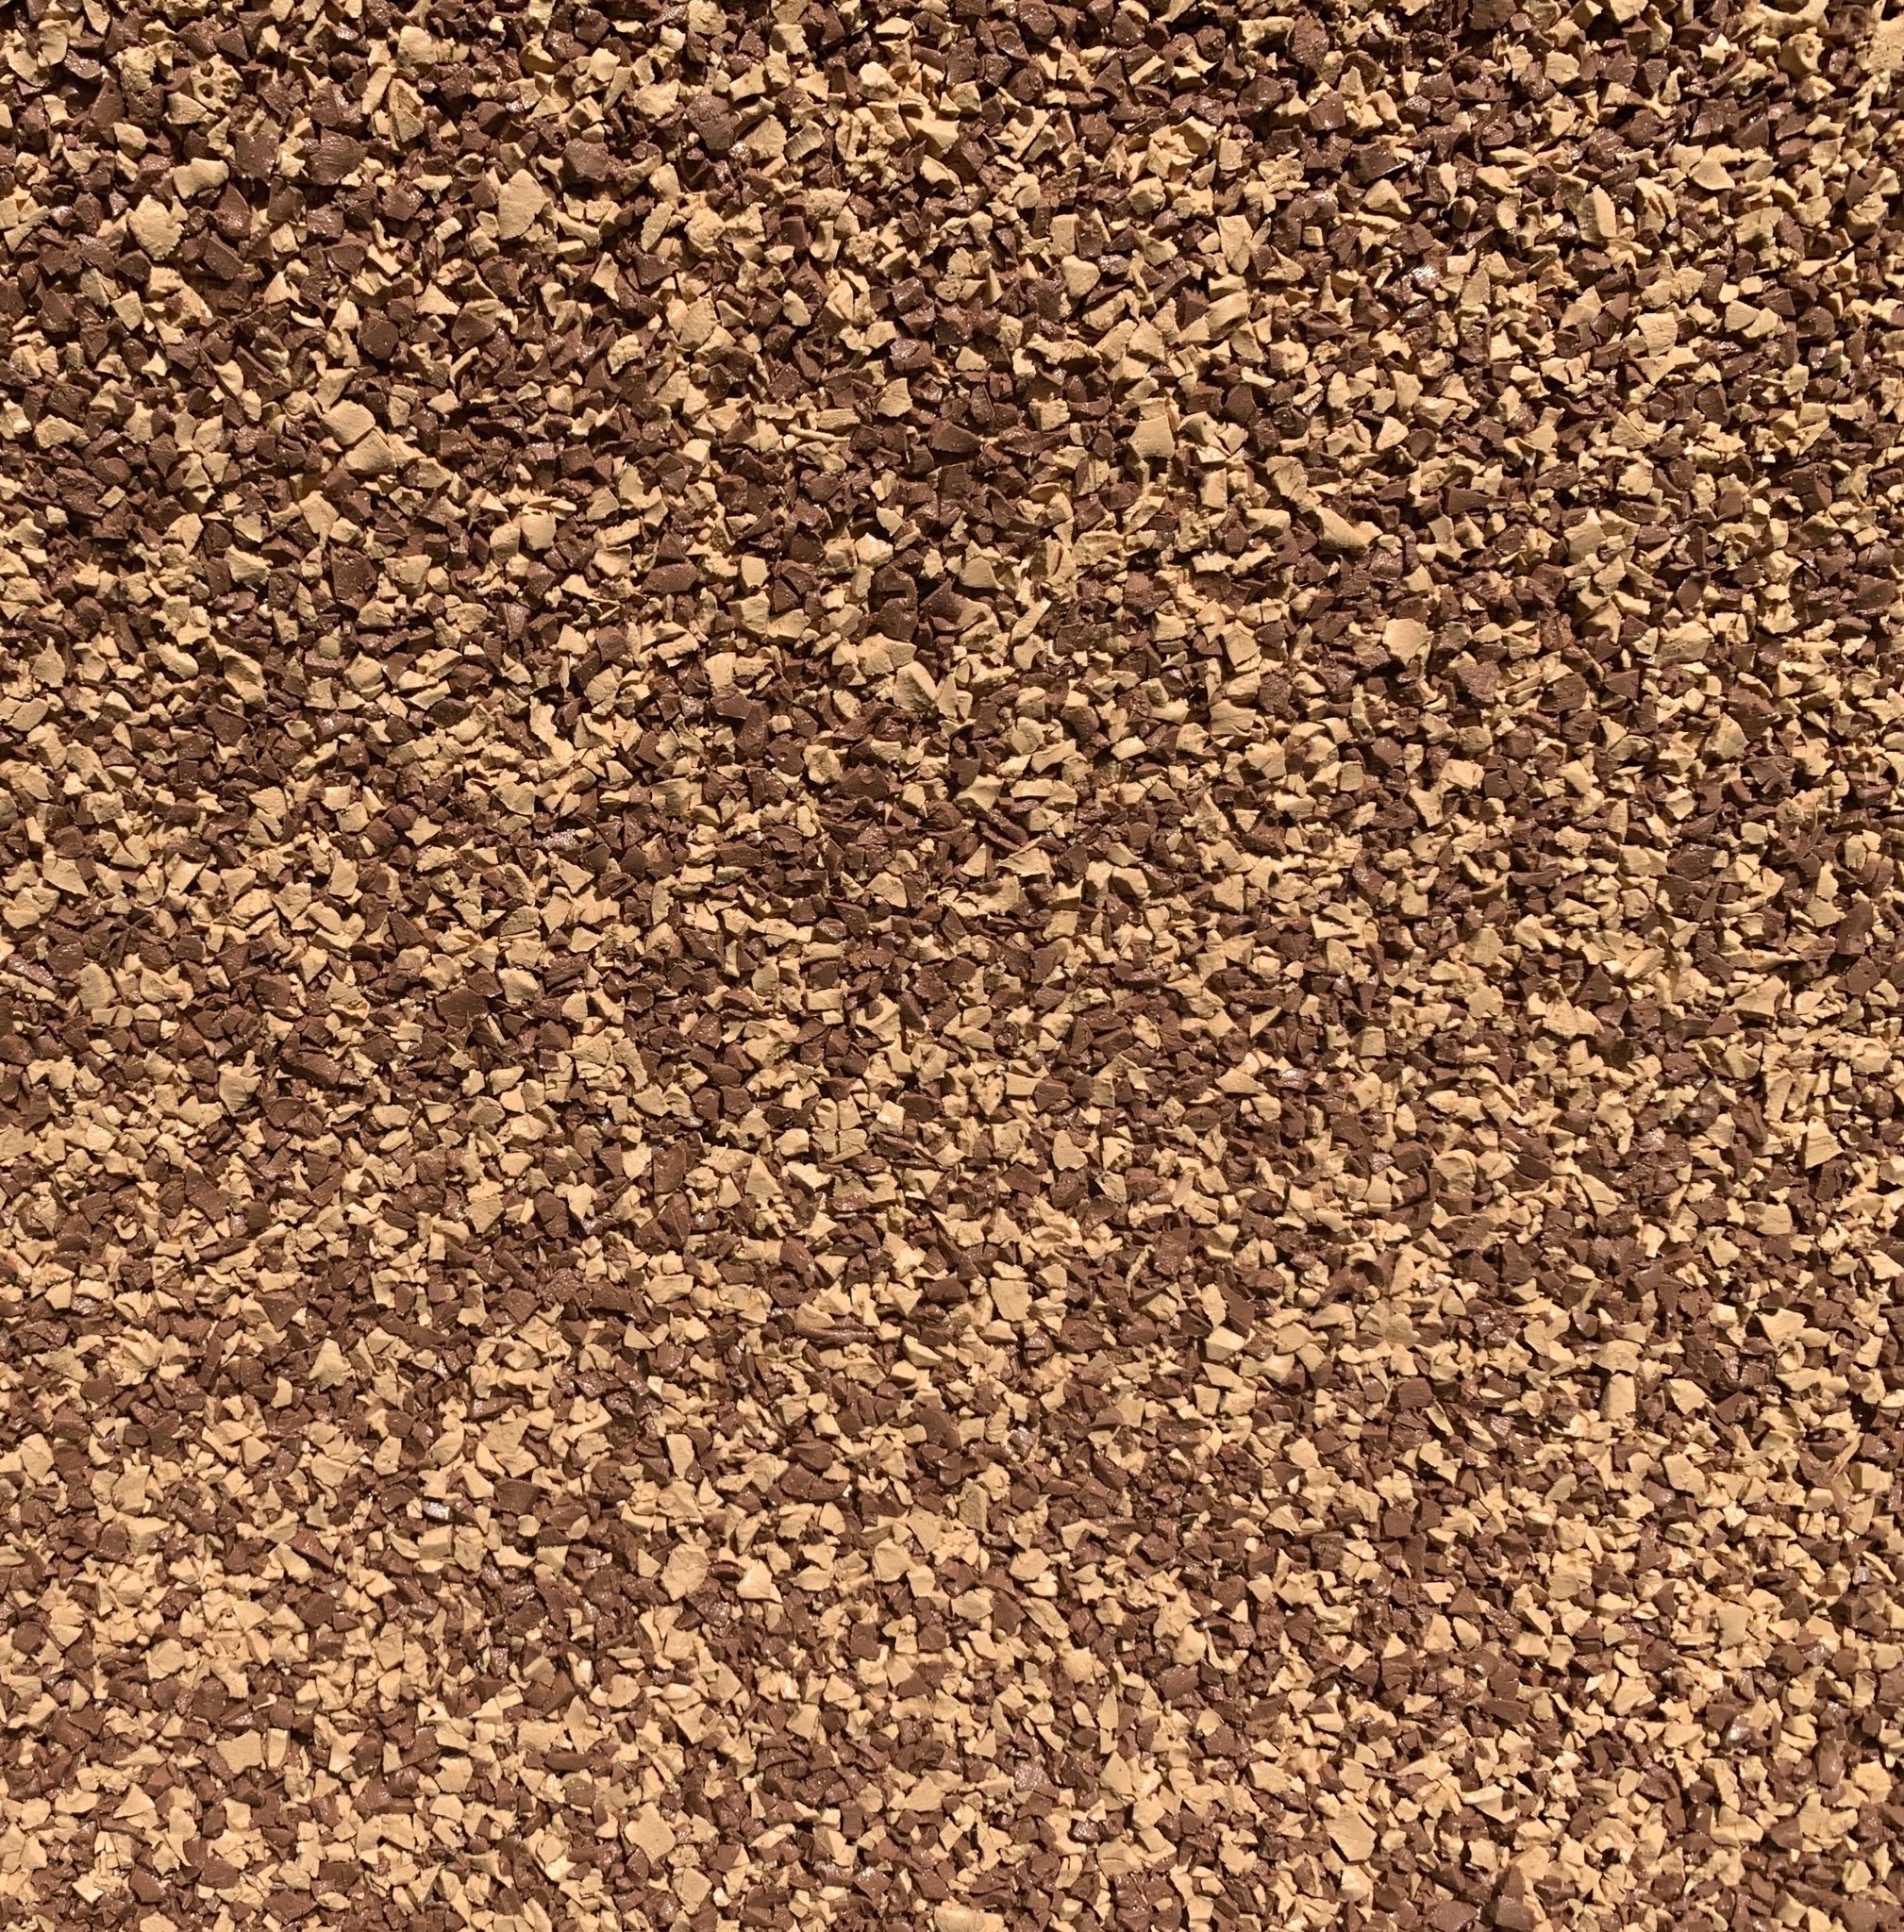
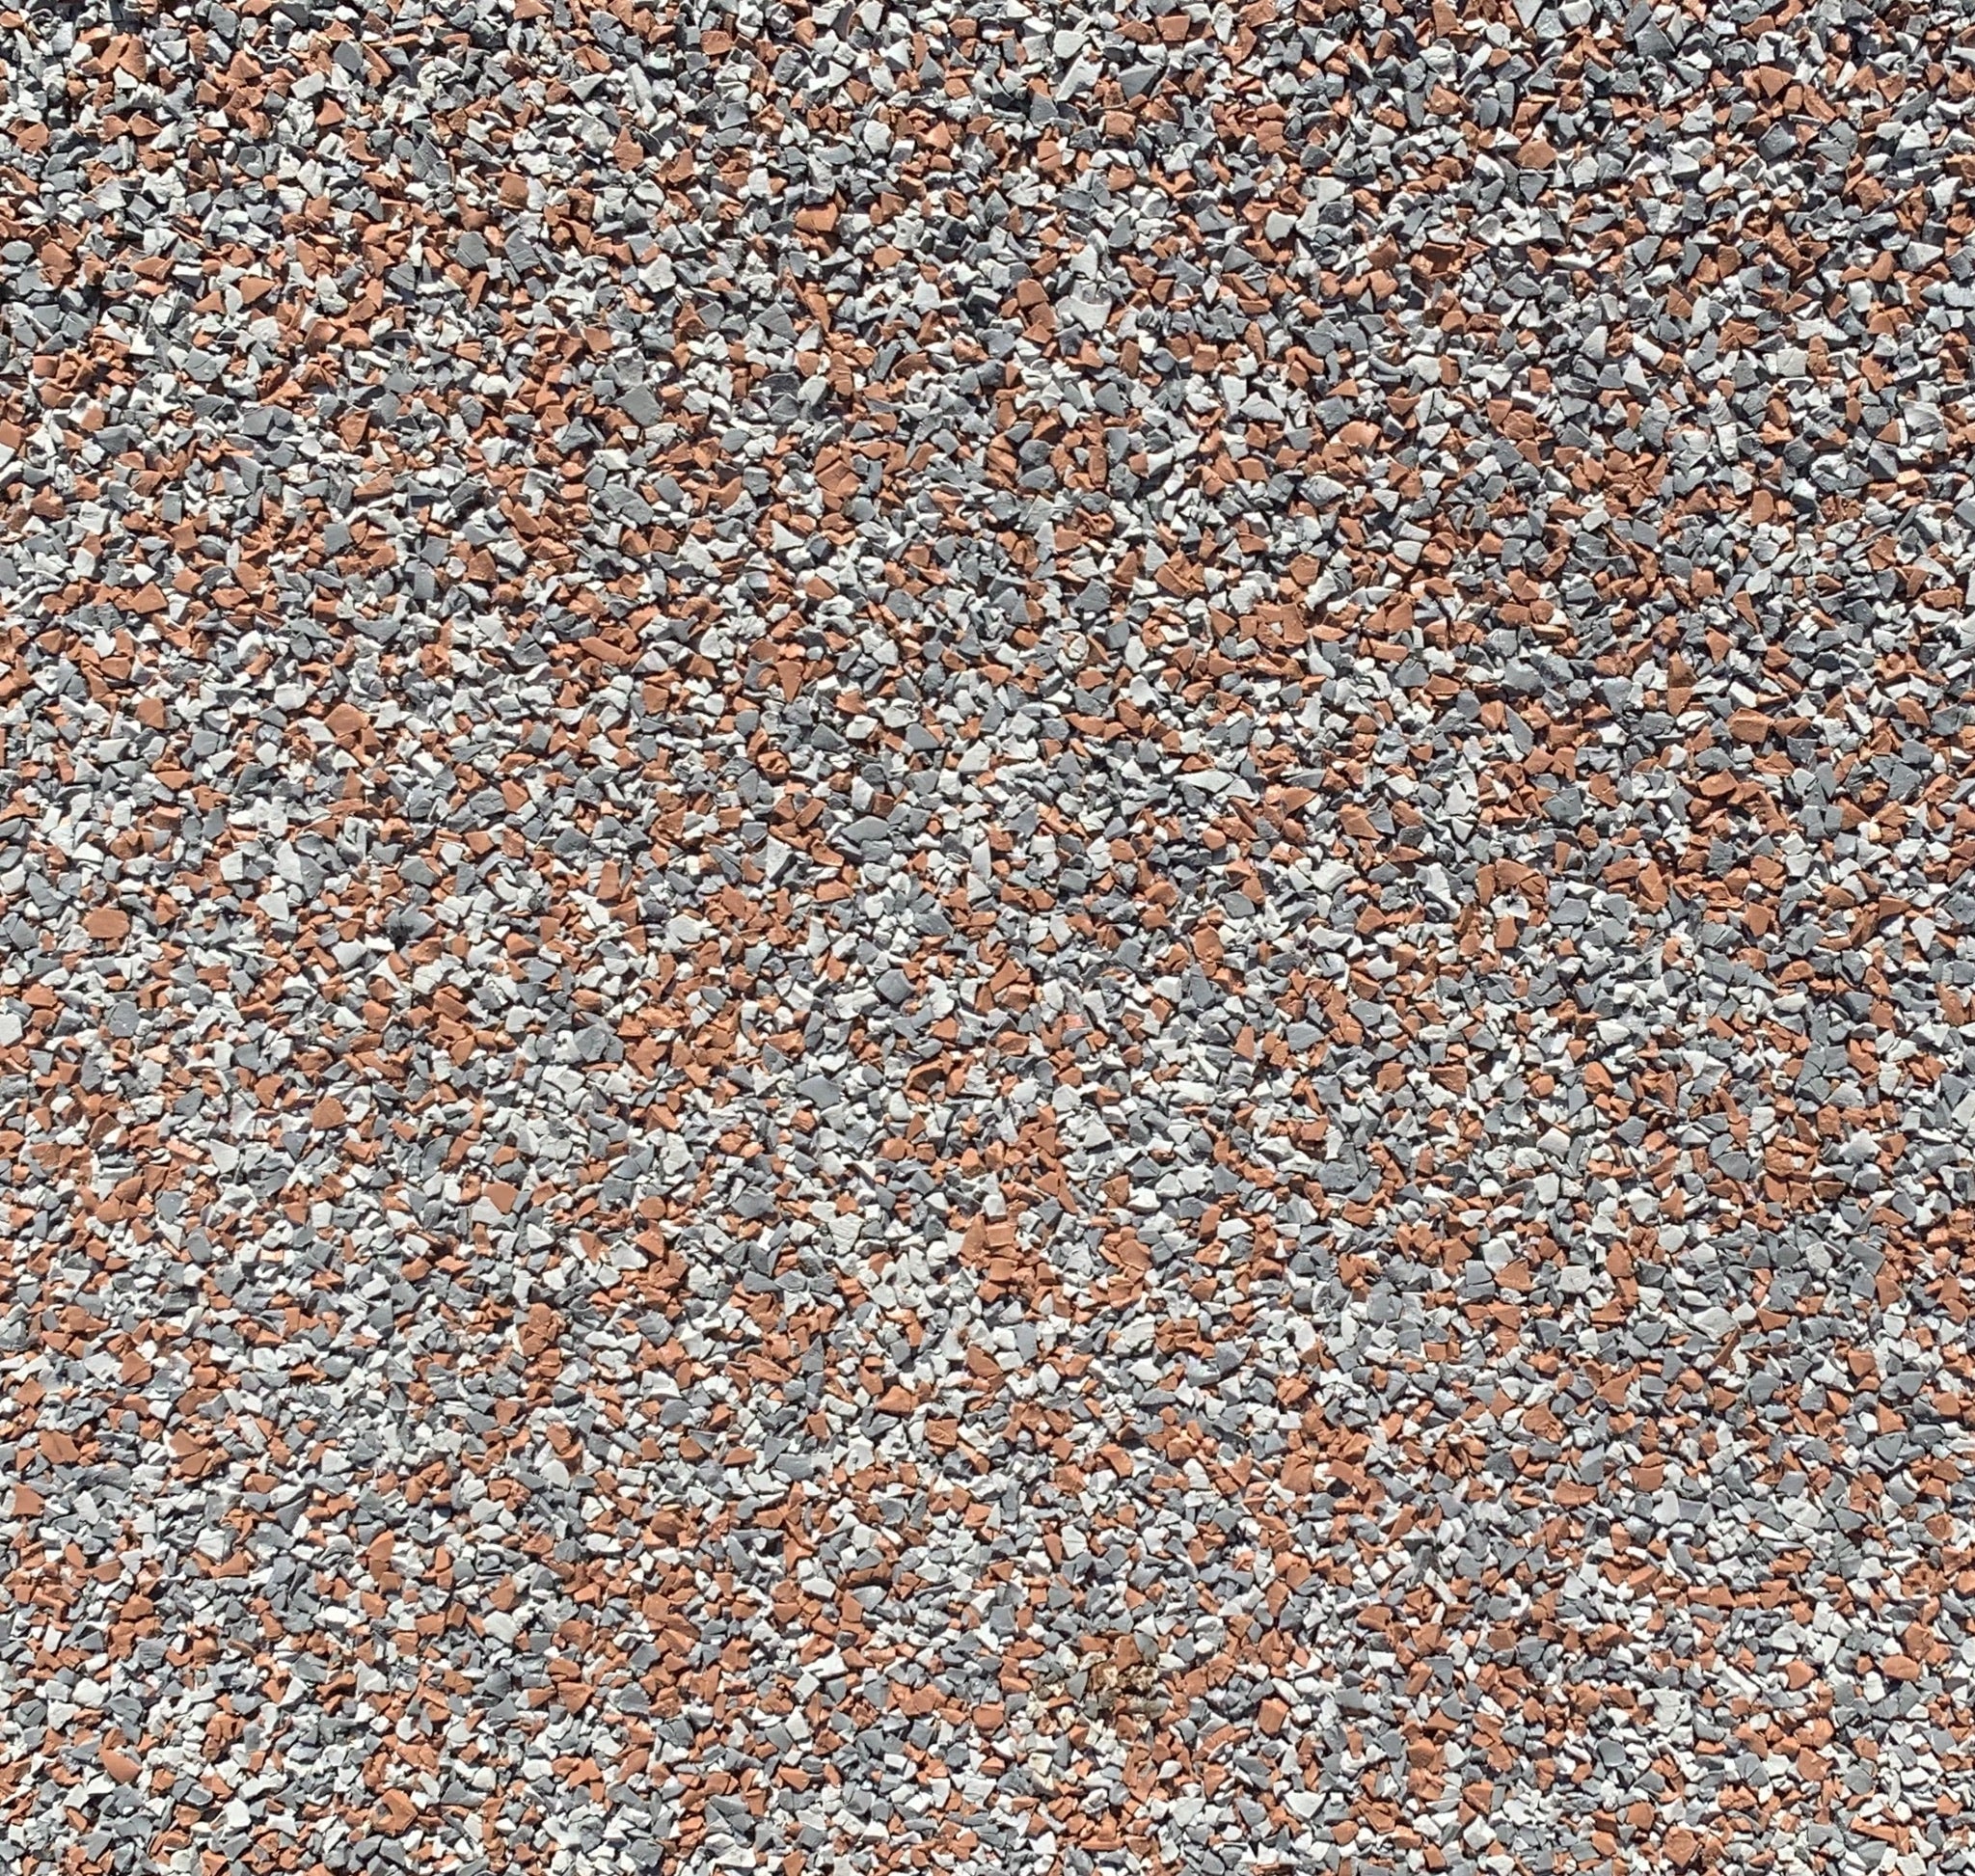
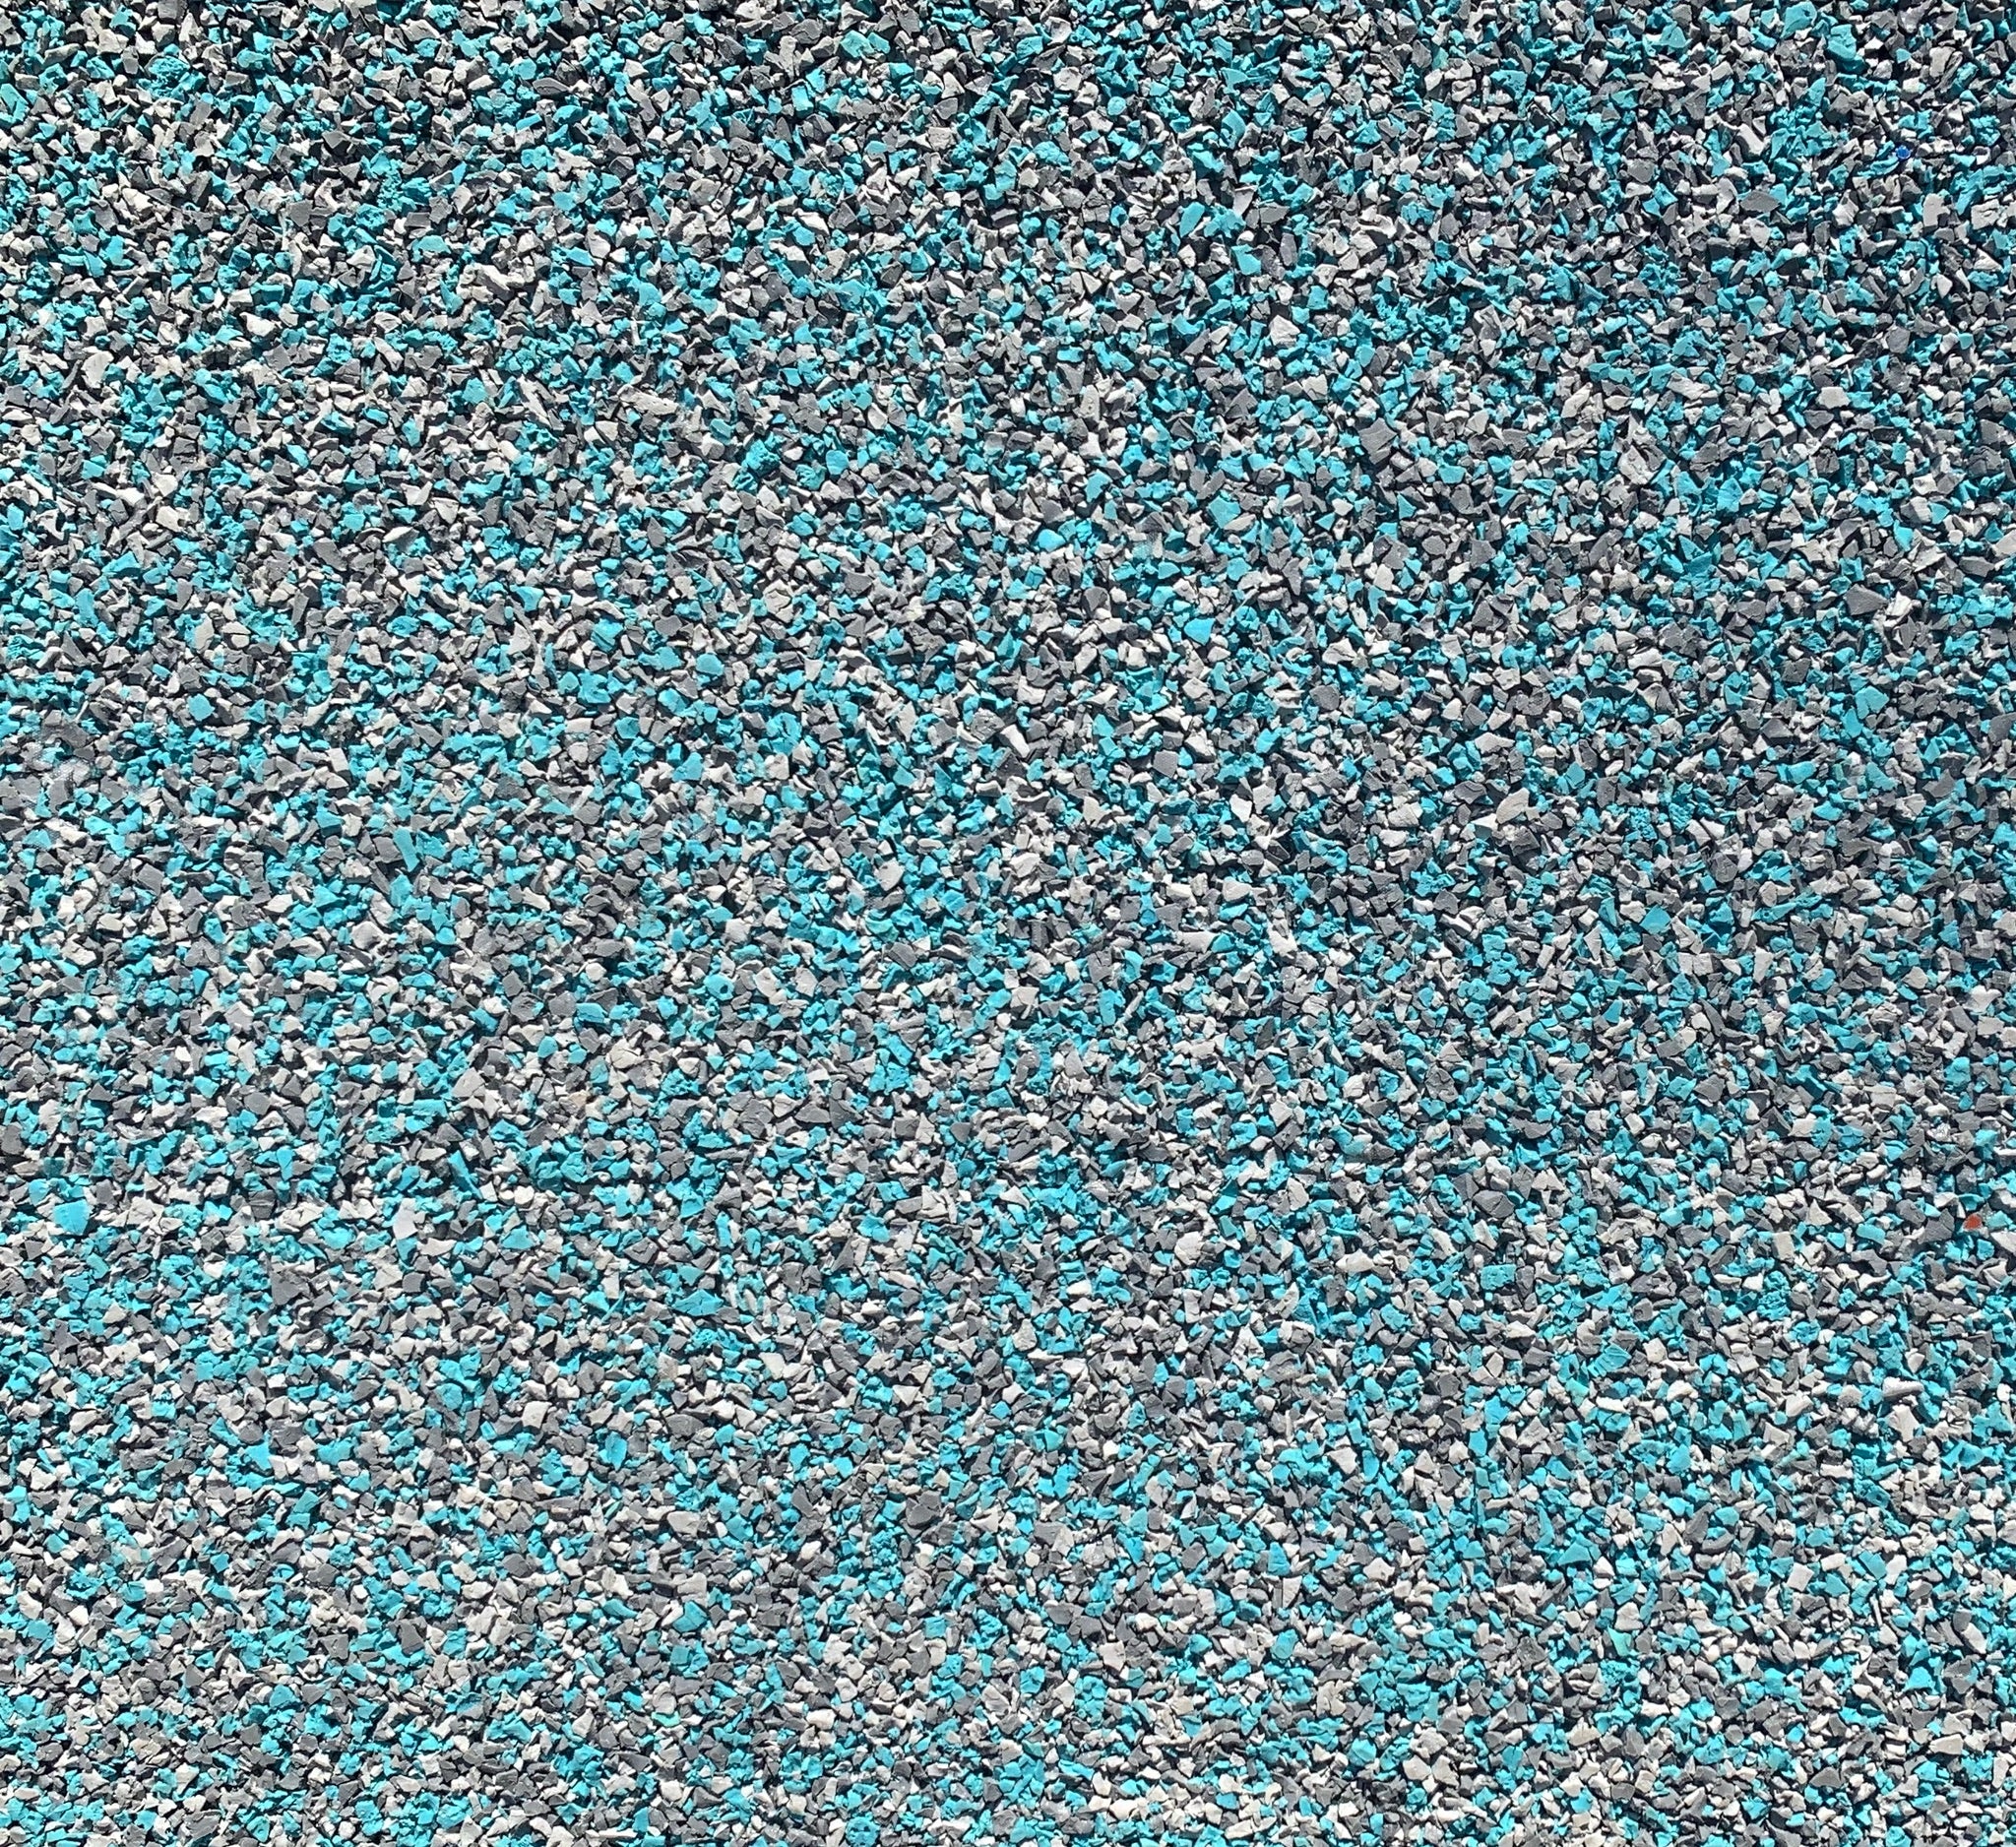
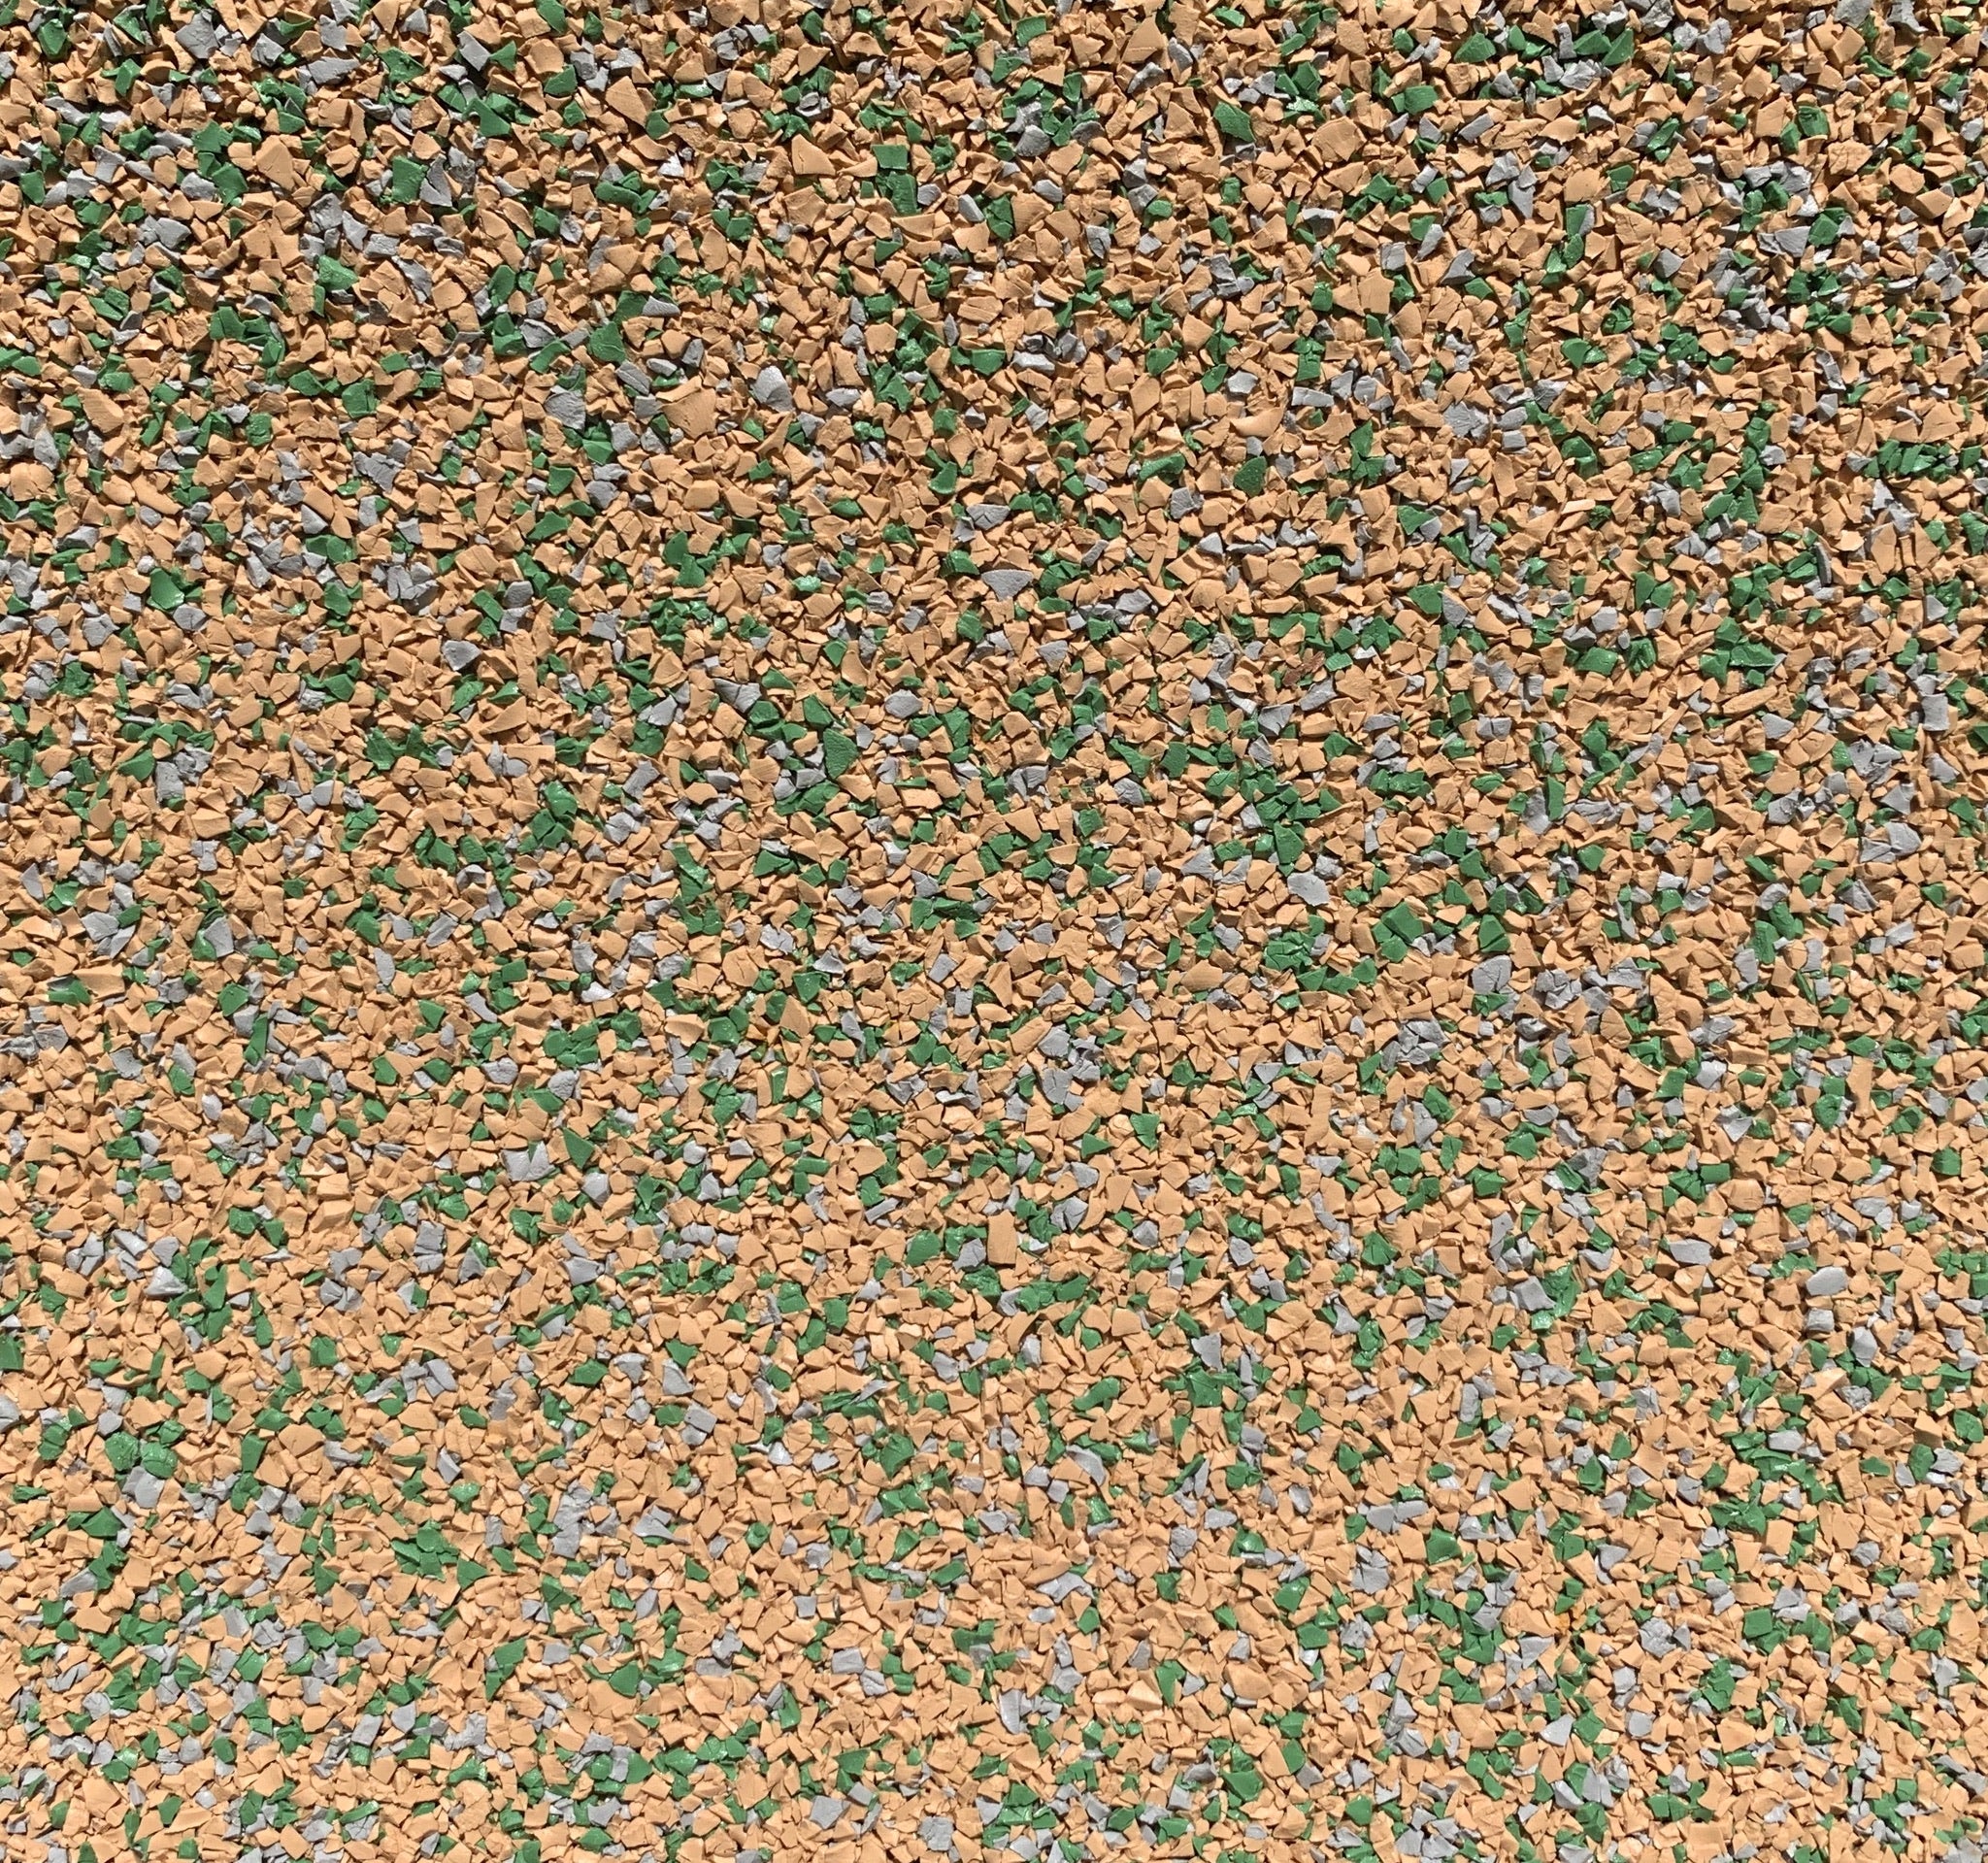
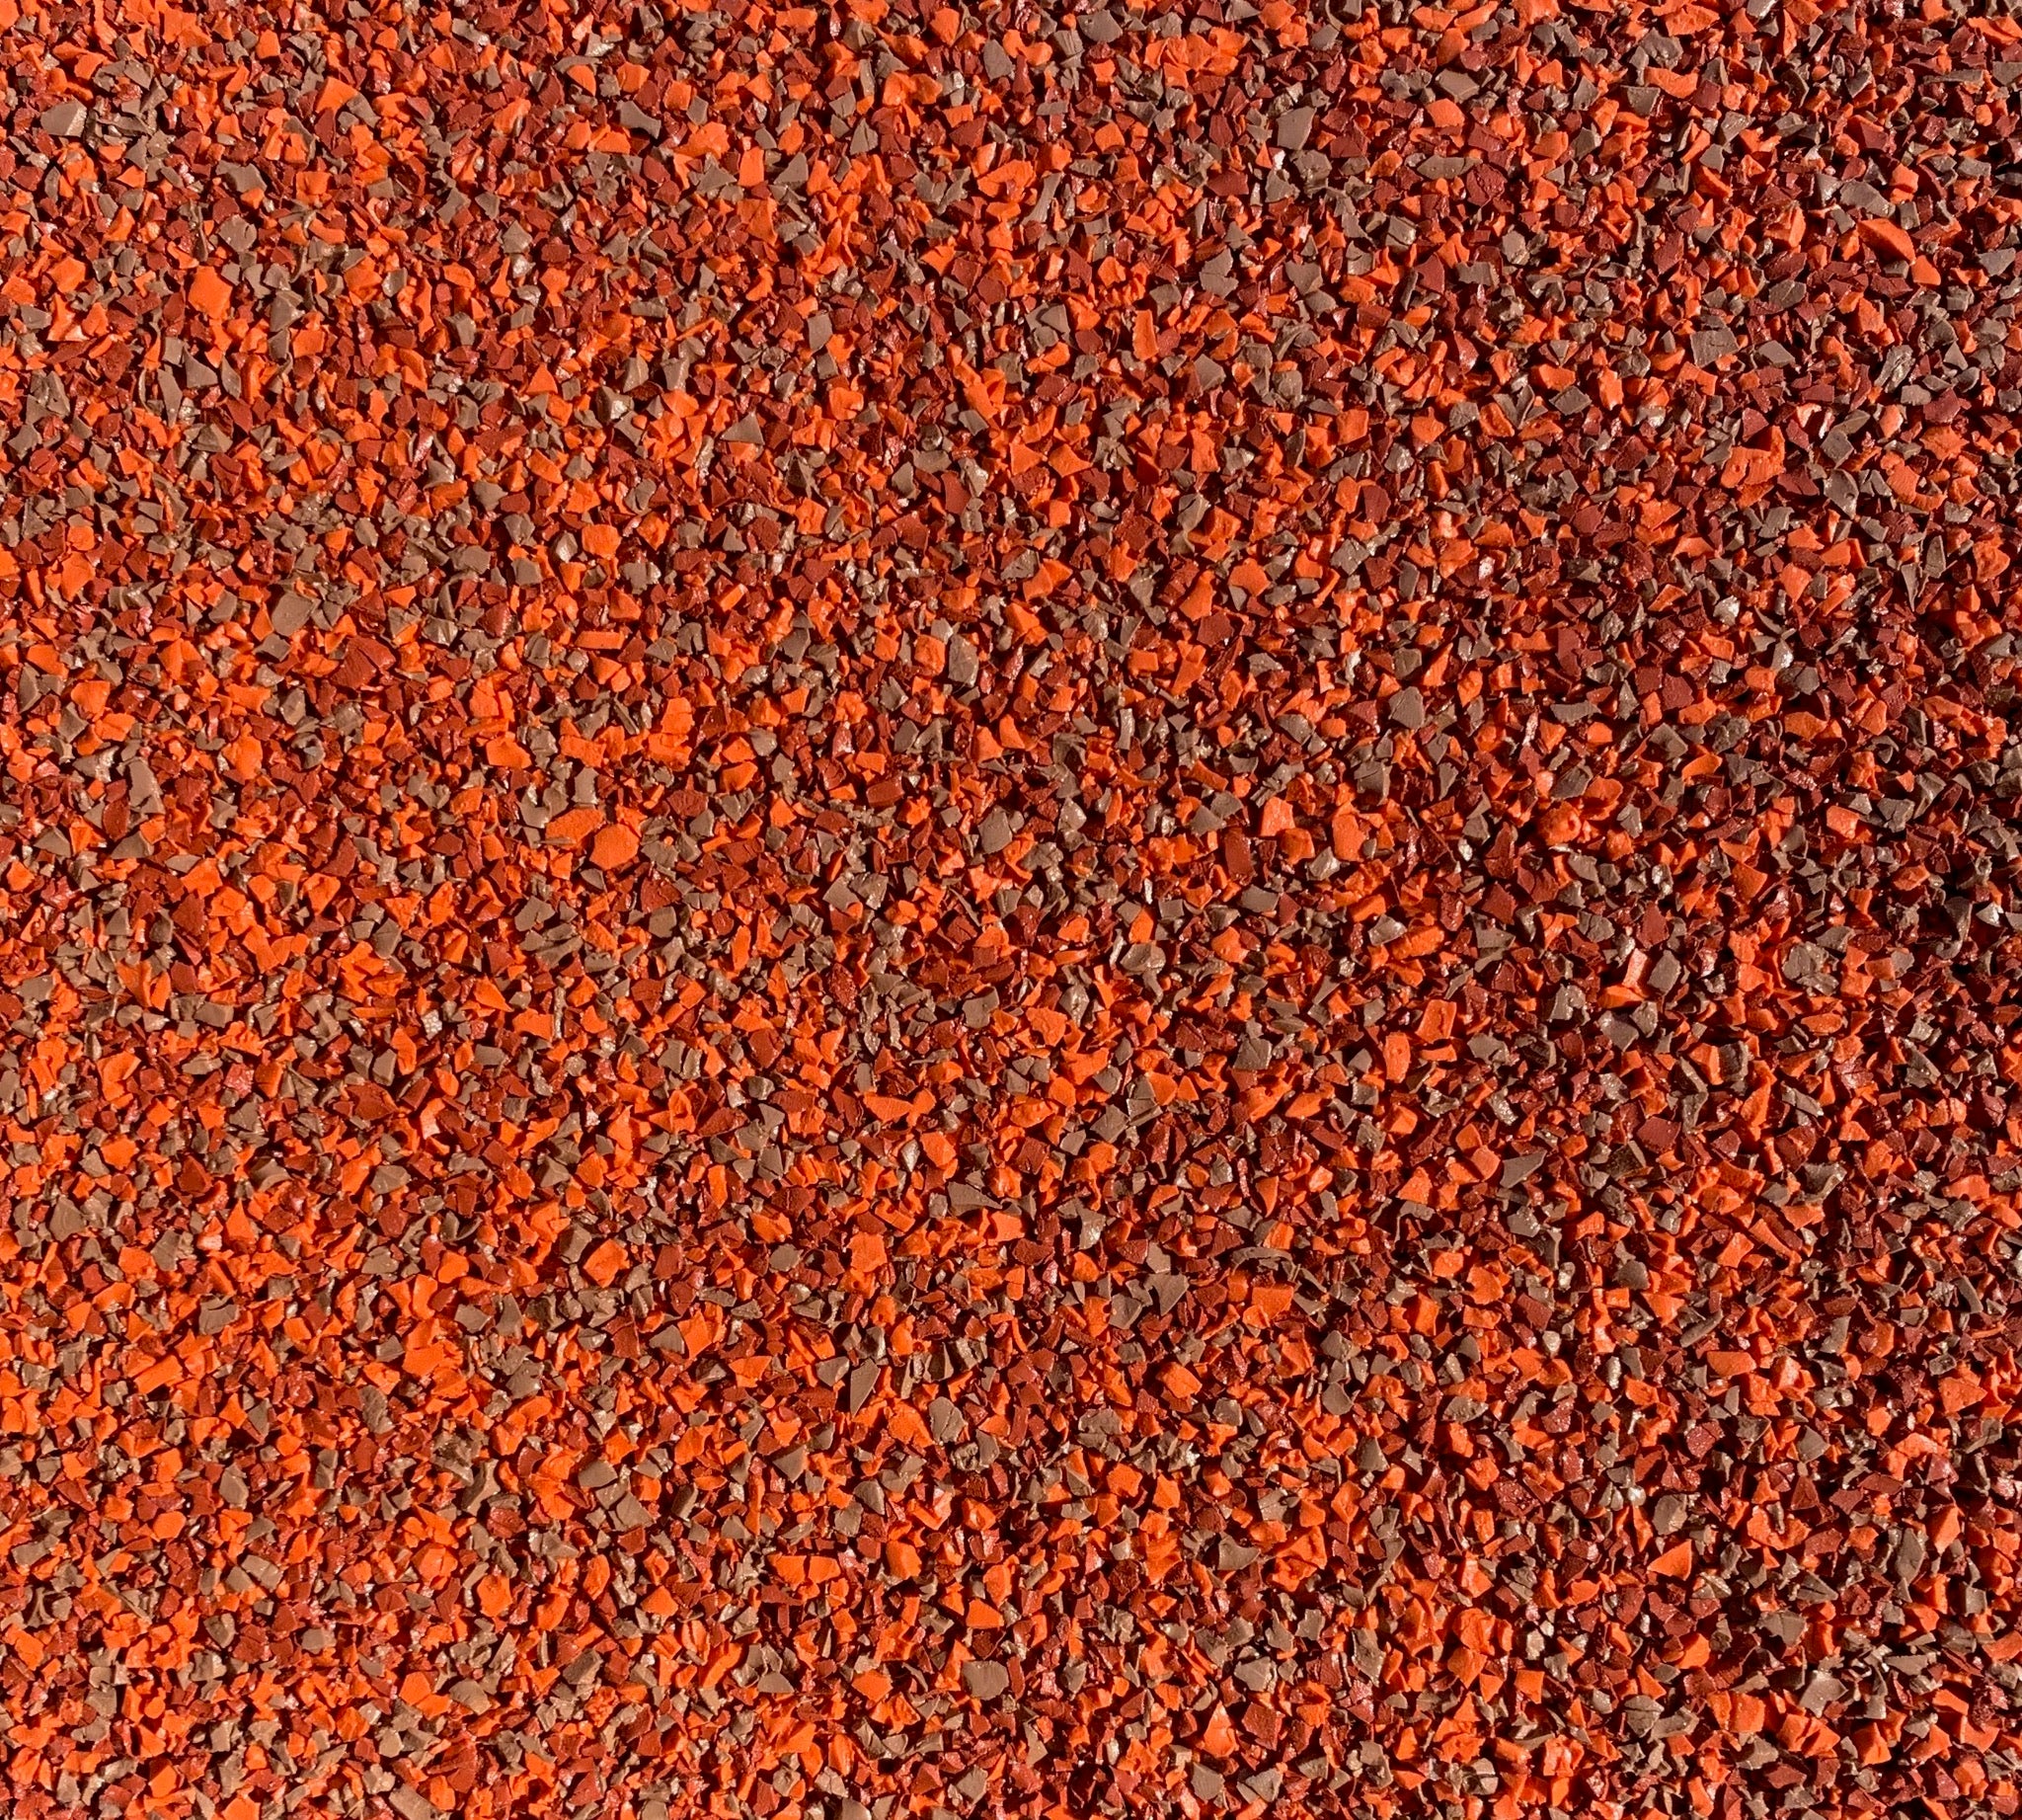
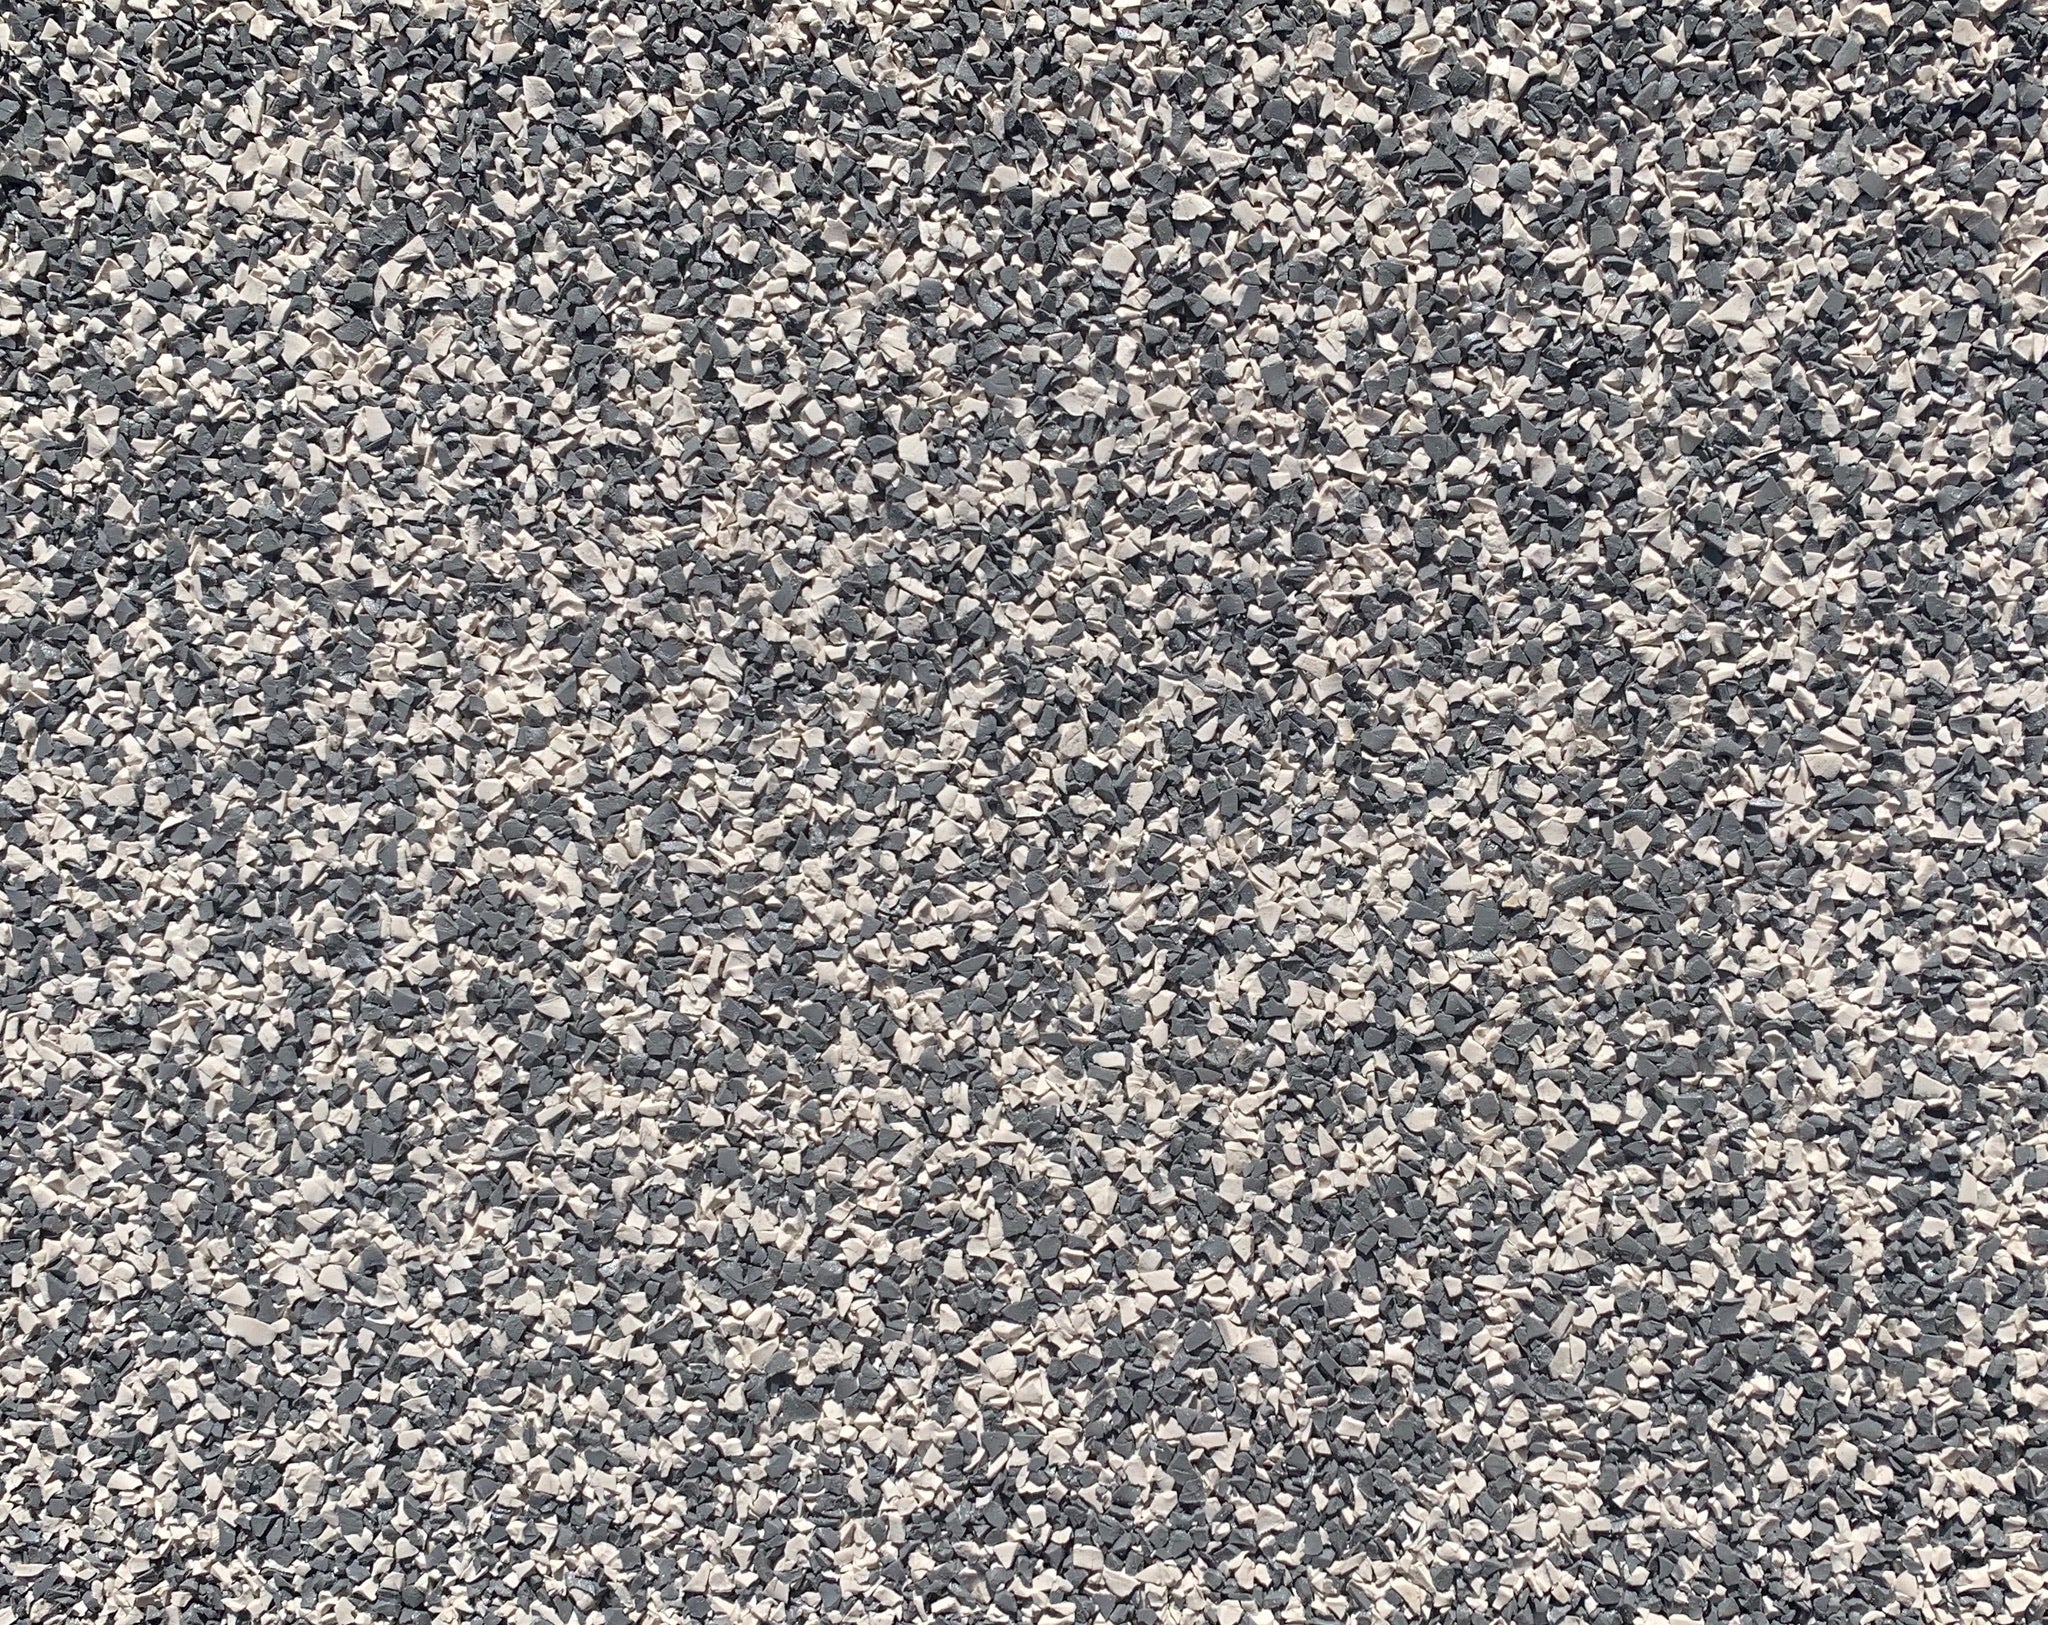
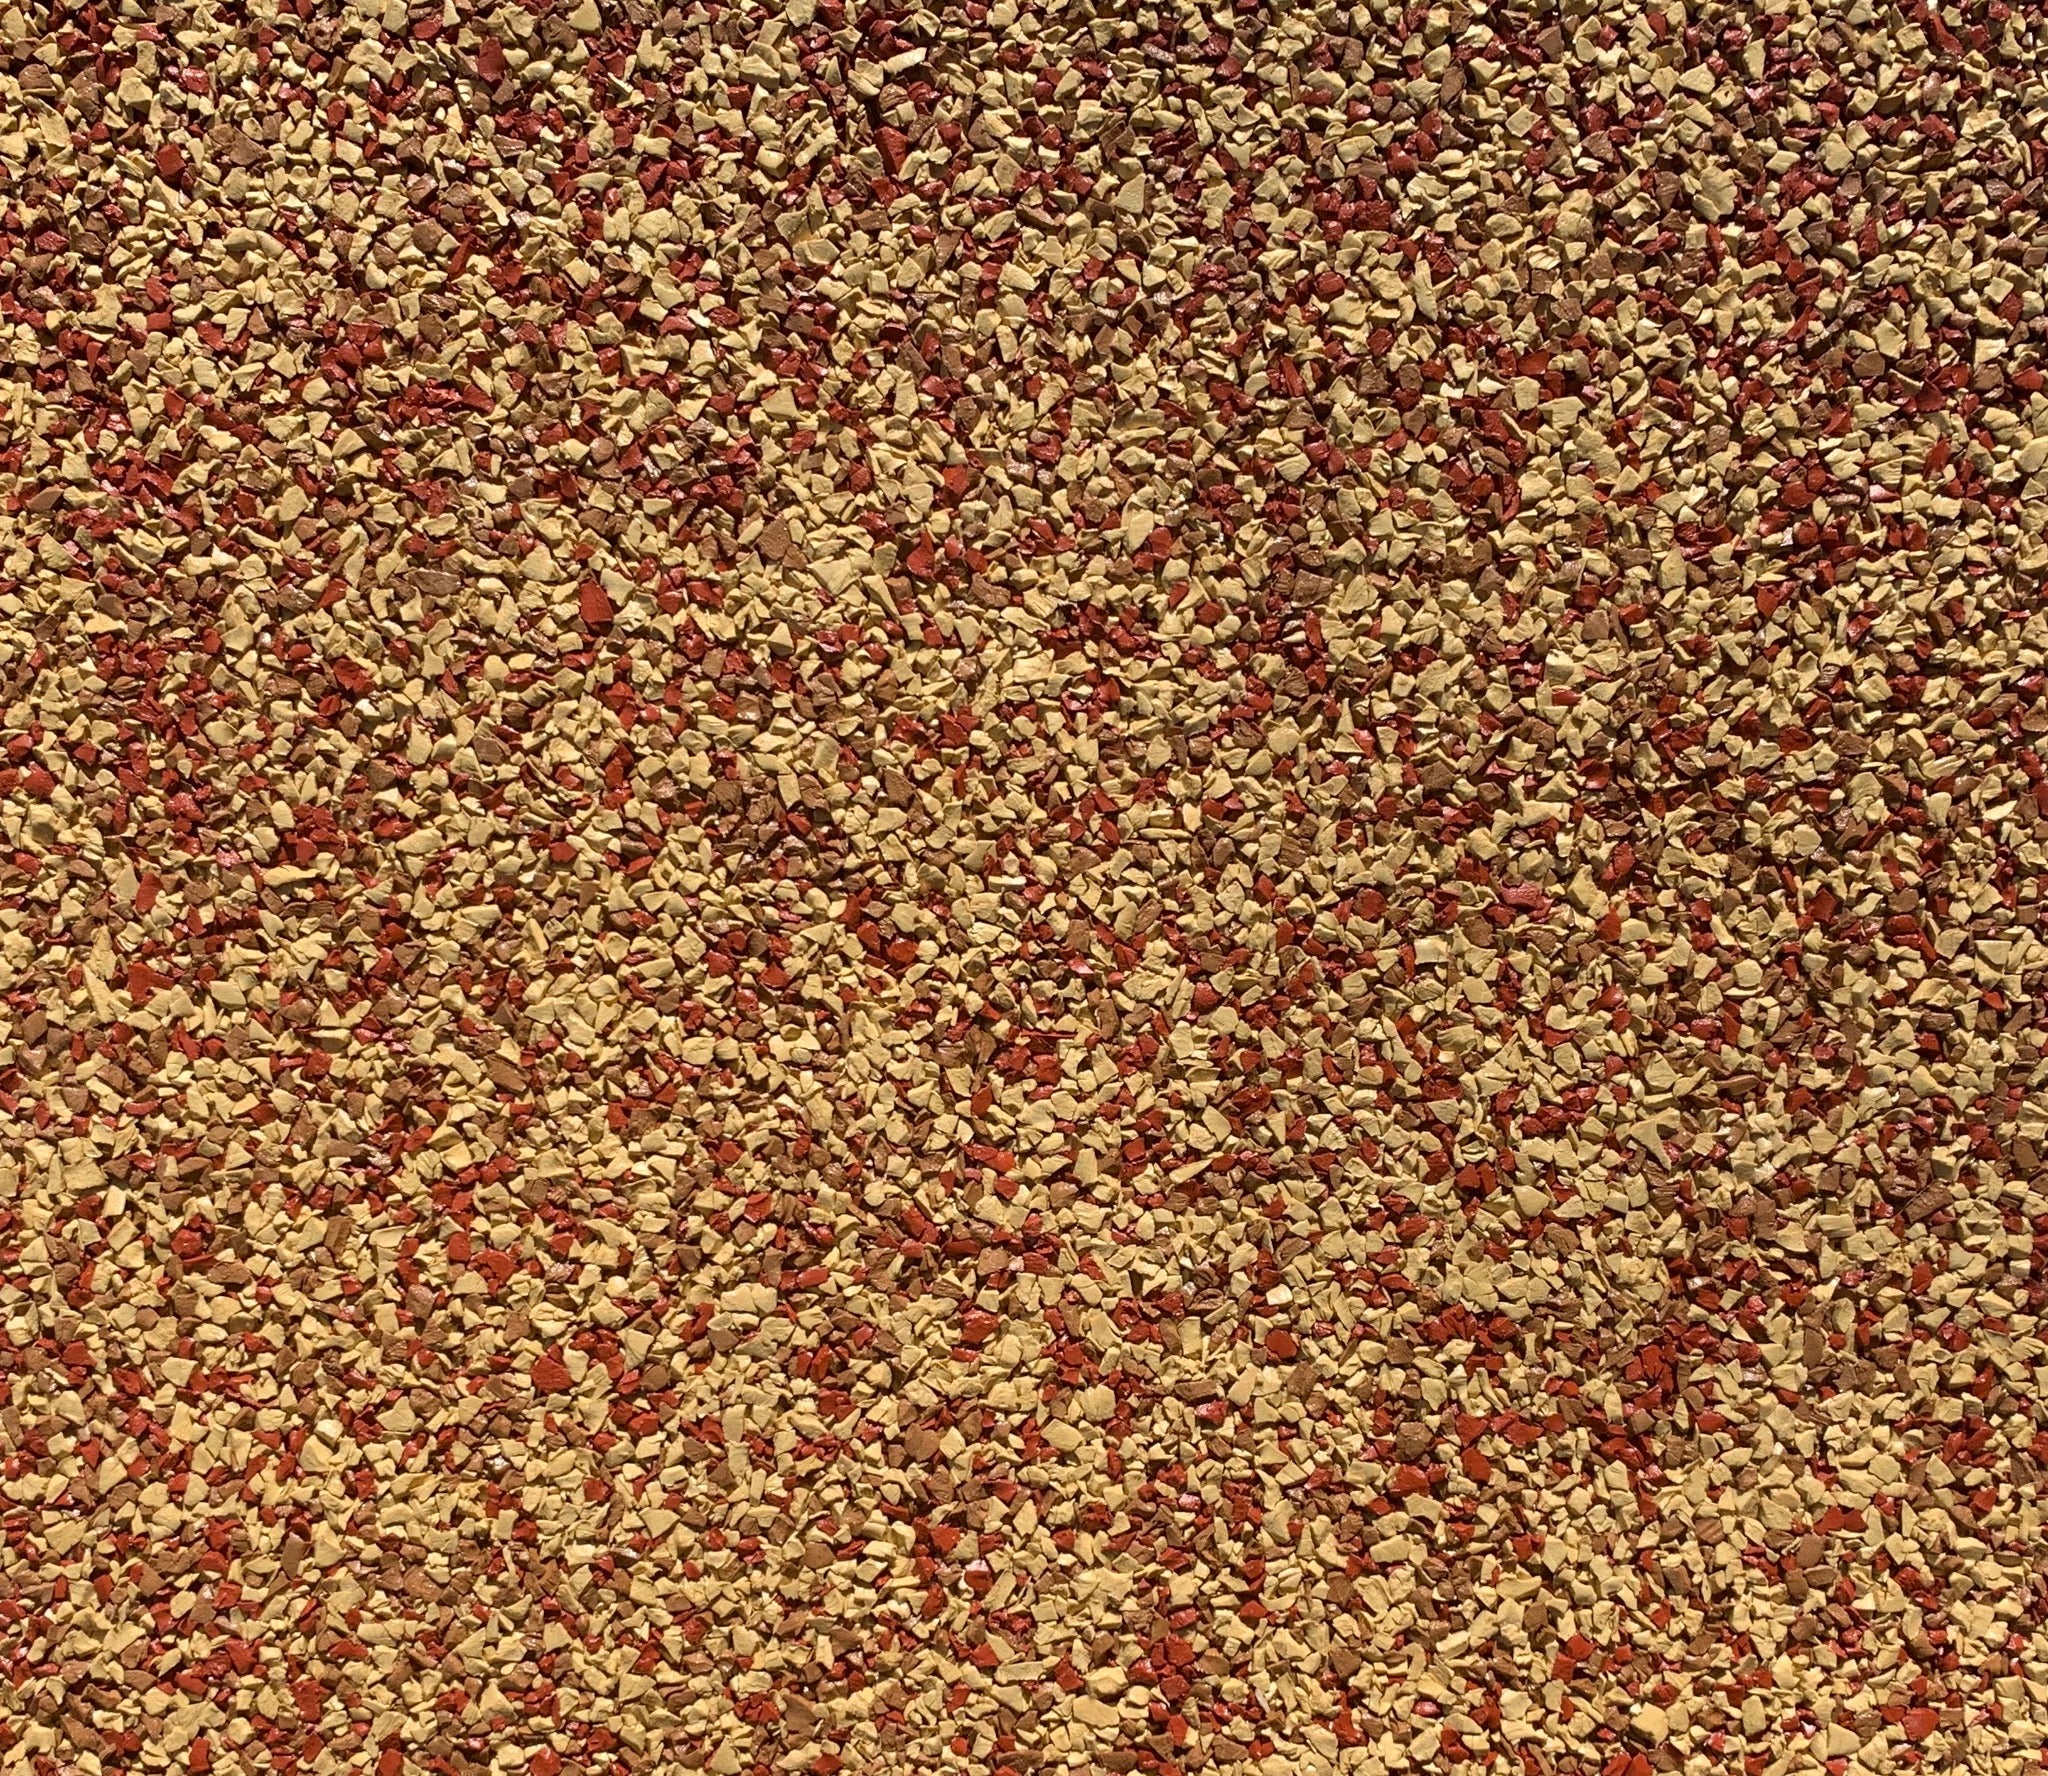
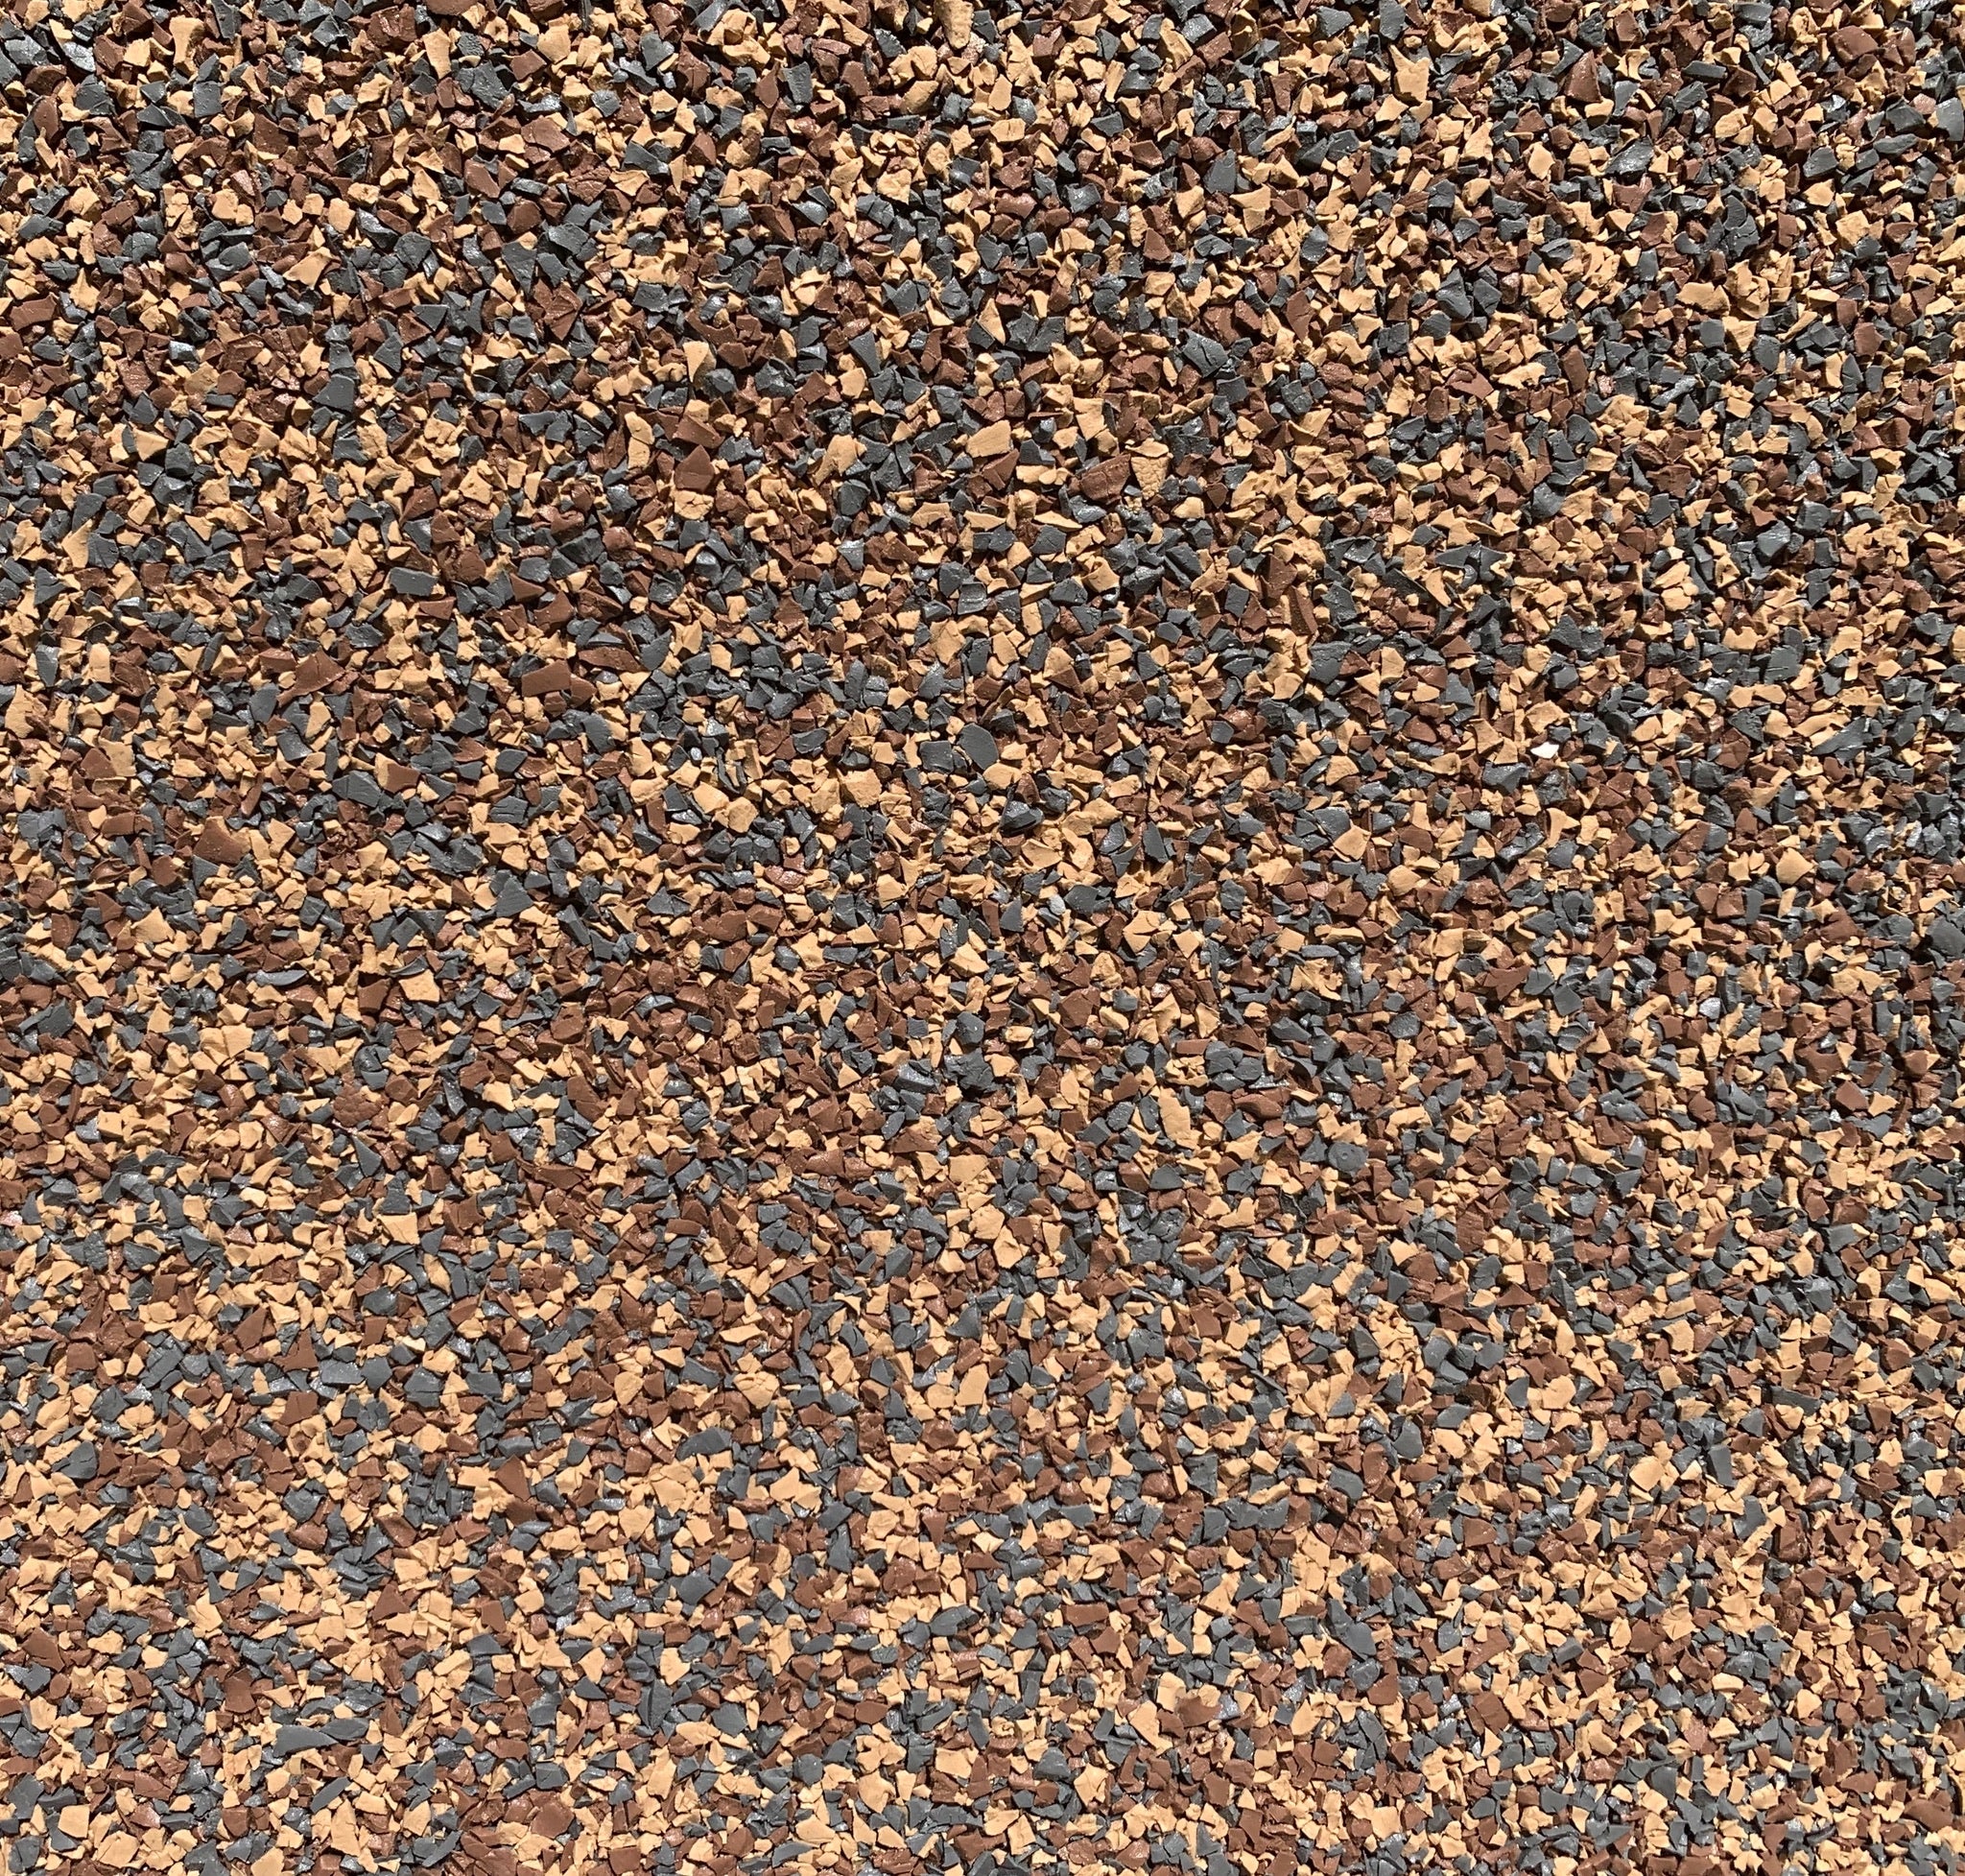
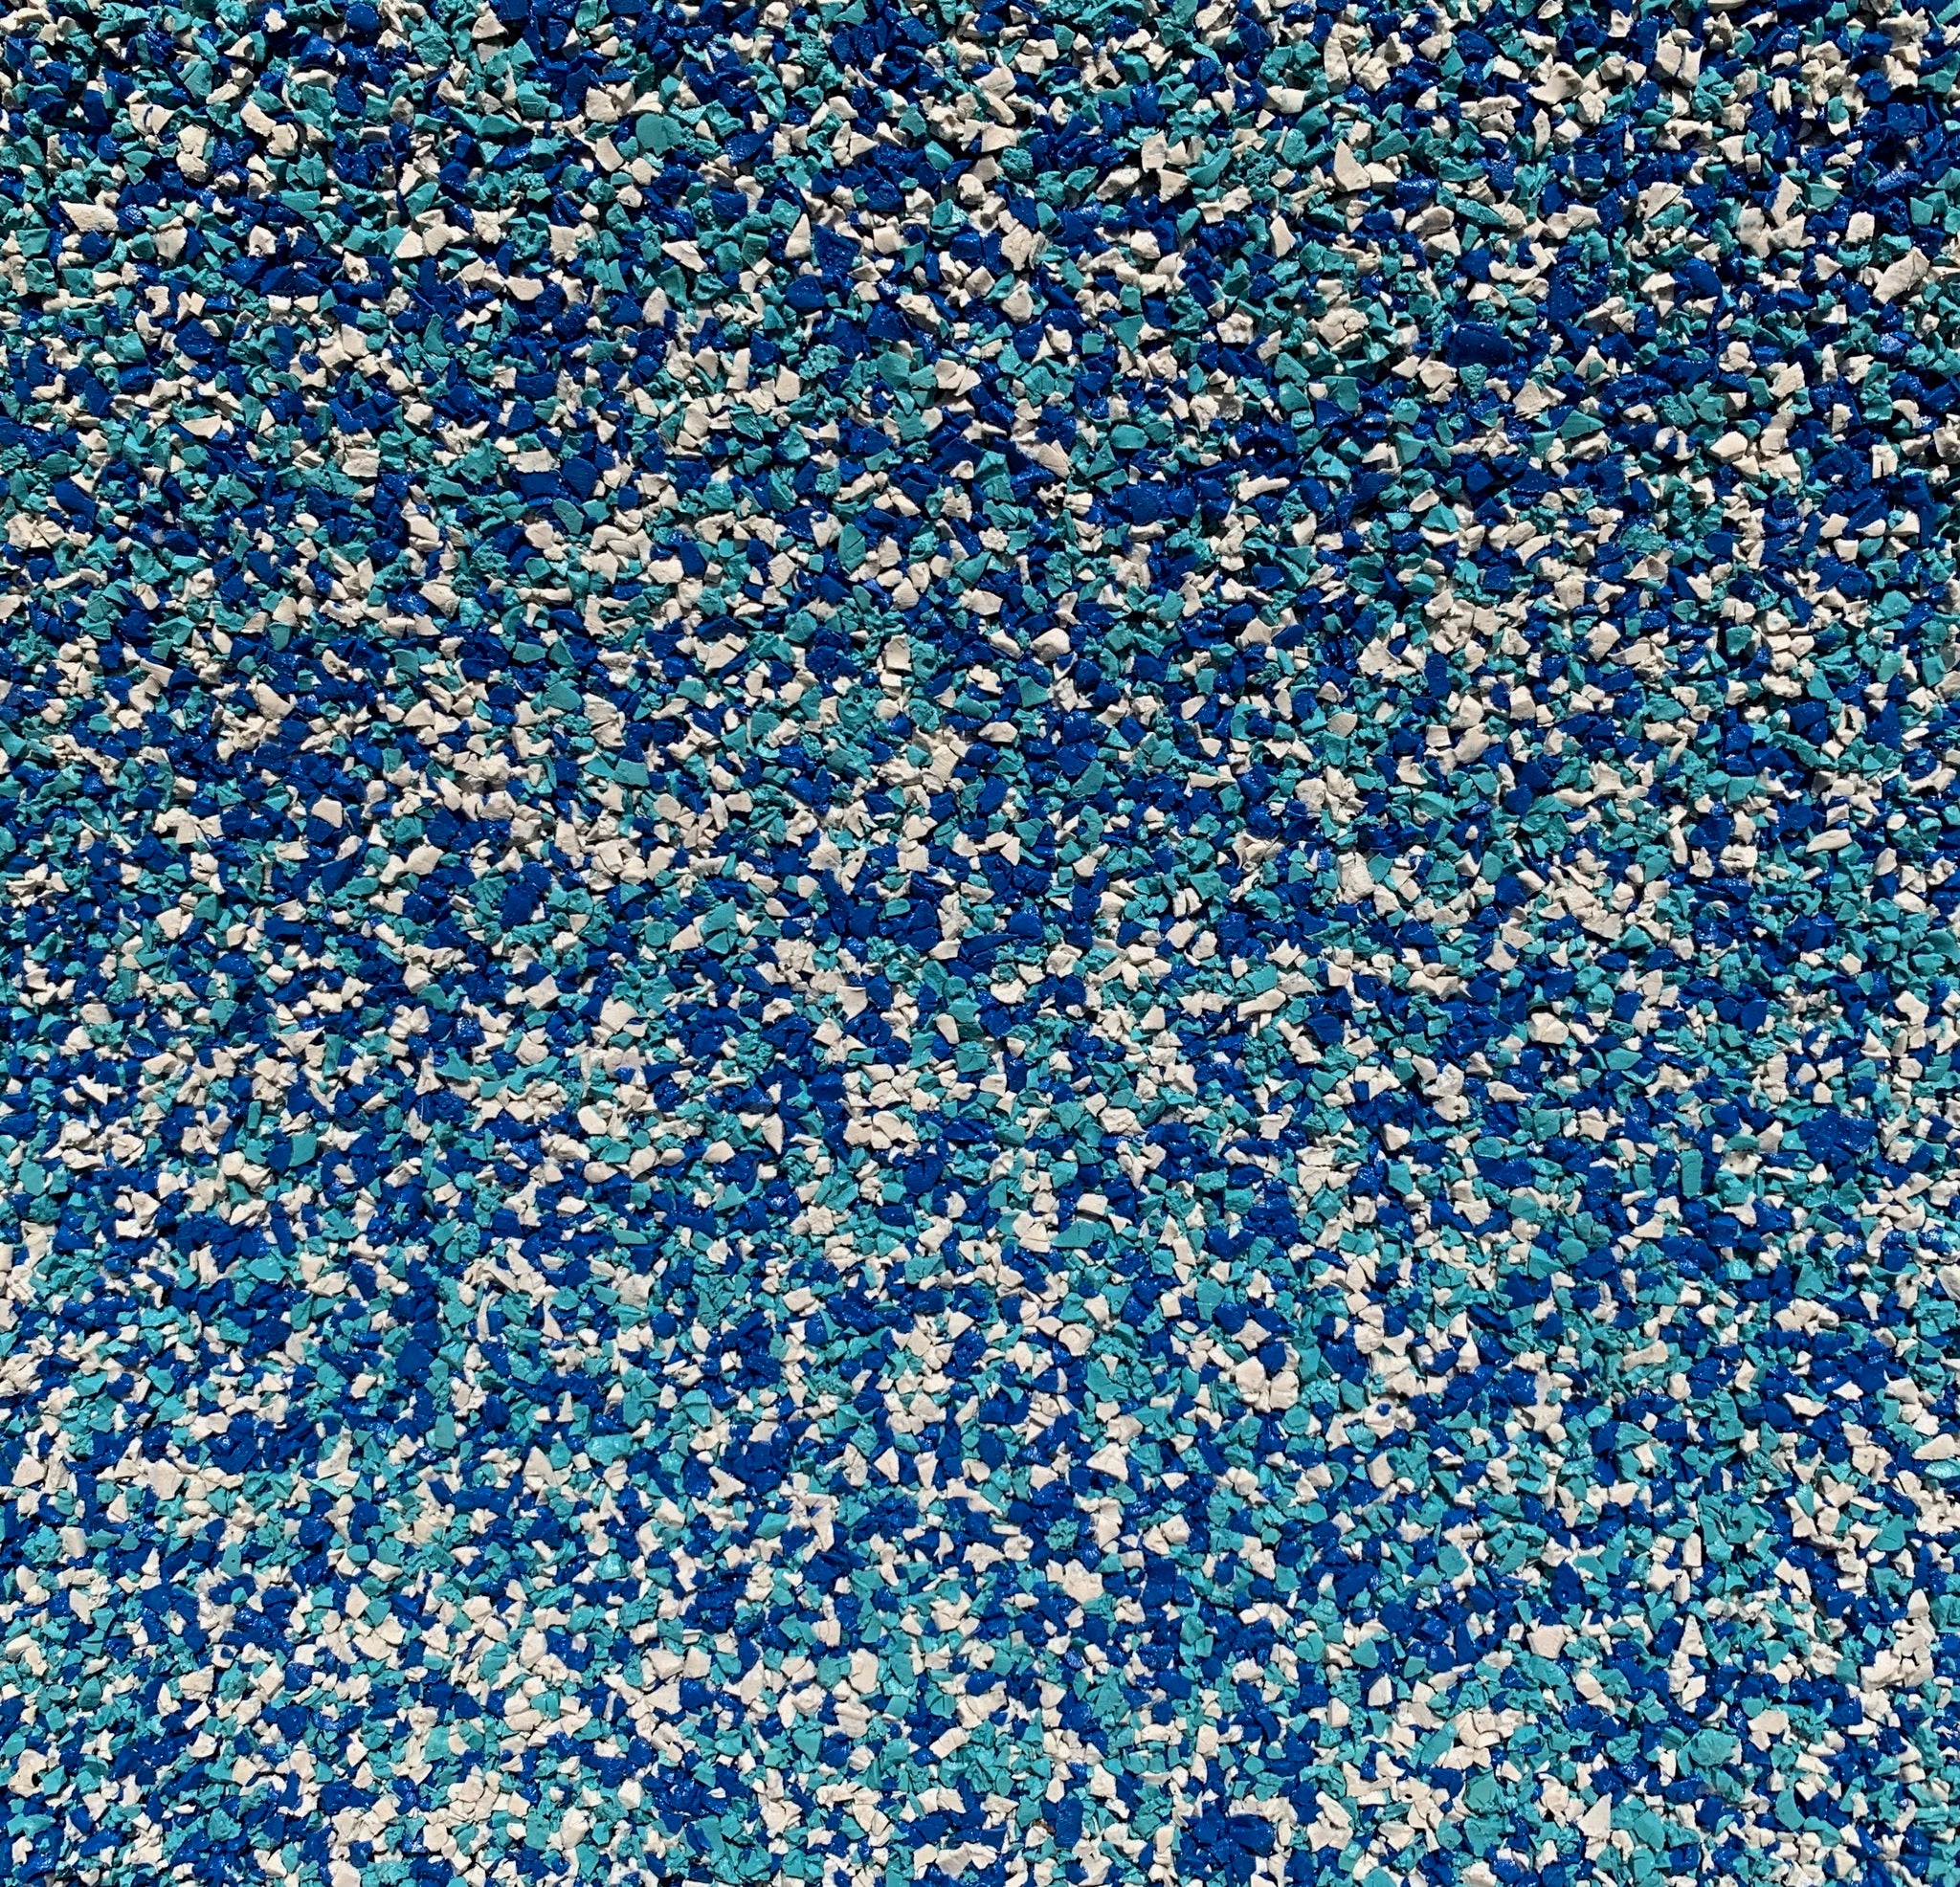
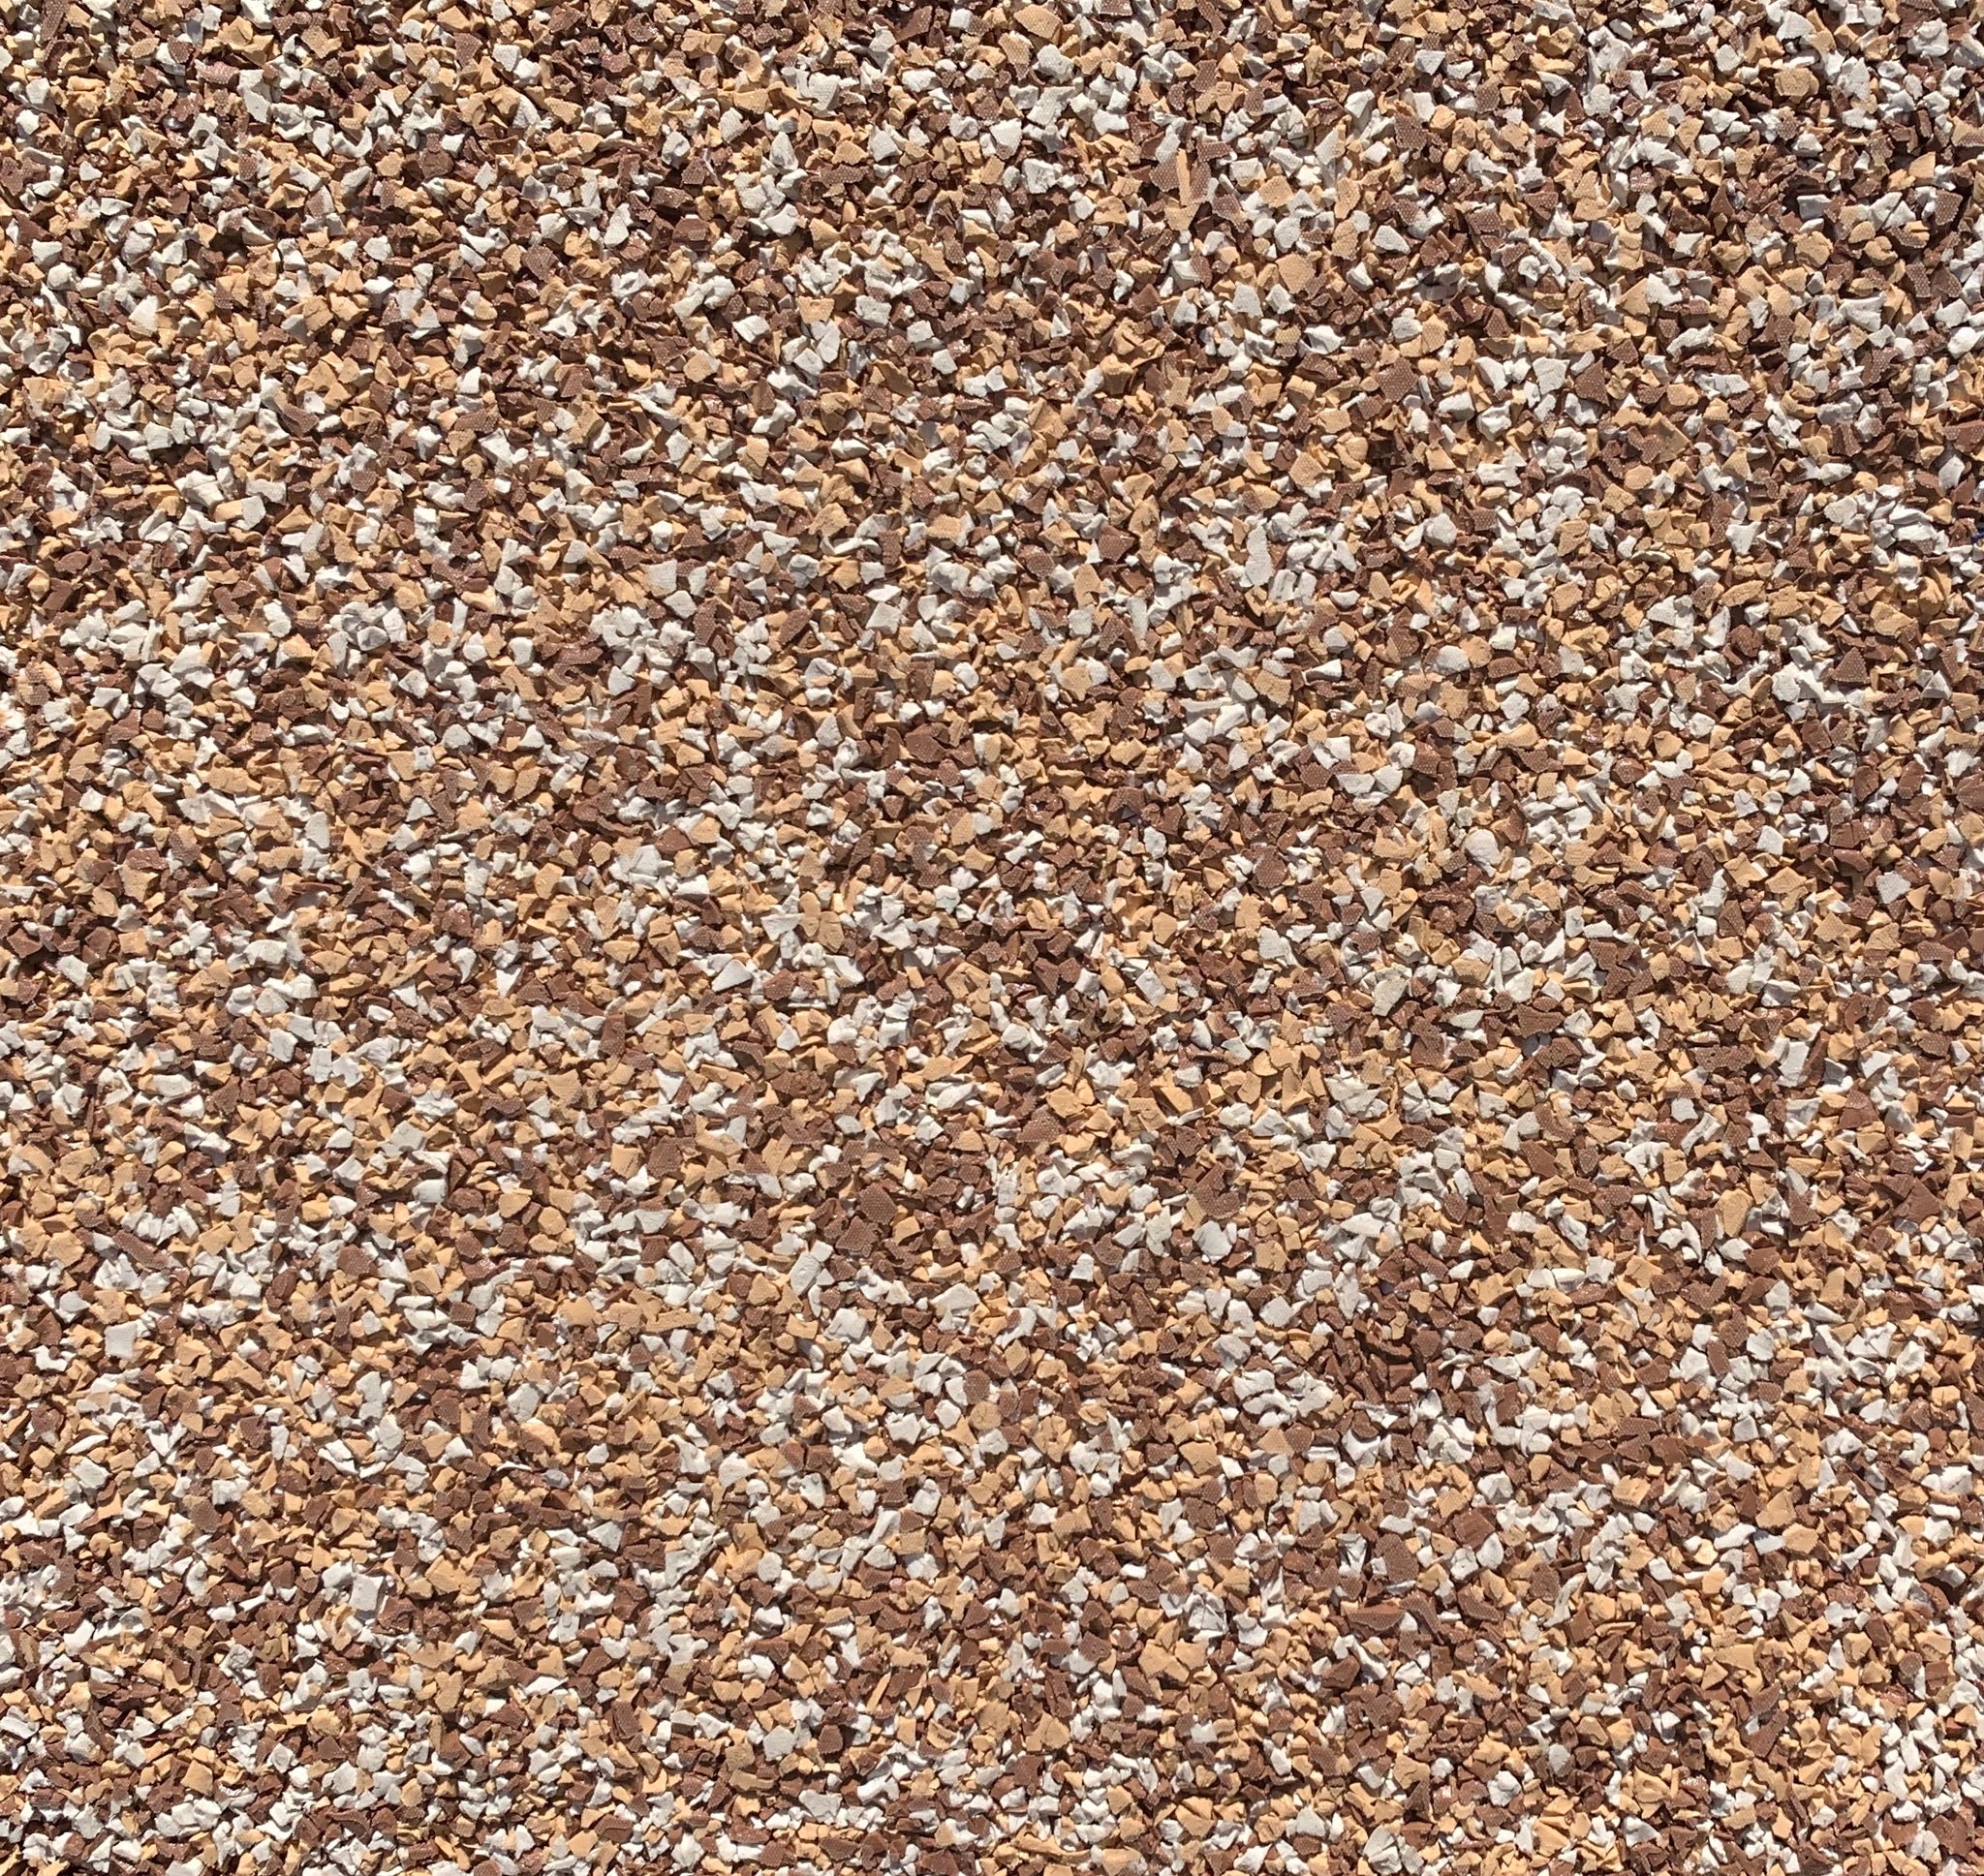
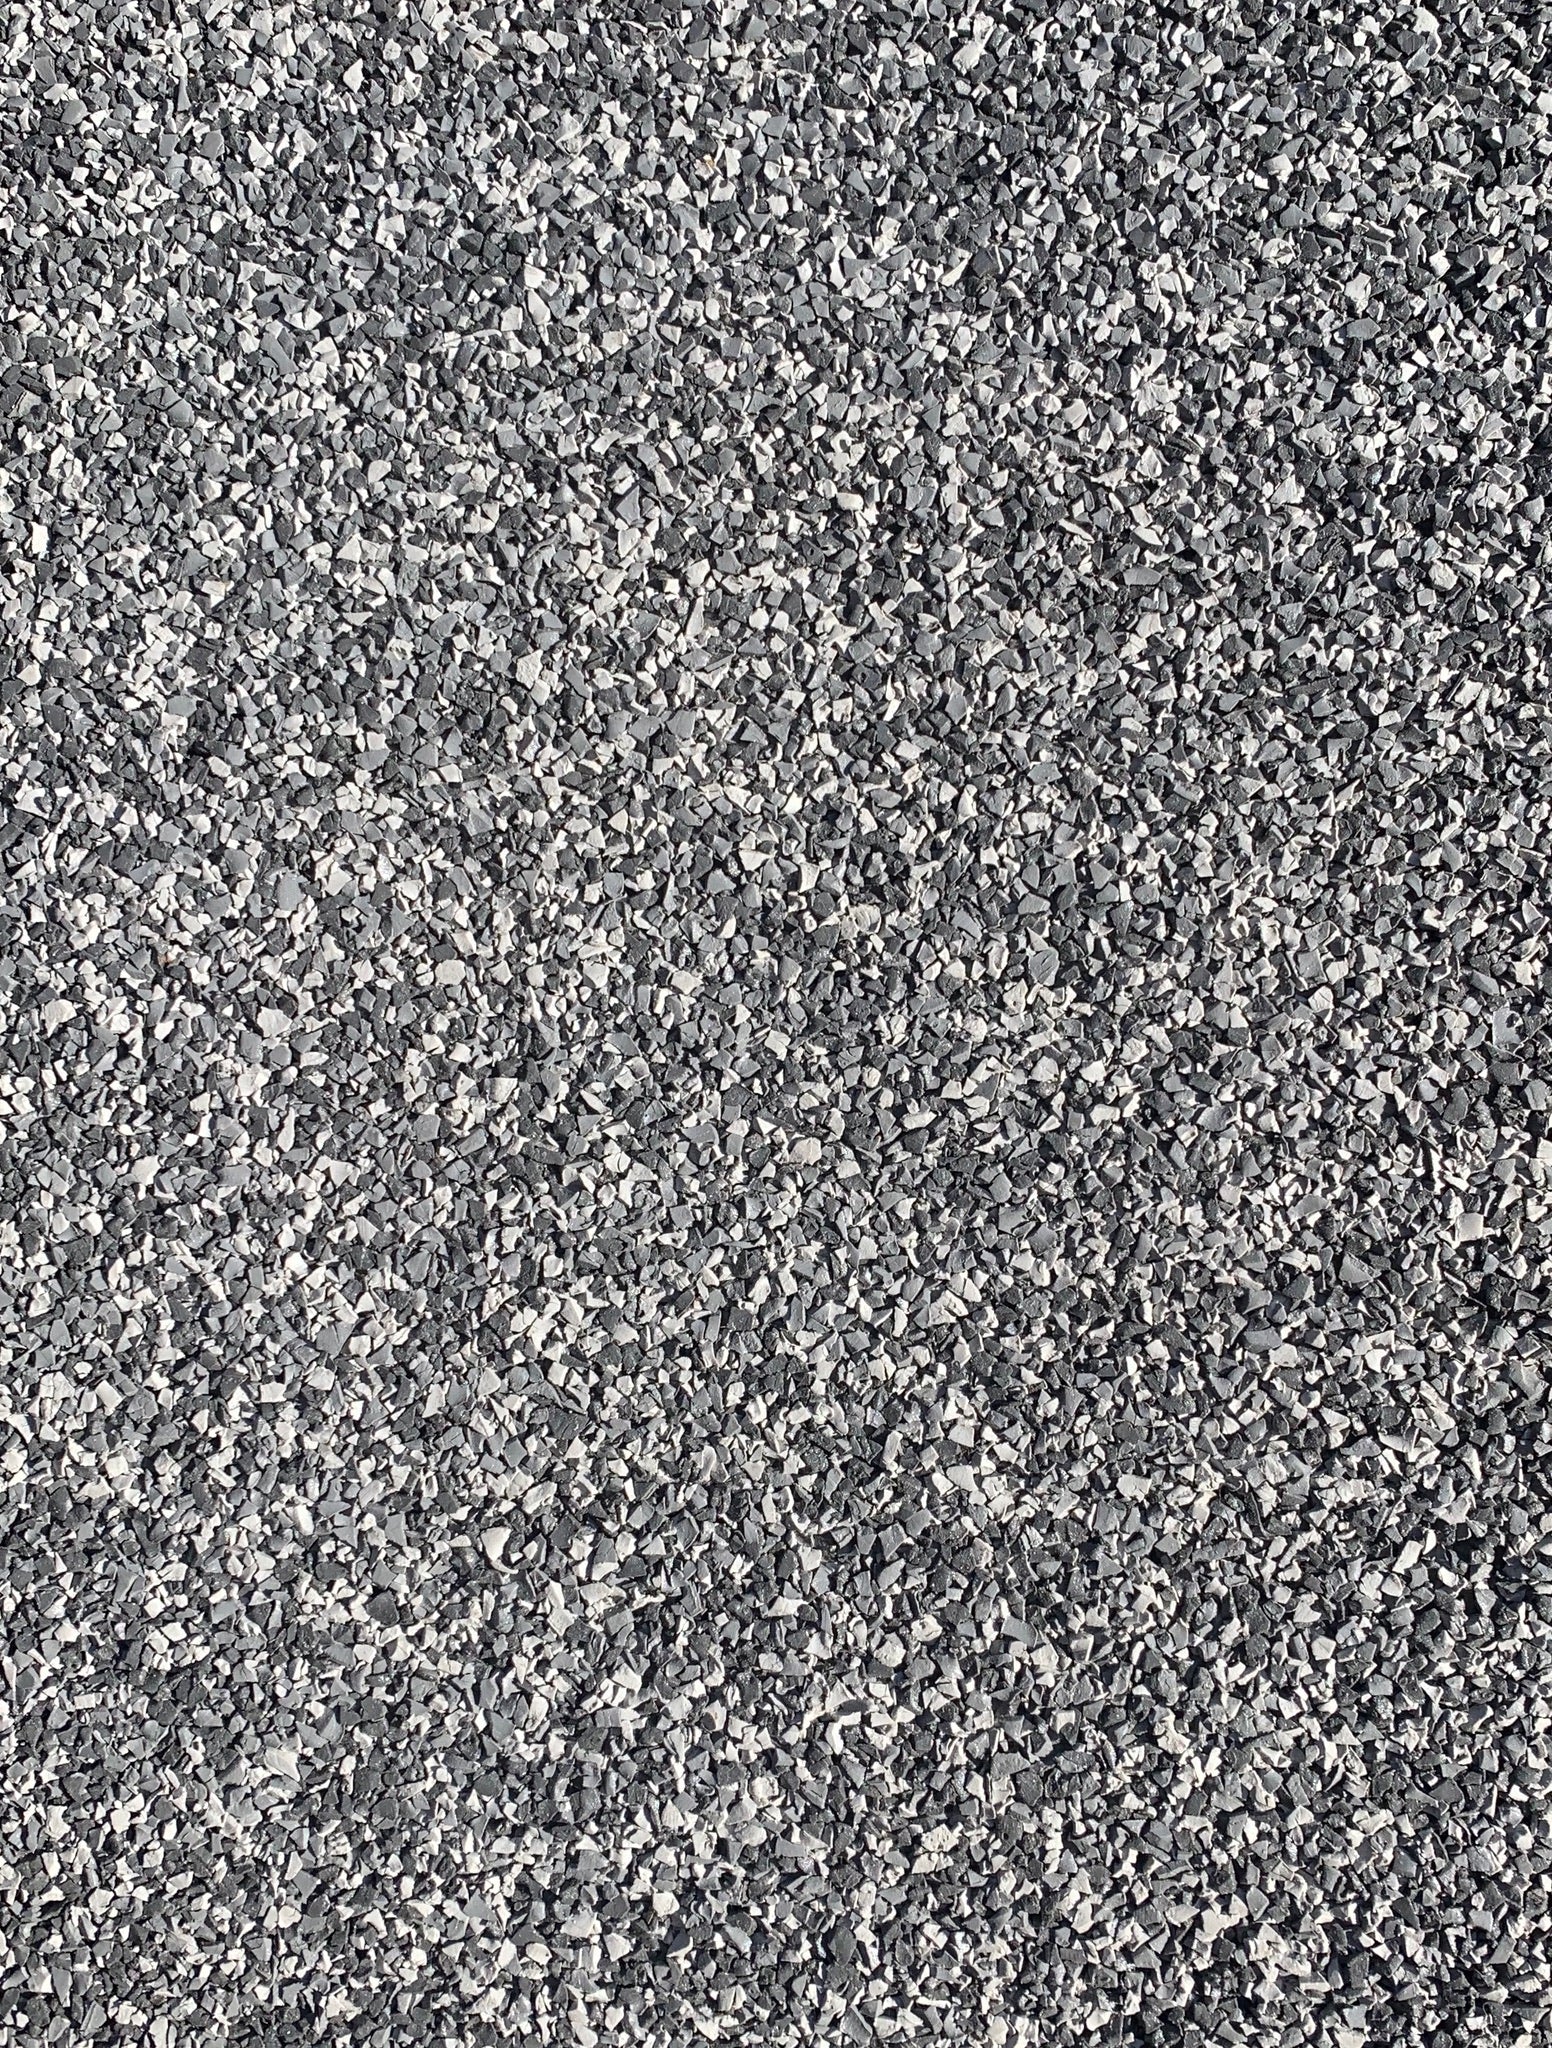
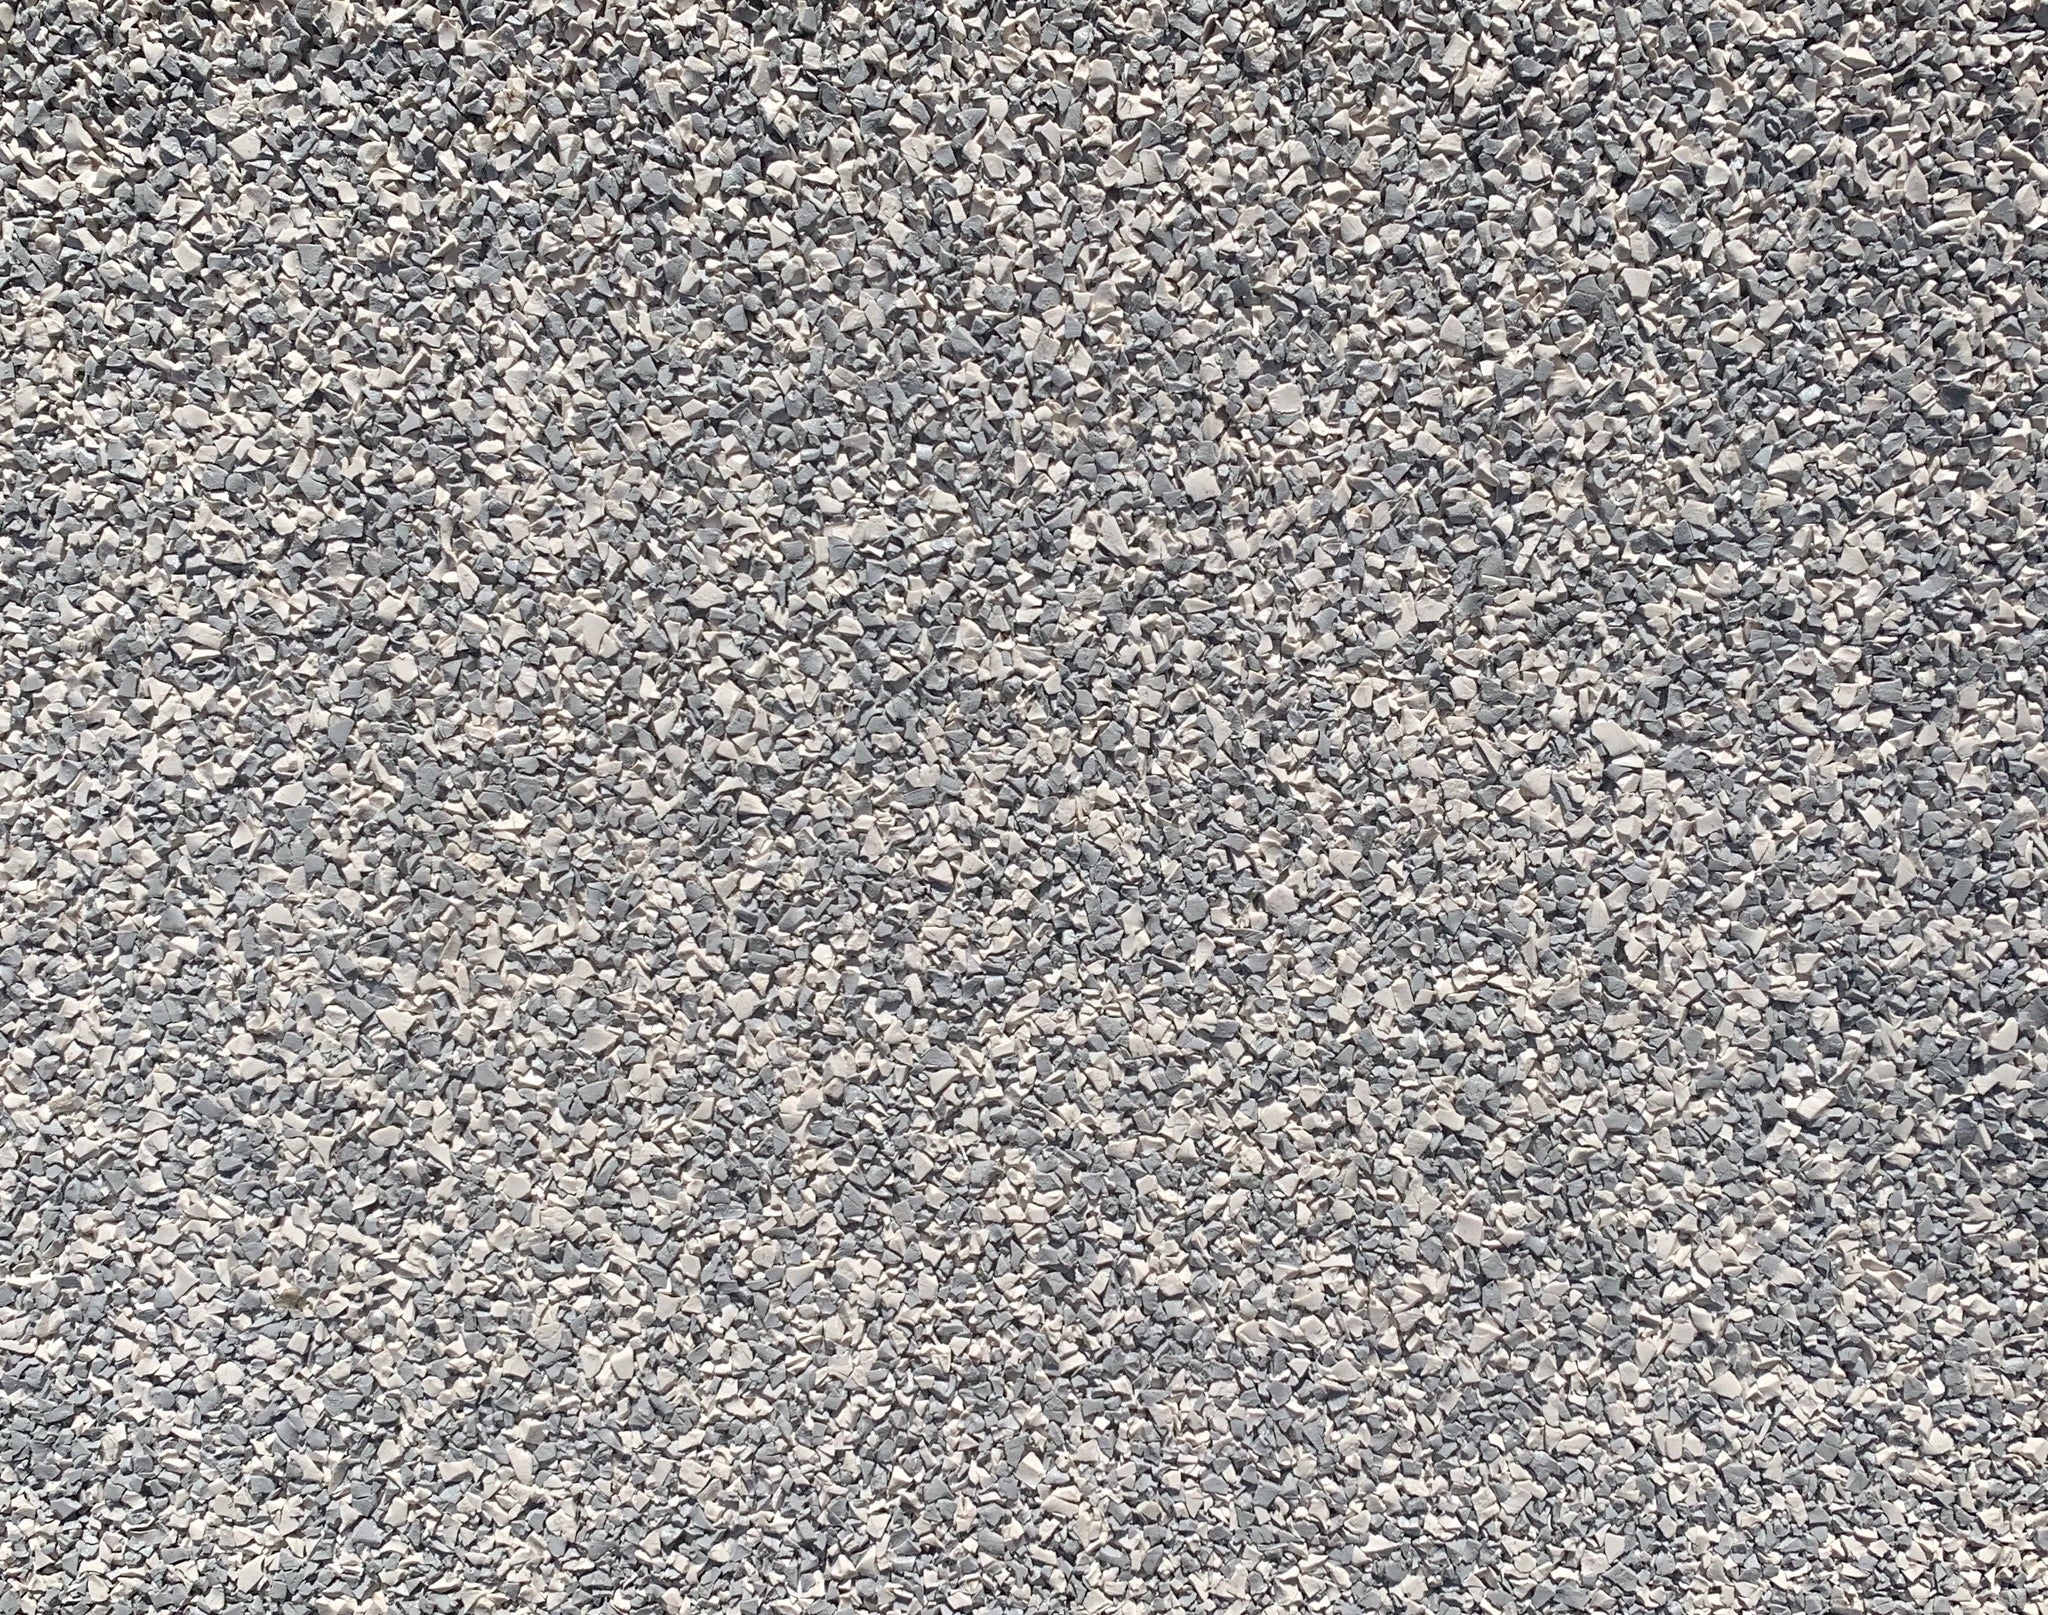
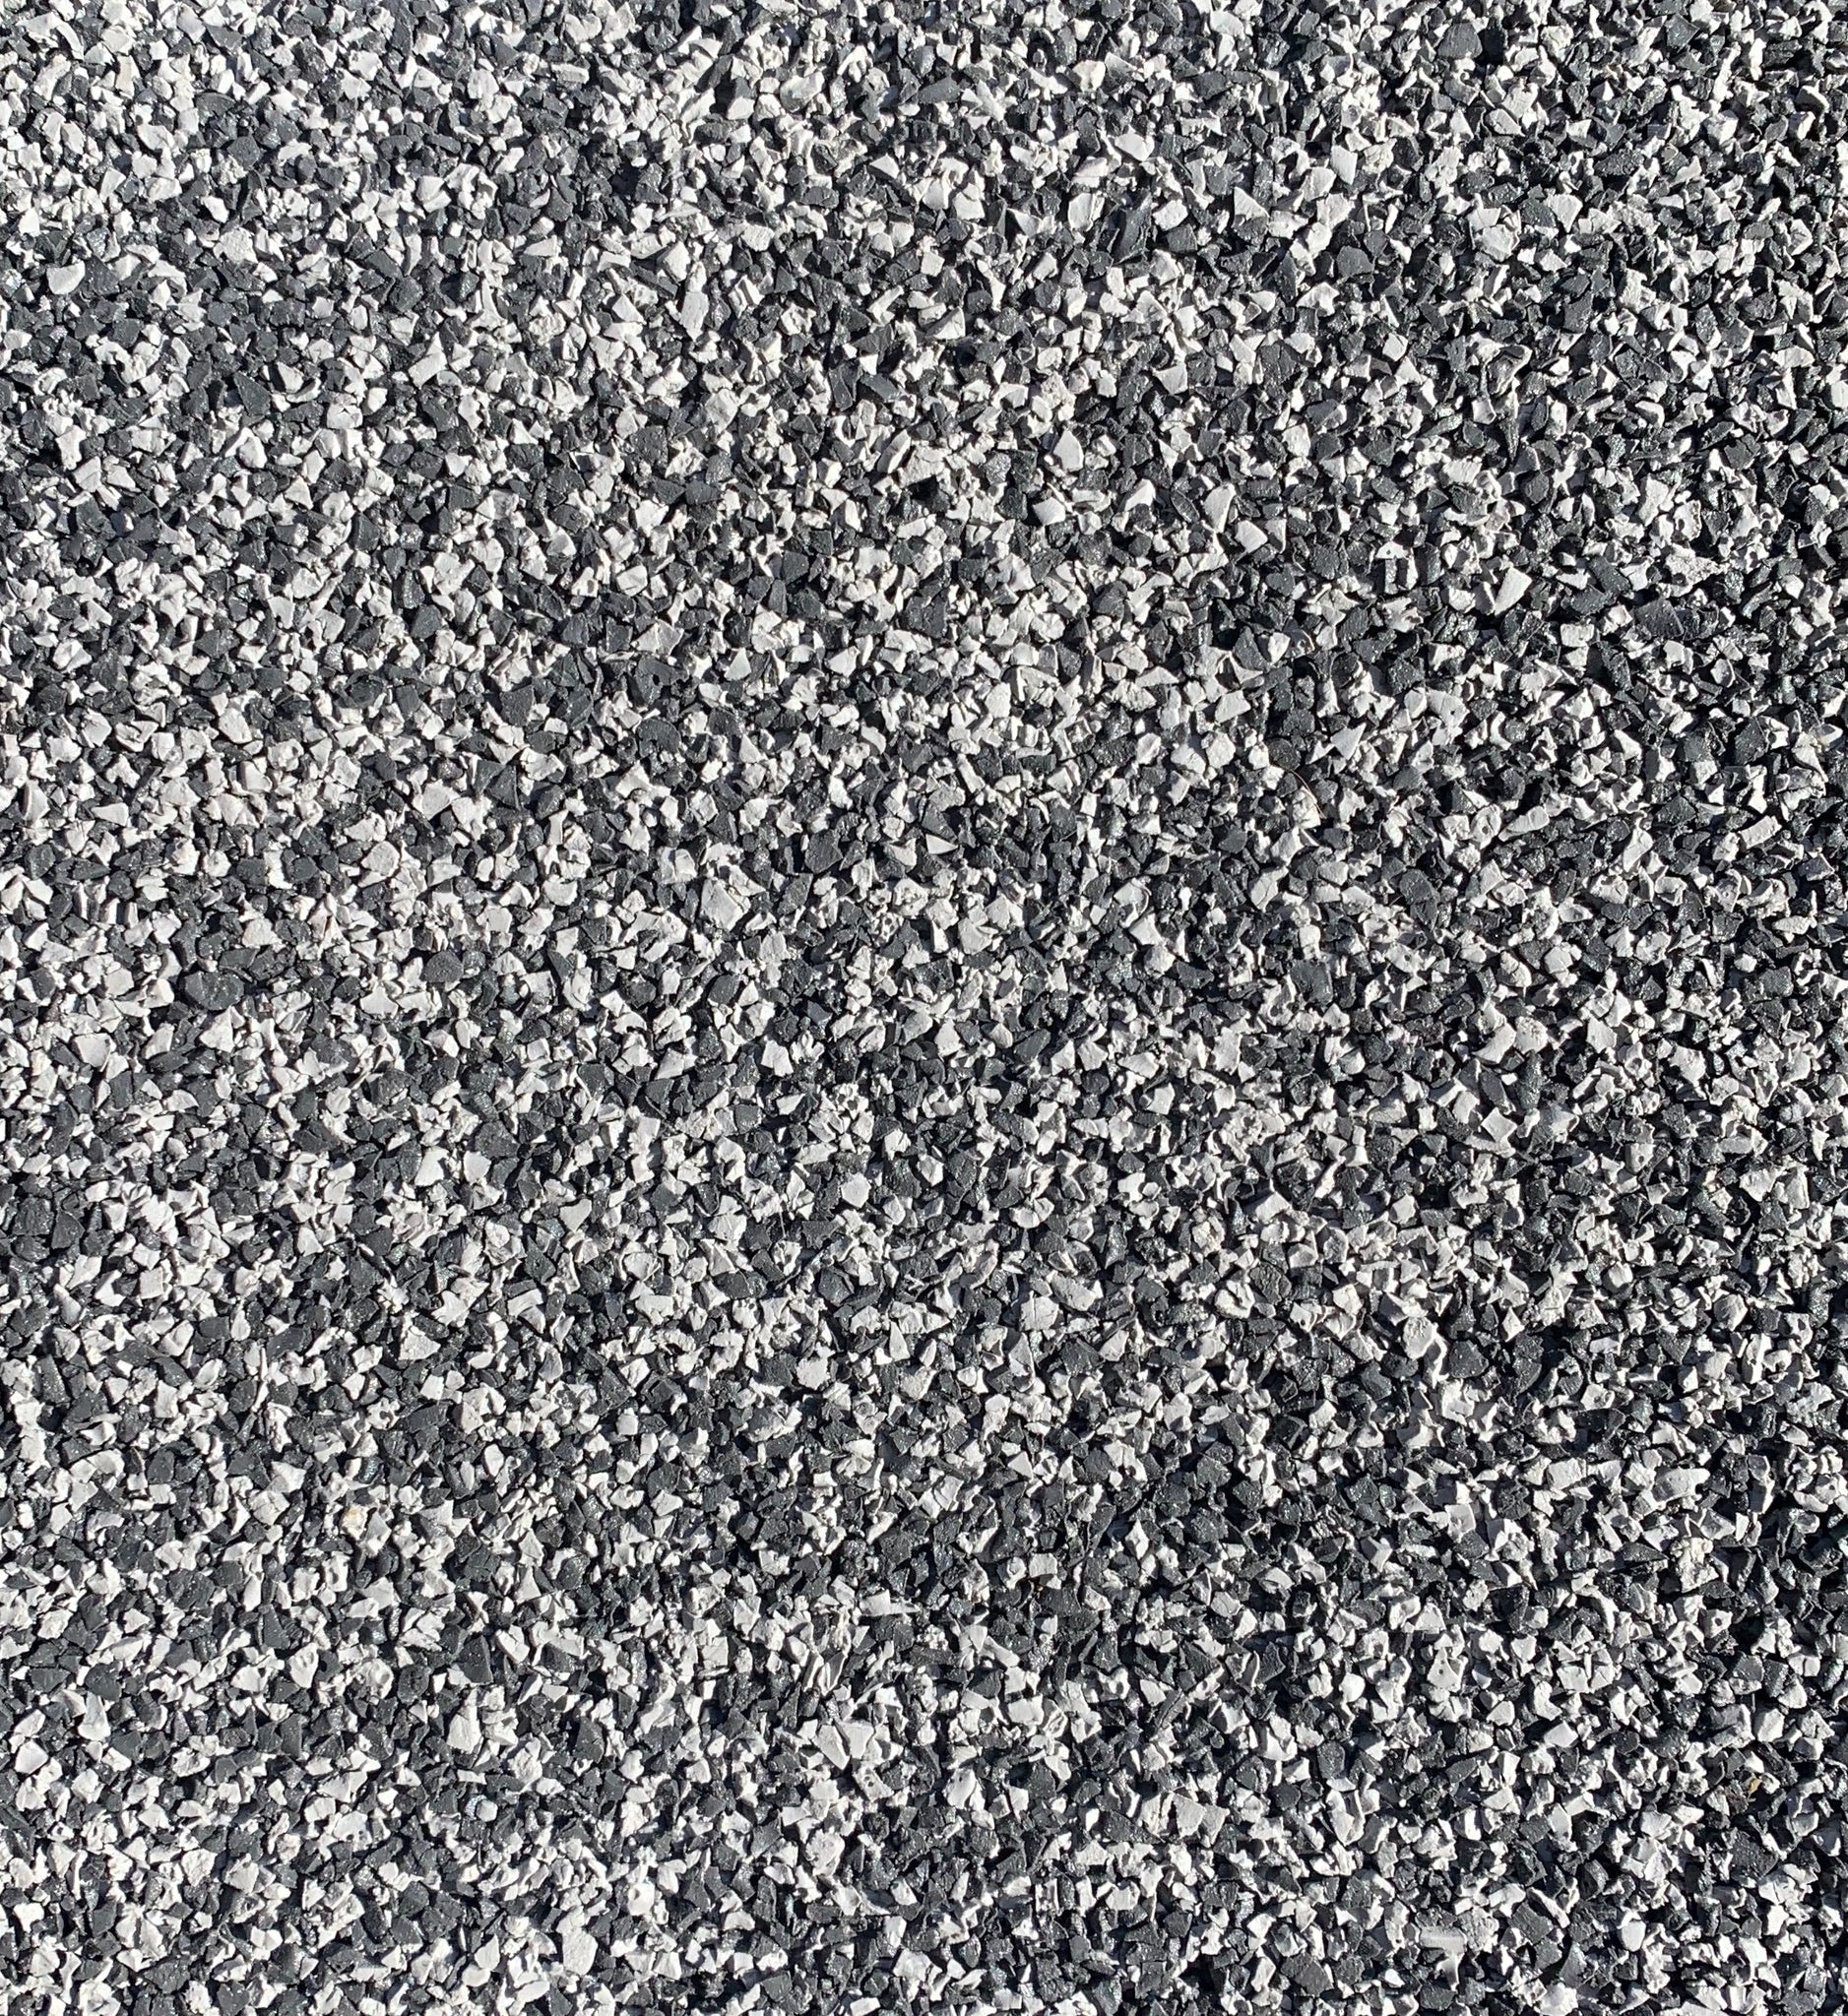
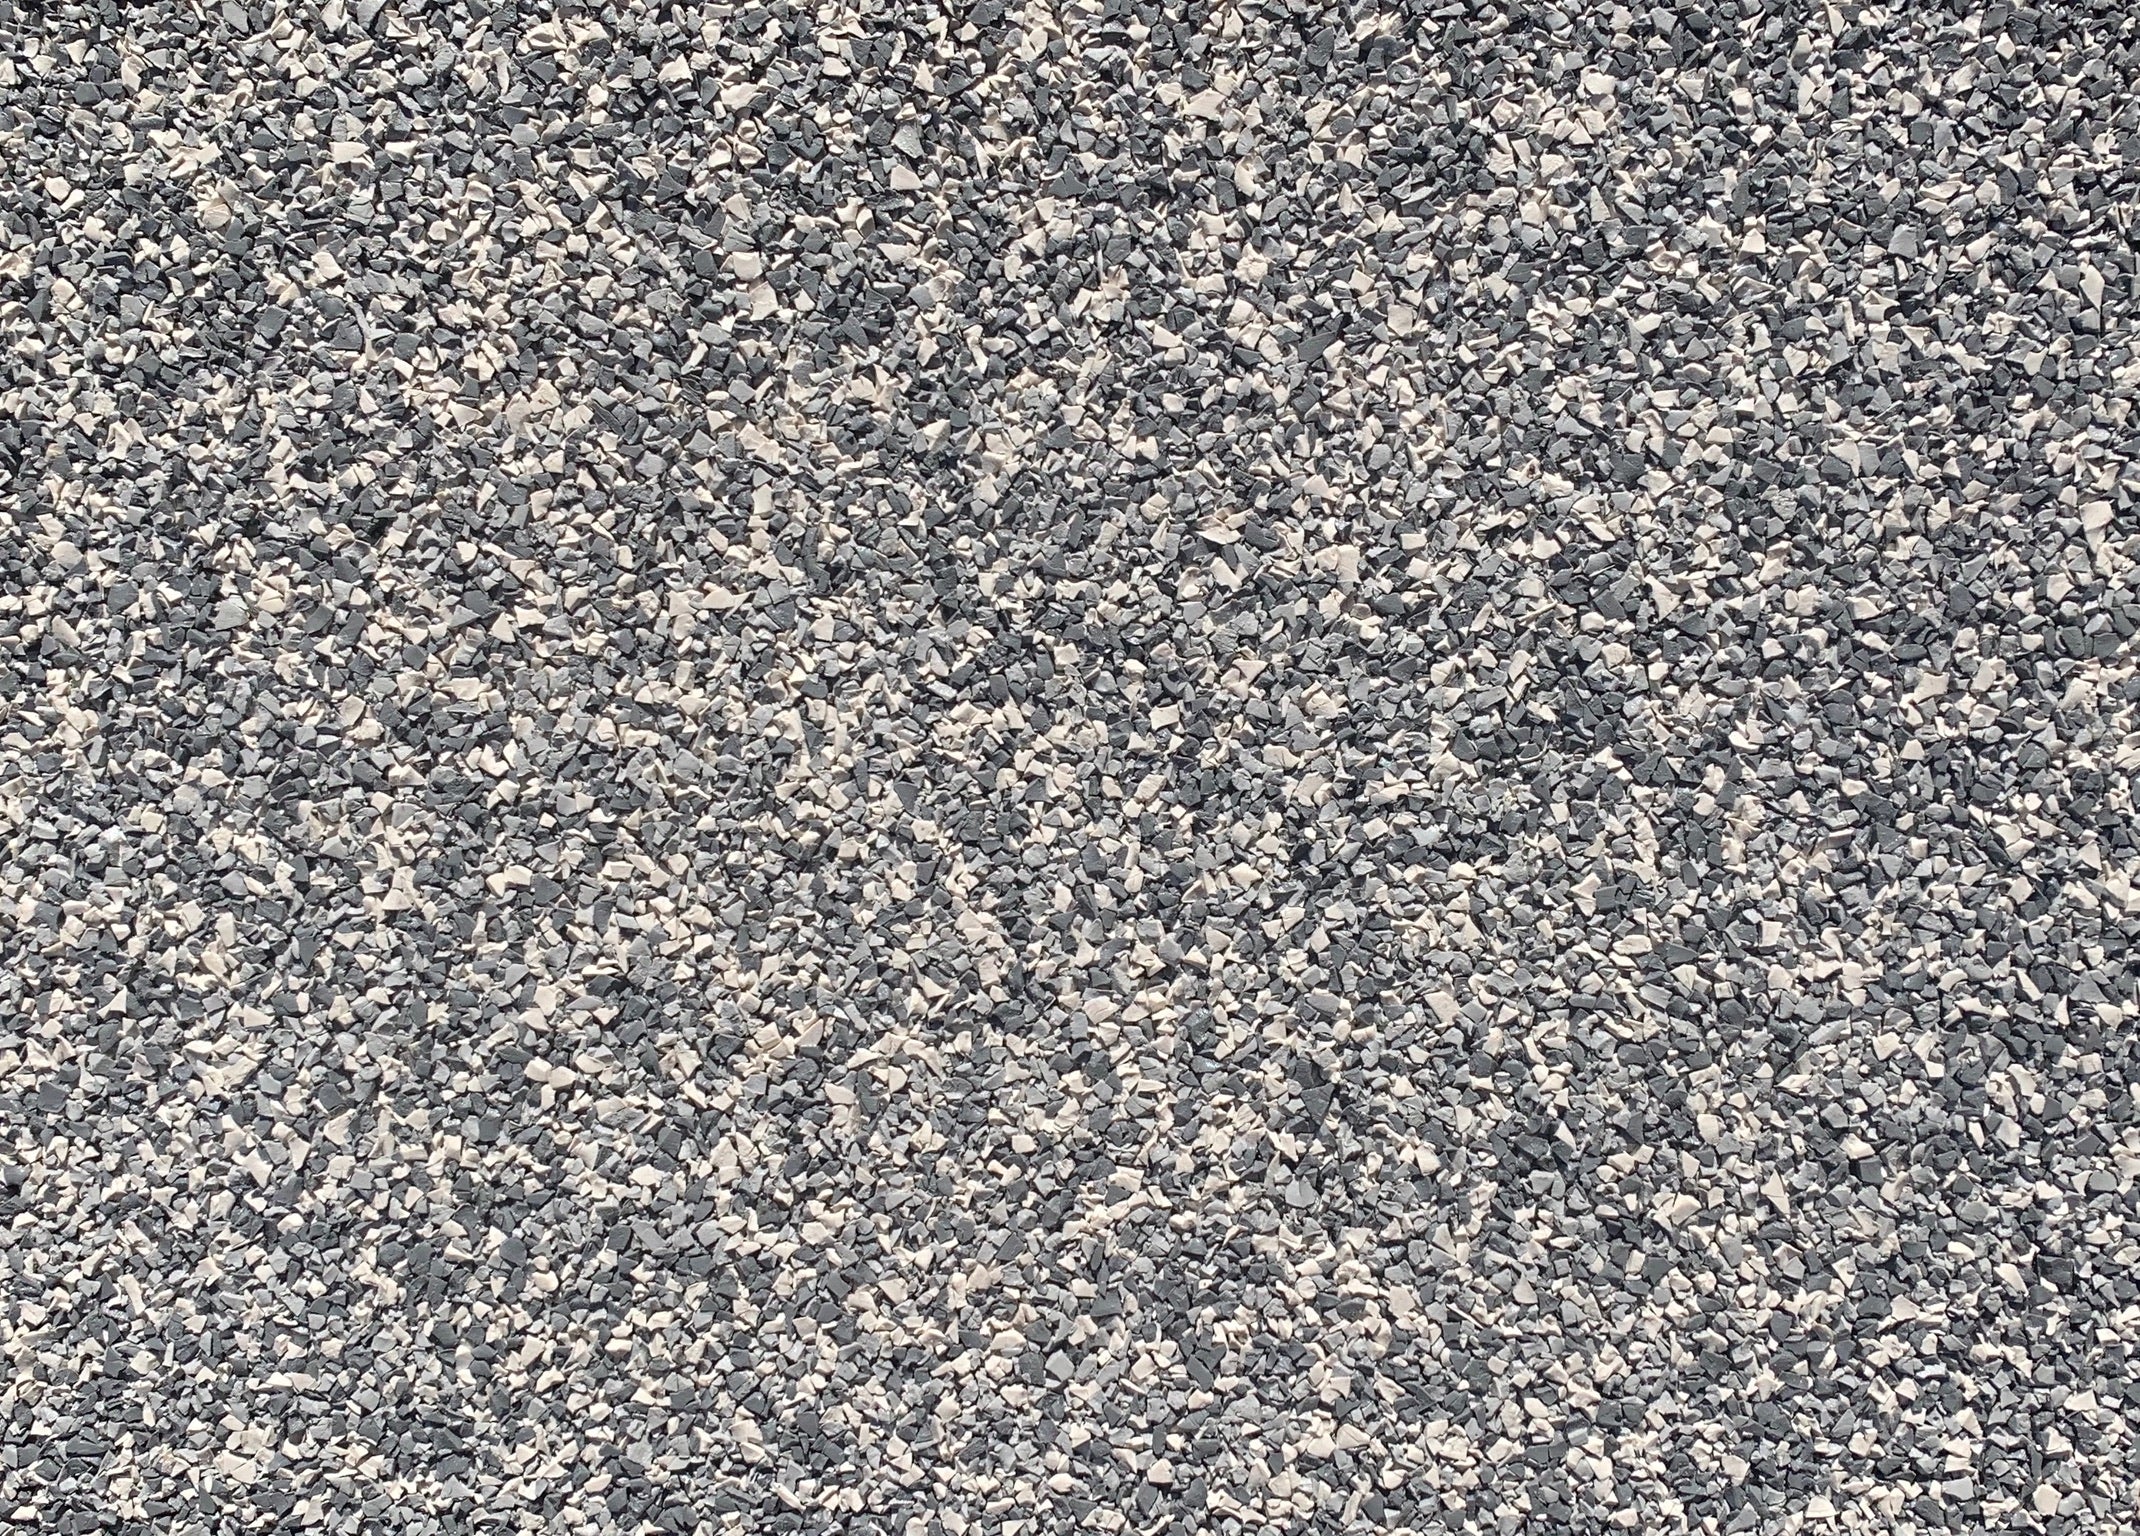
Color Blends & Design Options
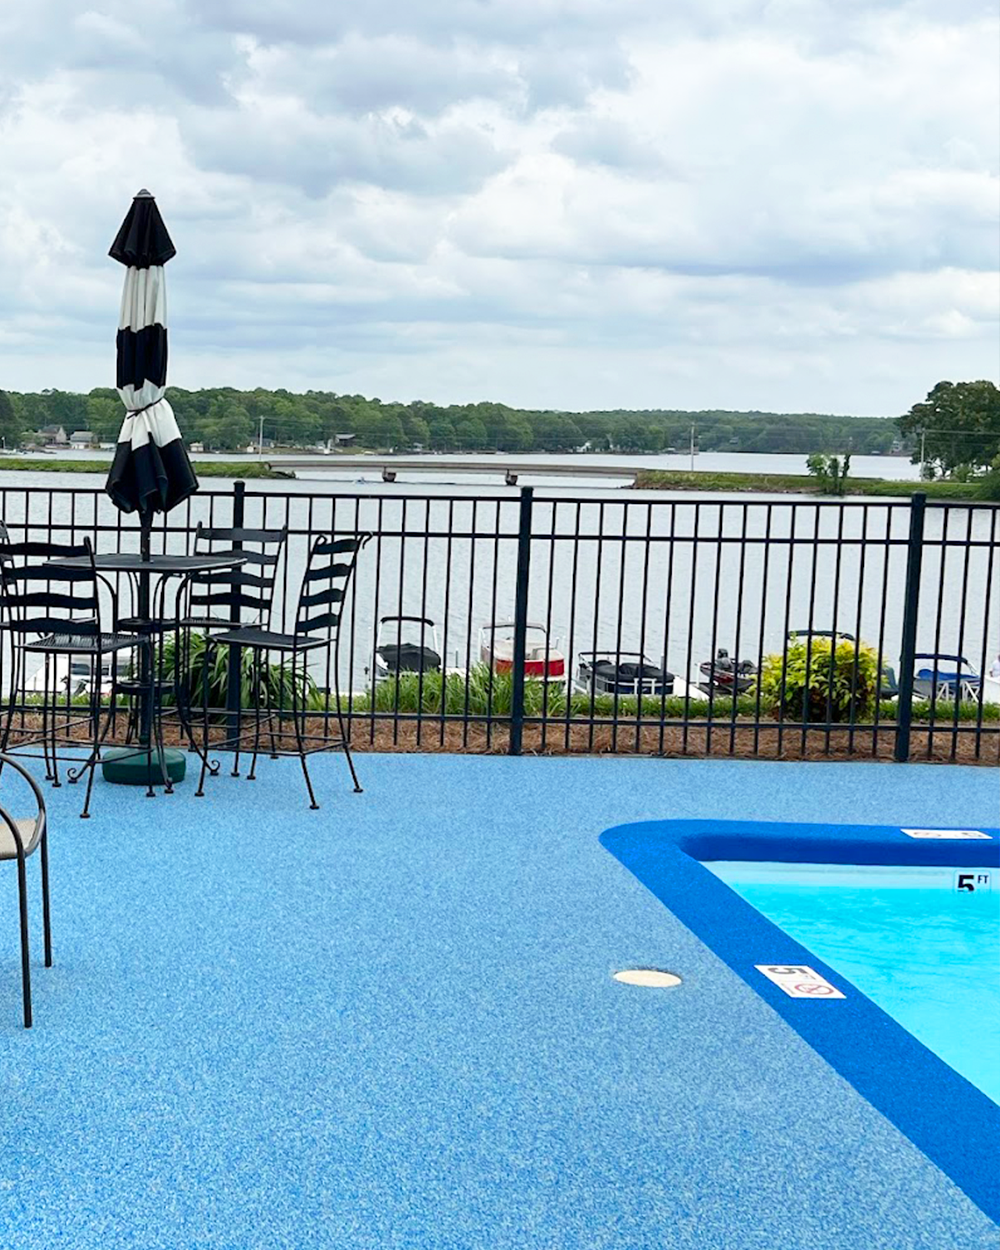
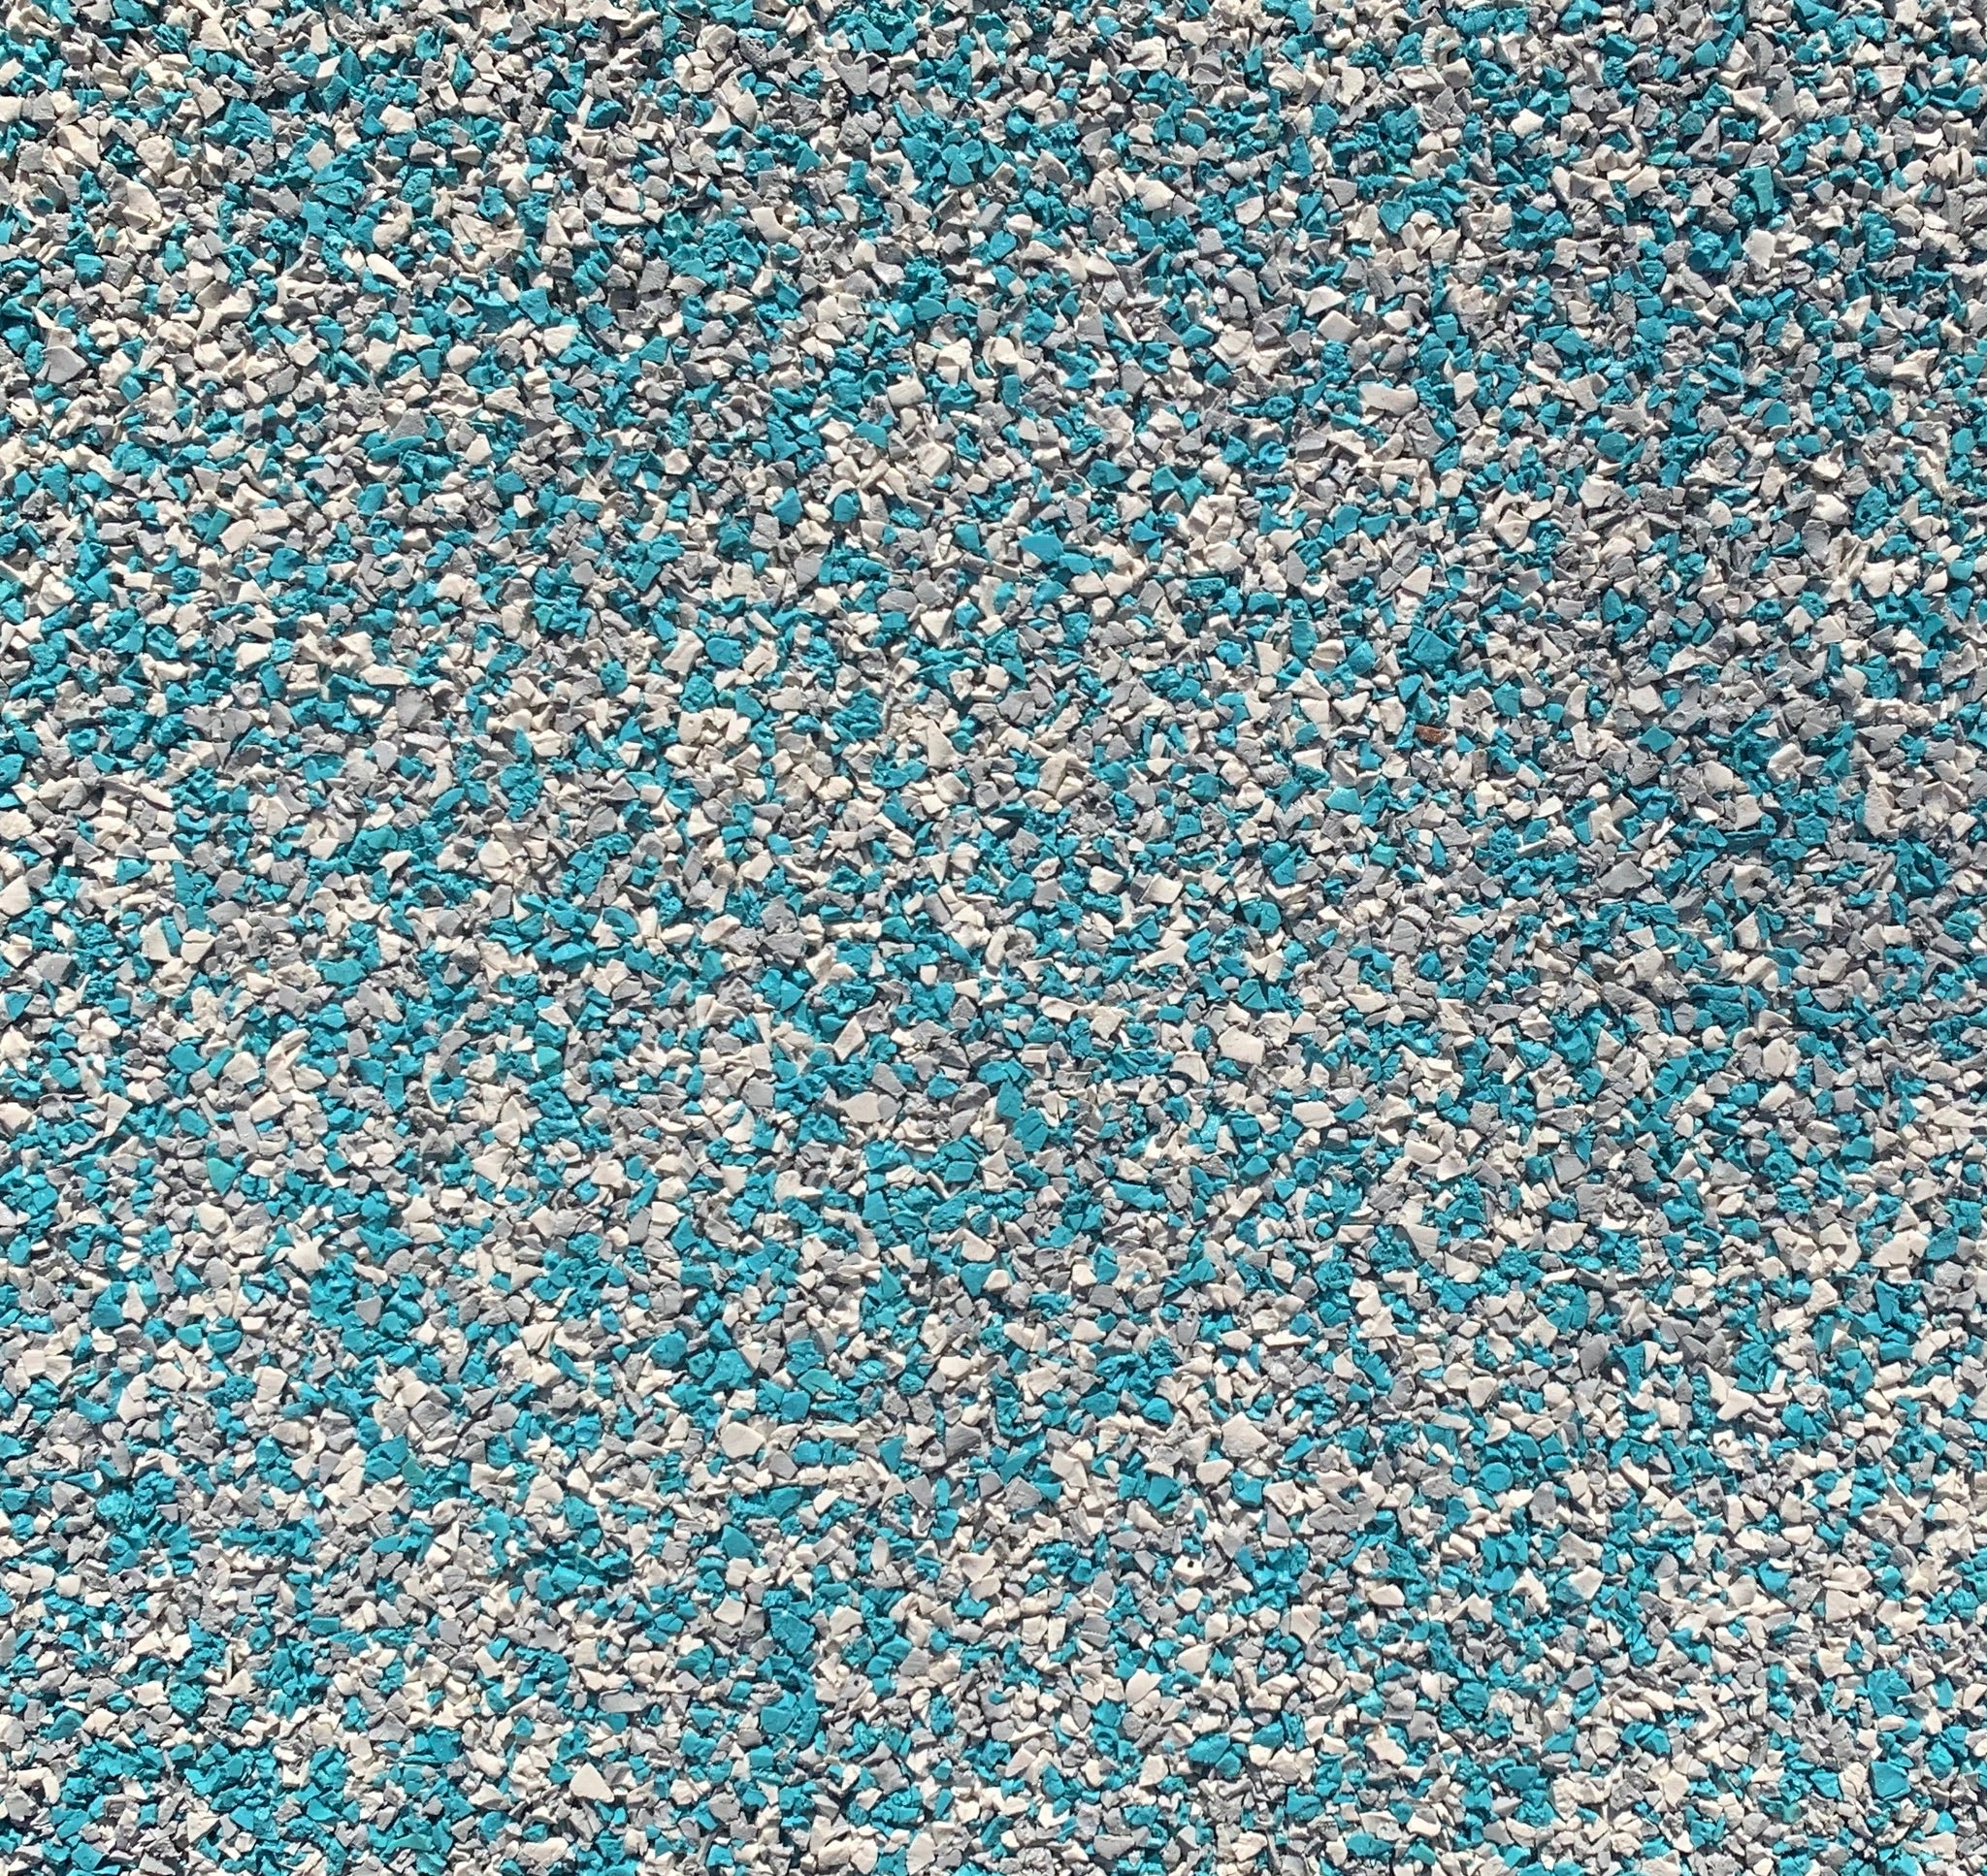
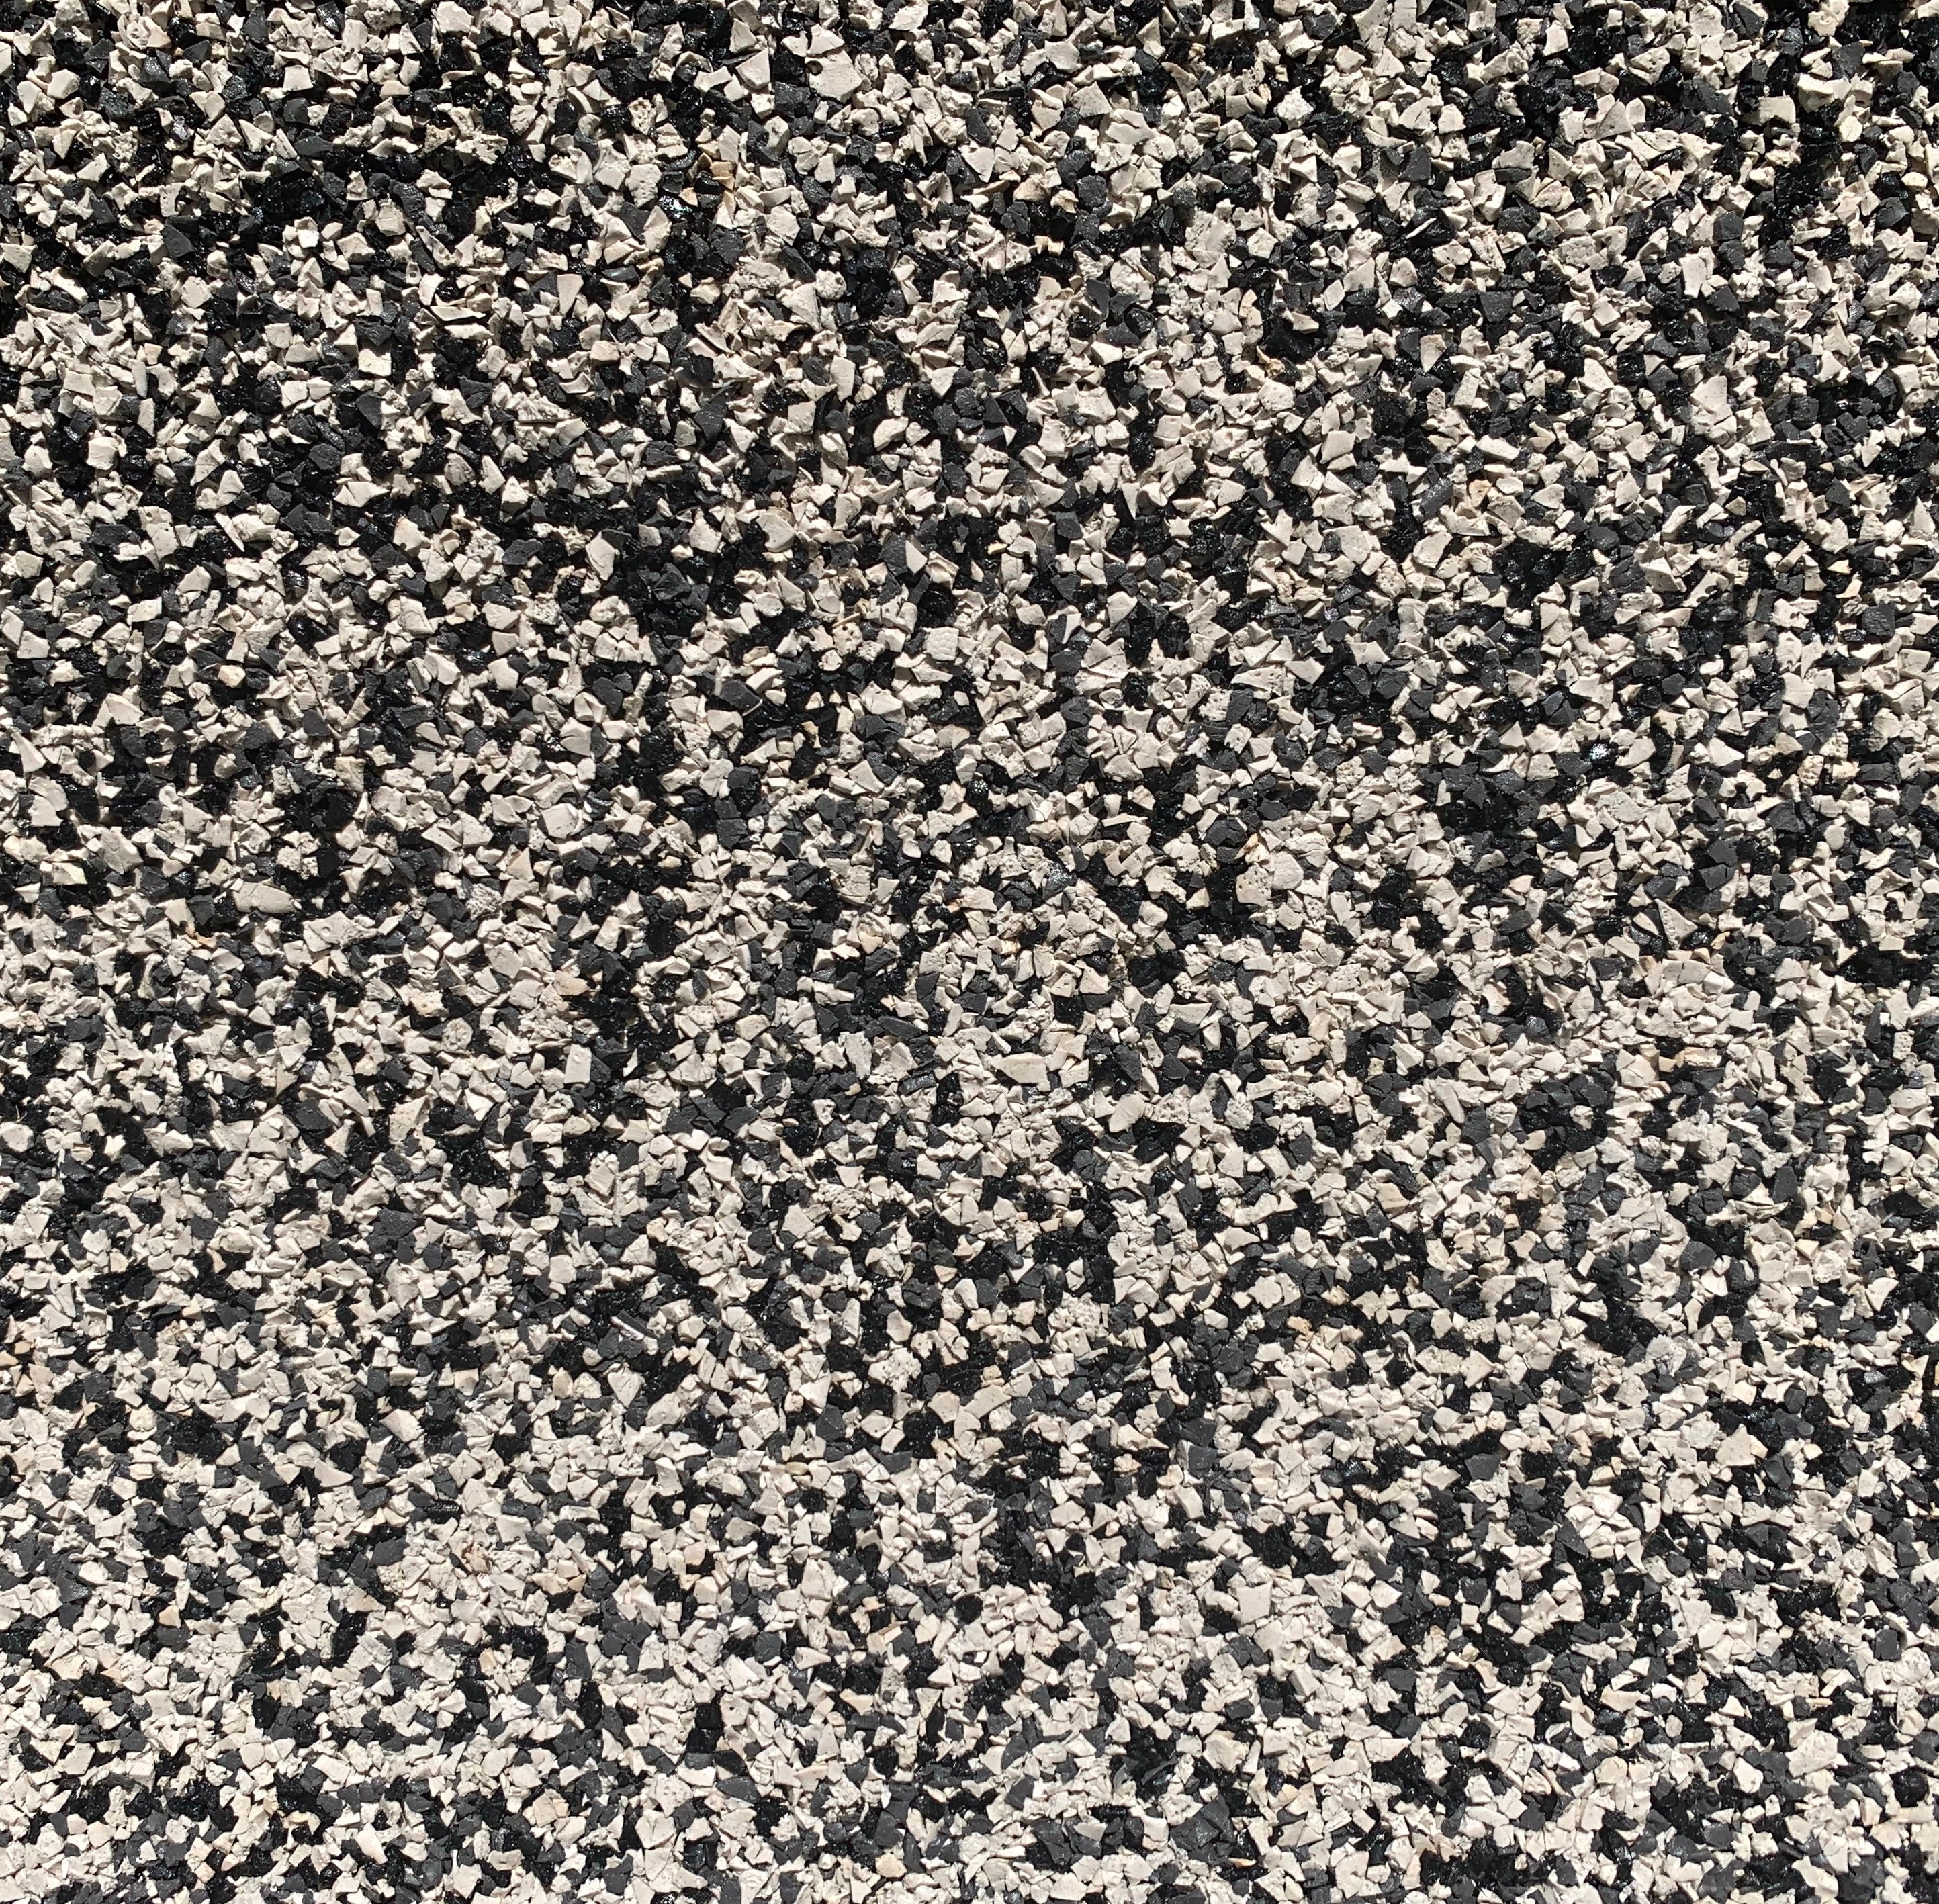
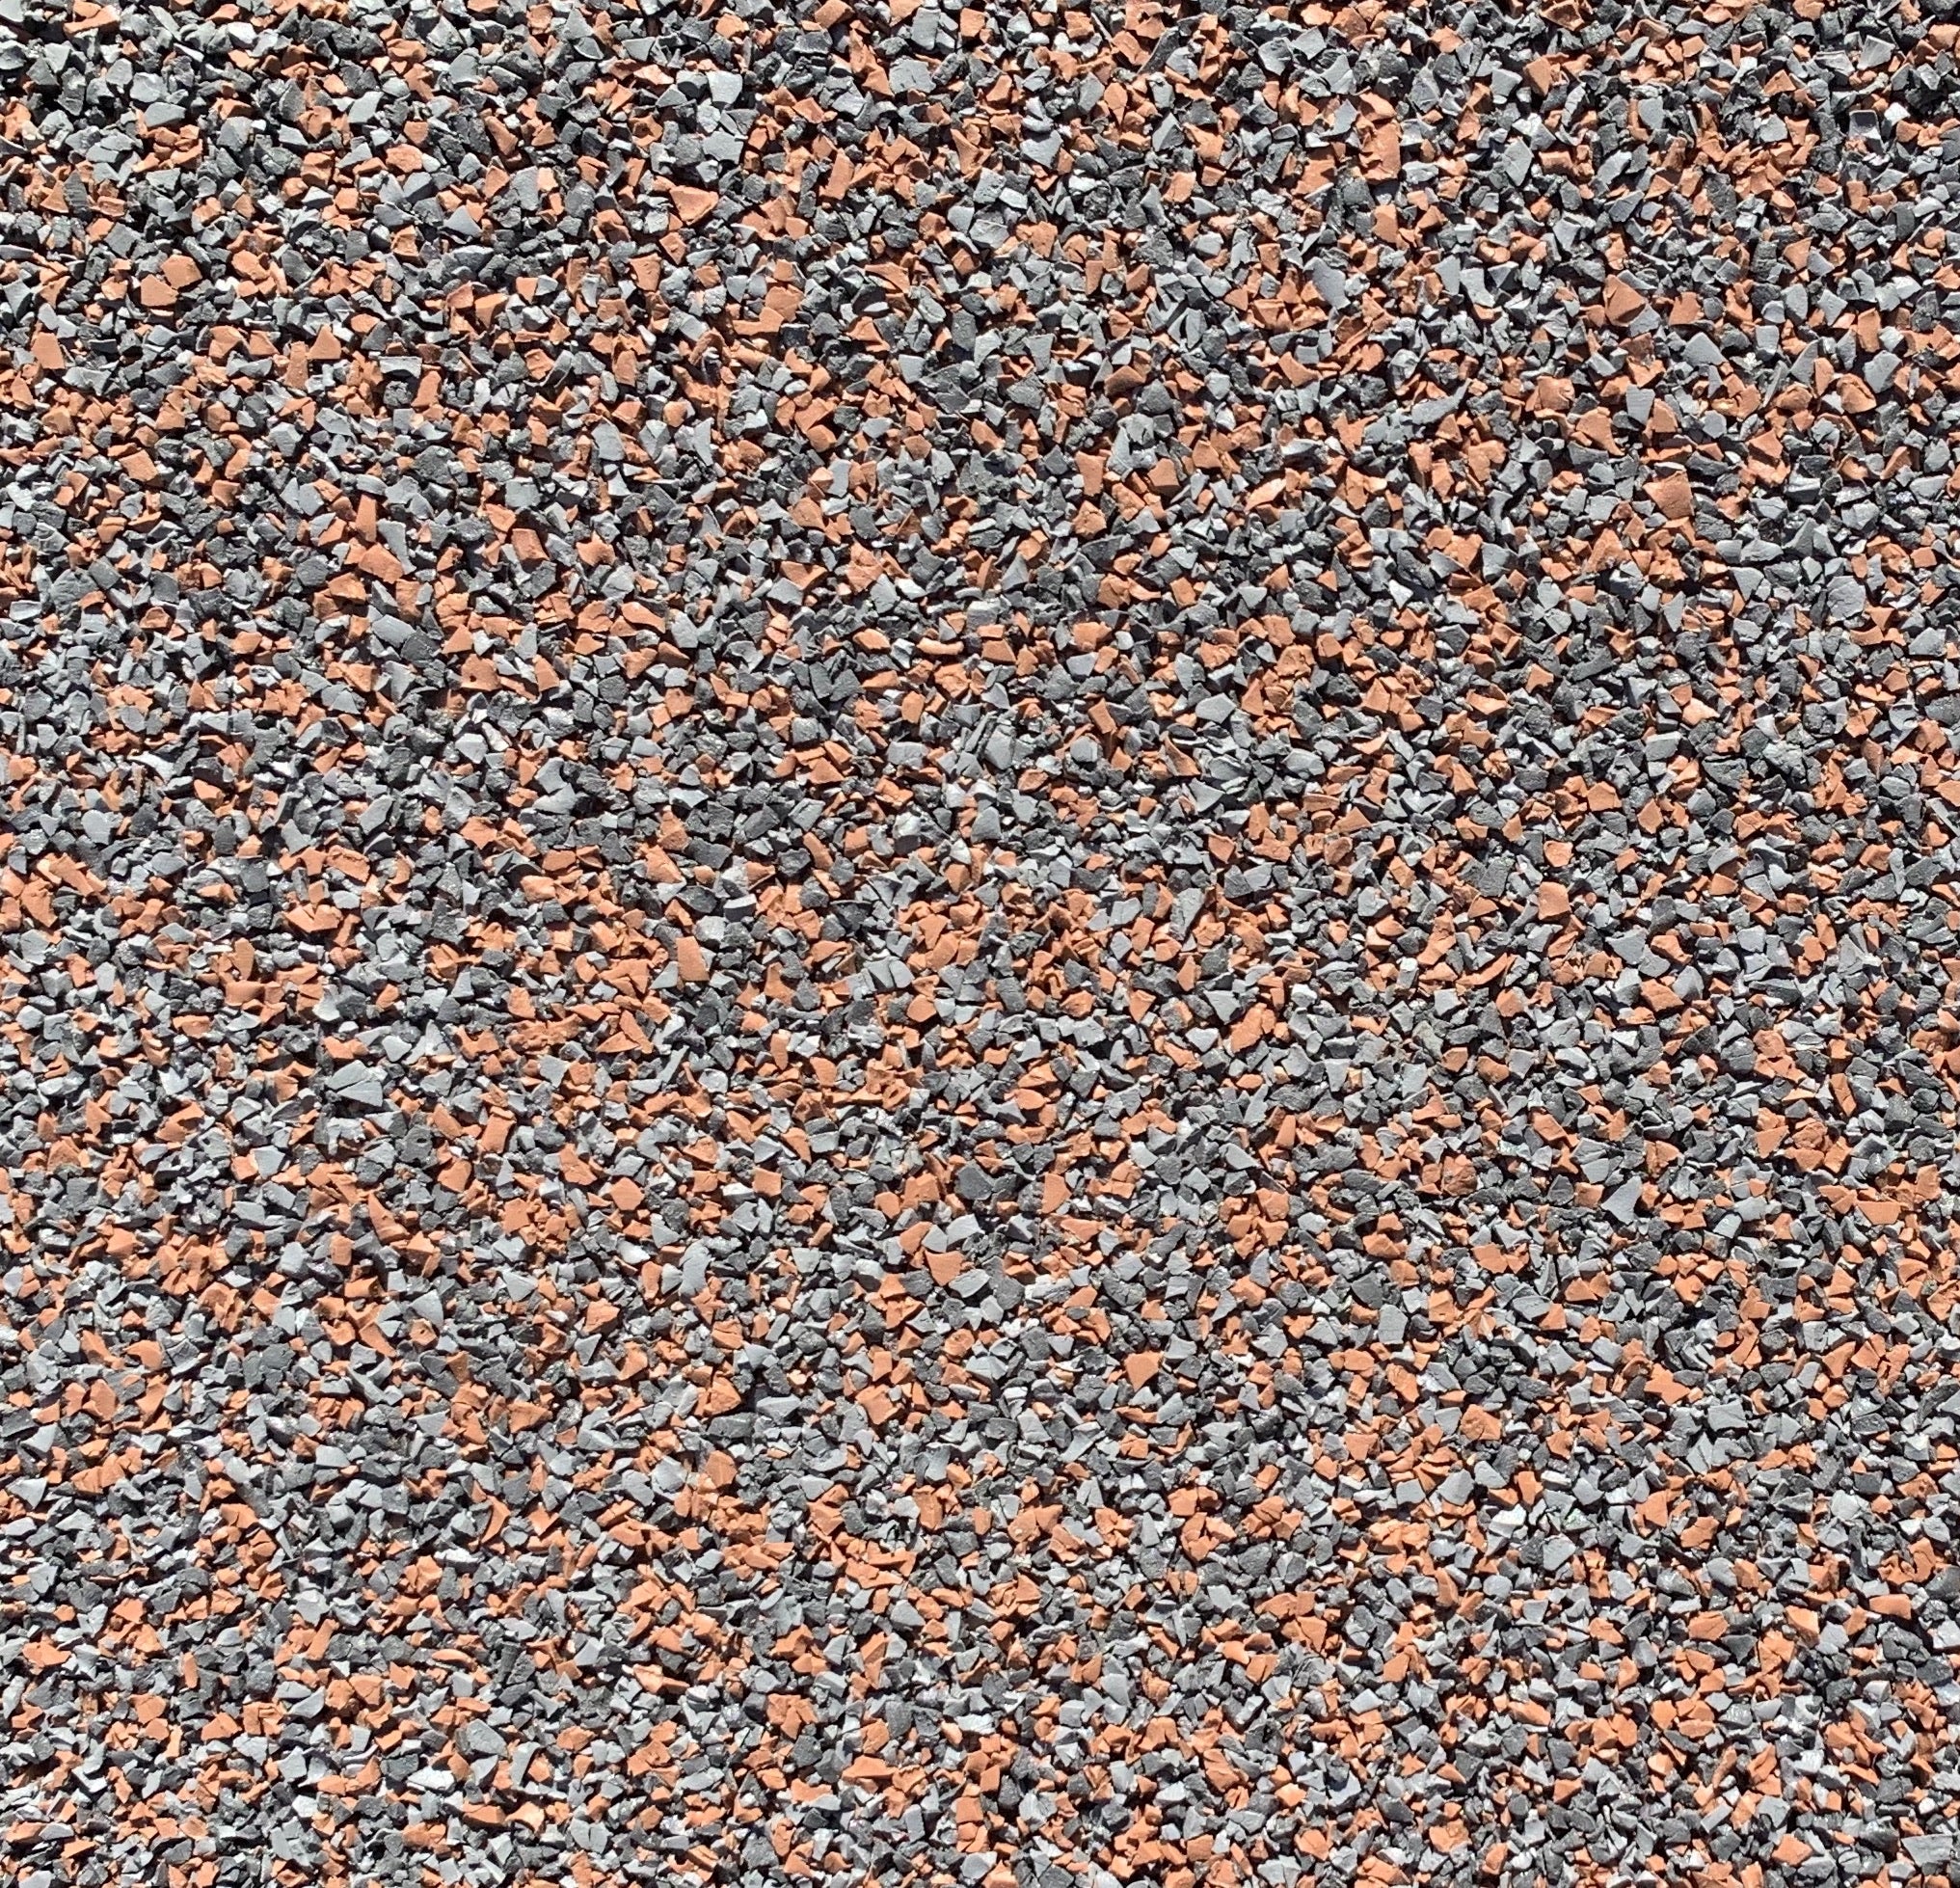
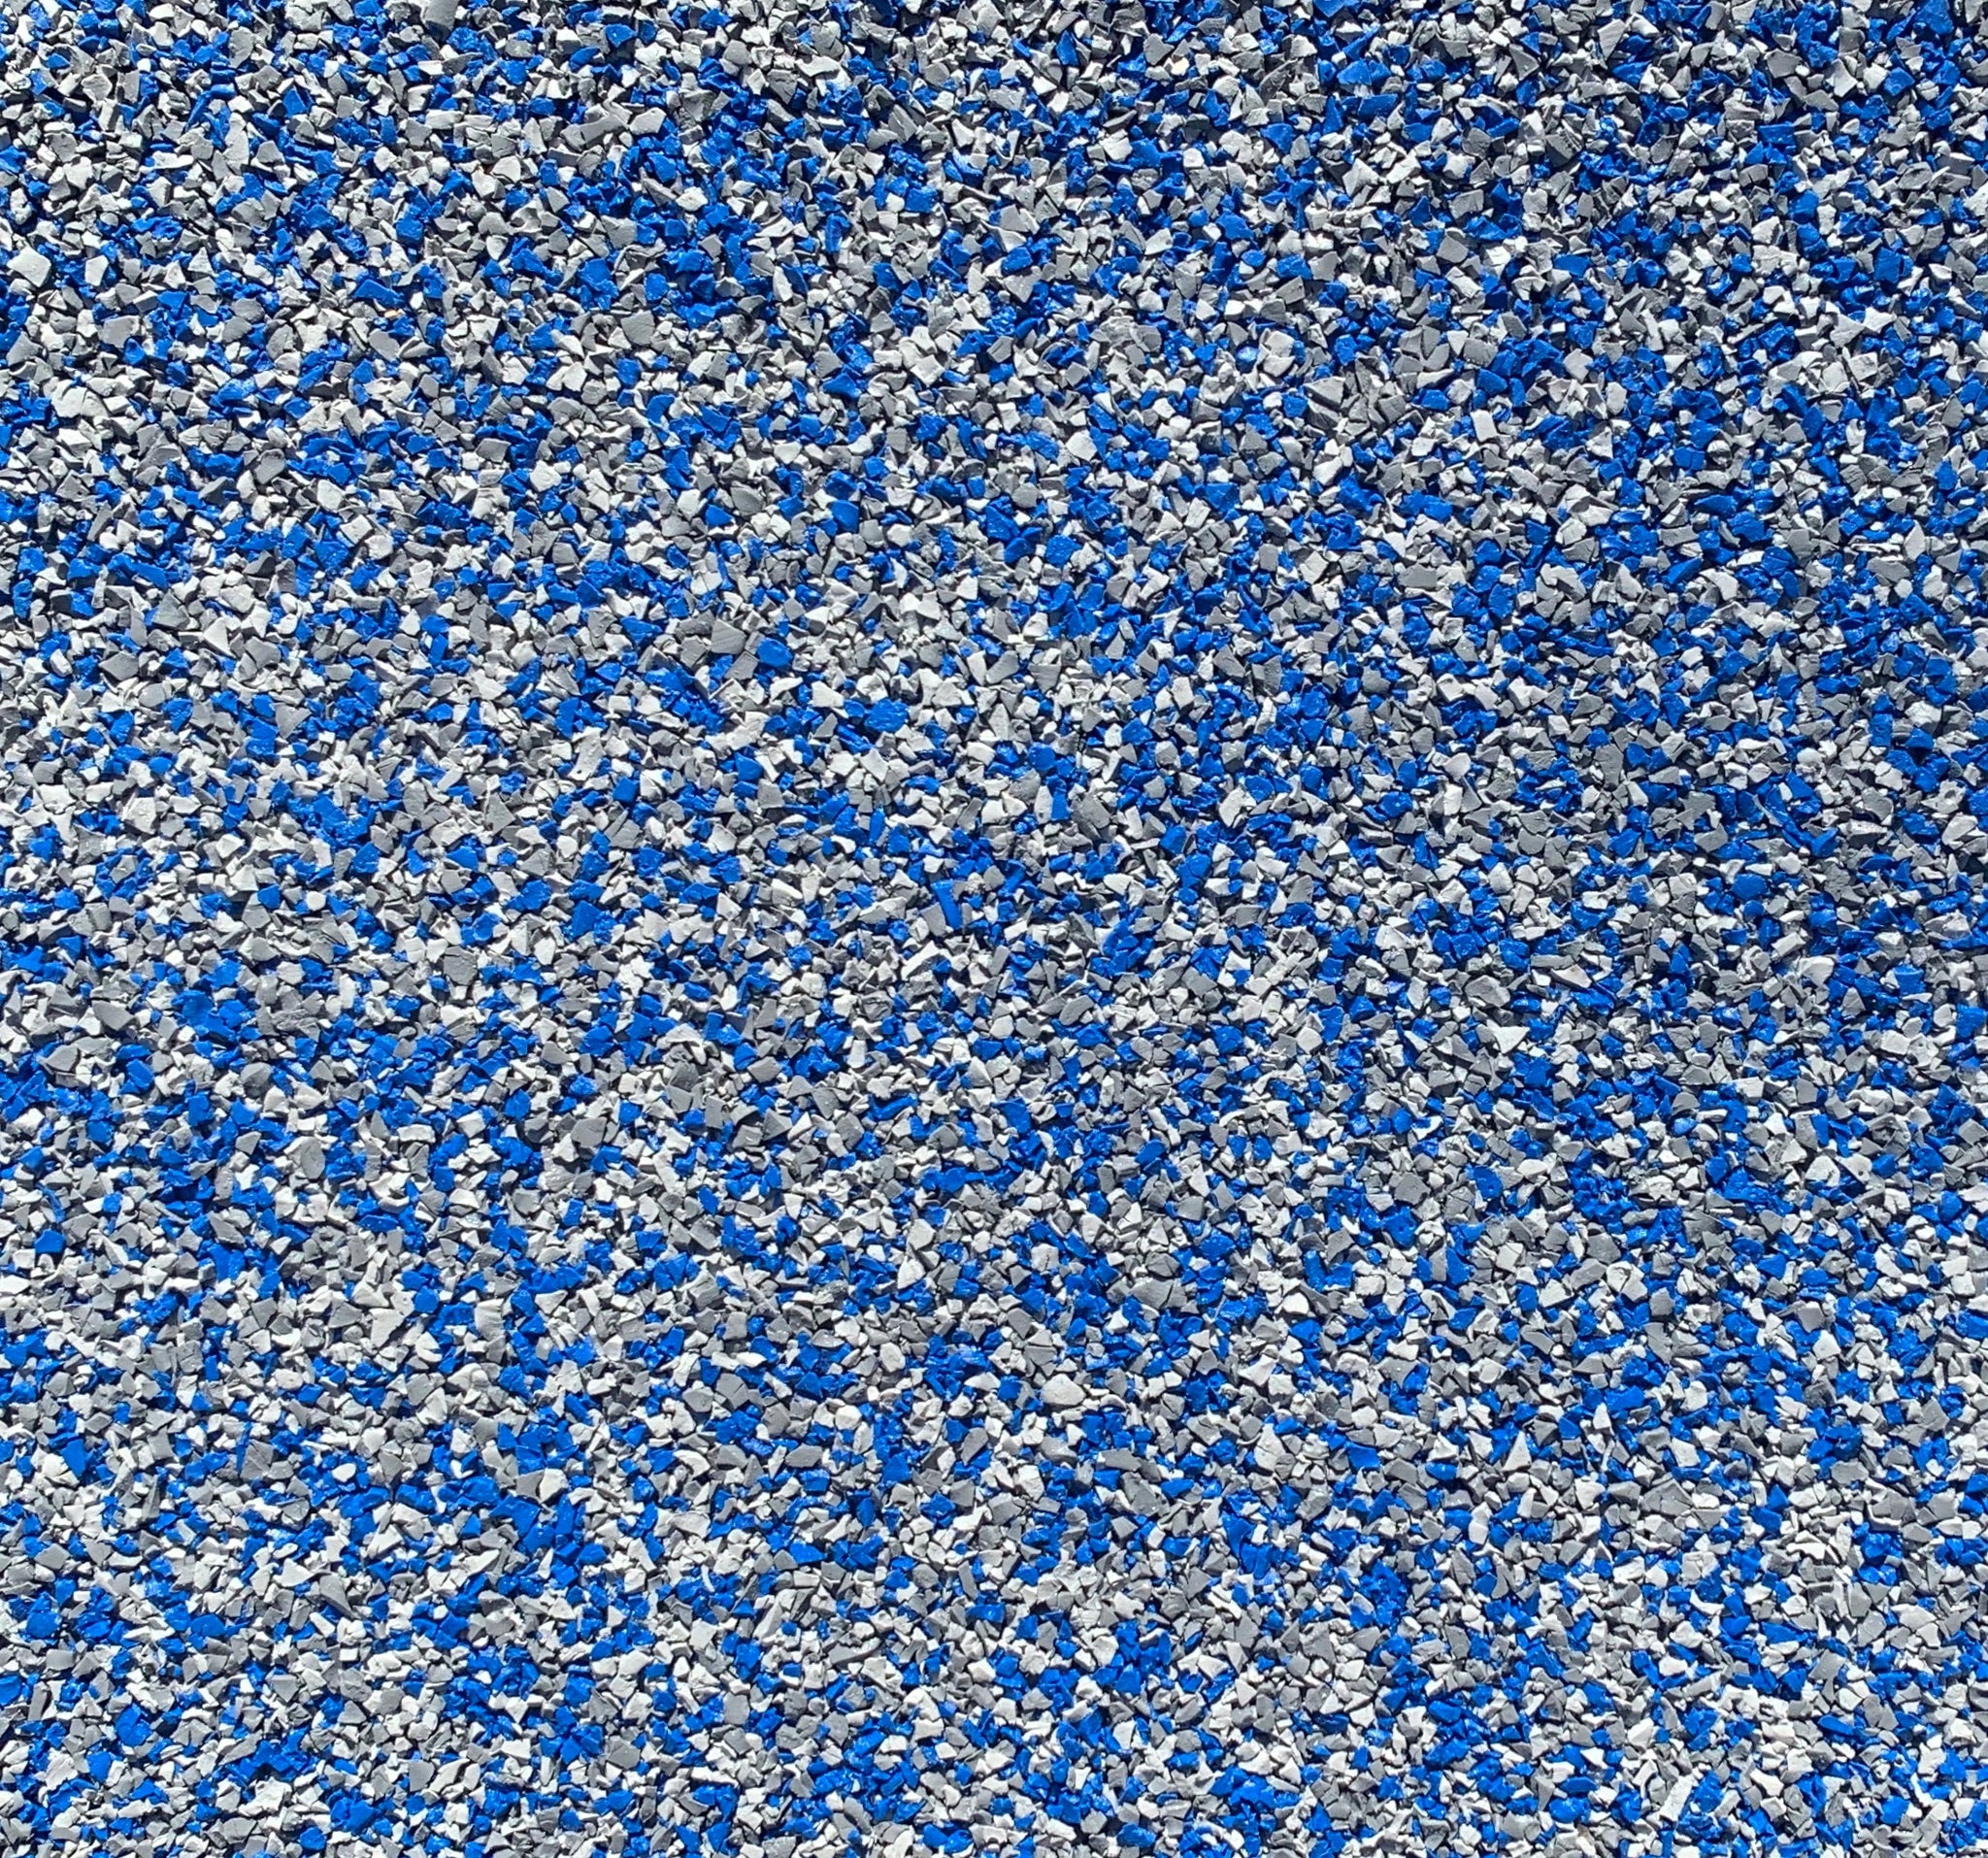
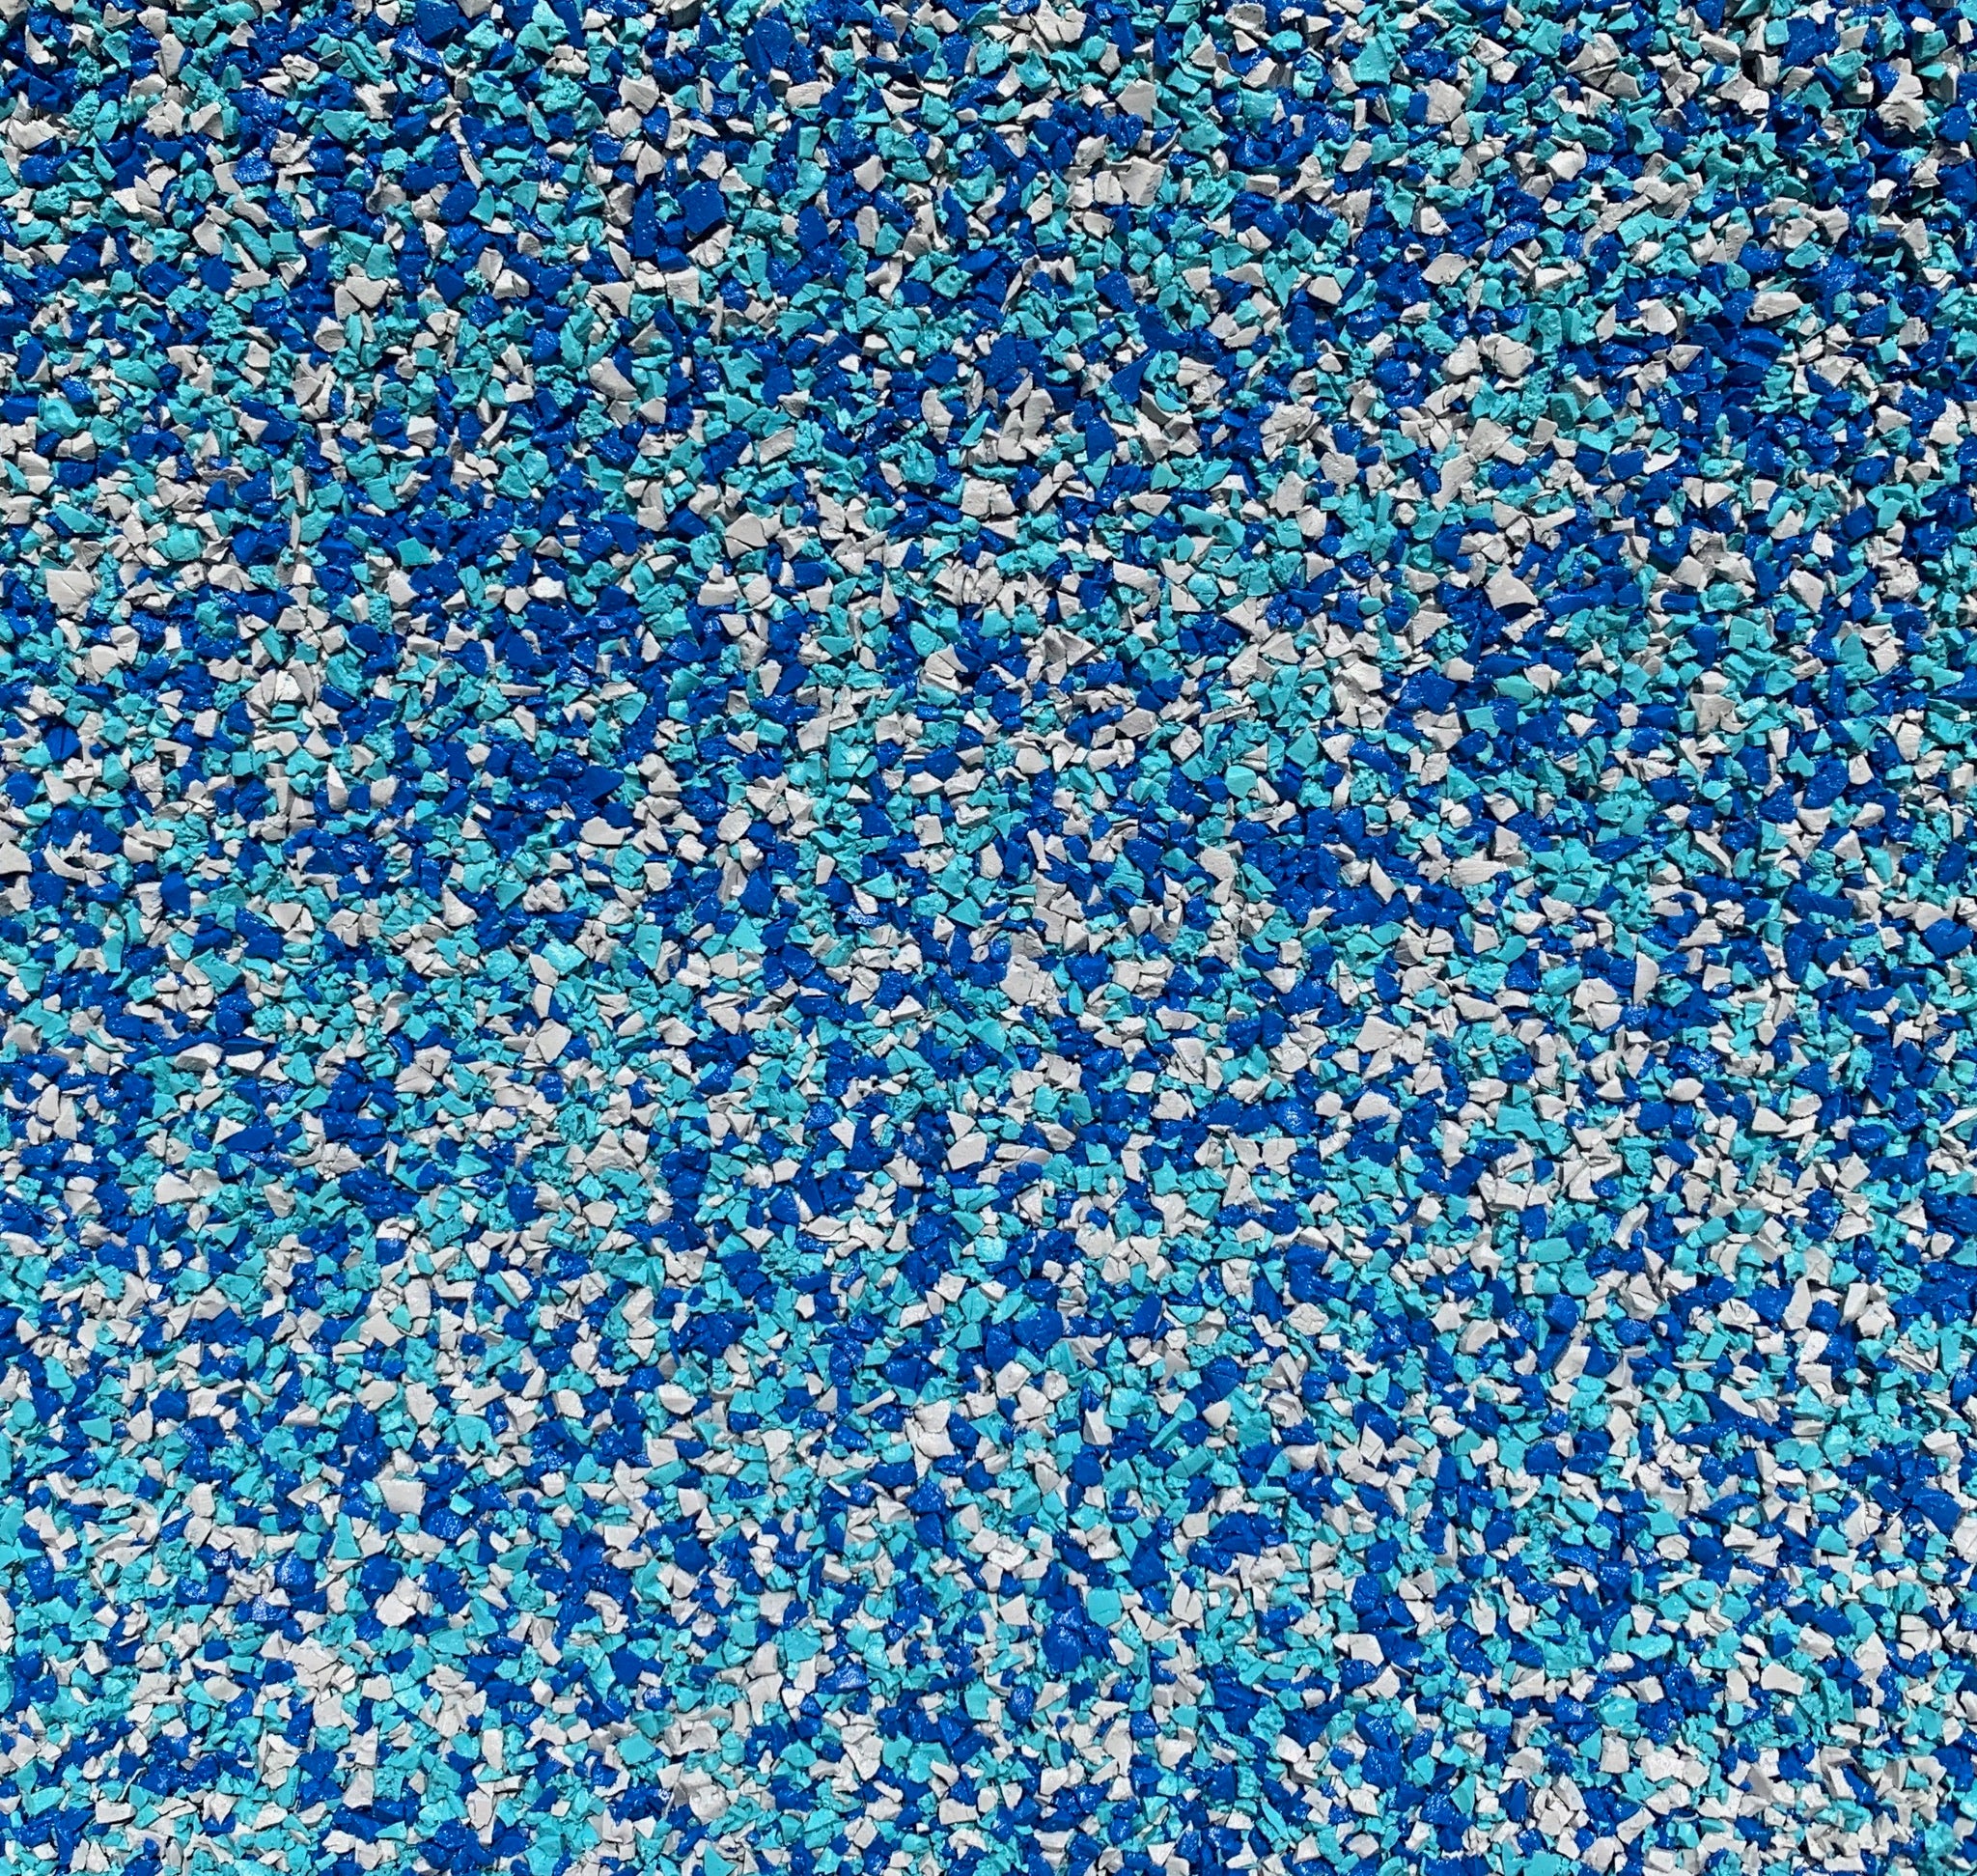
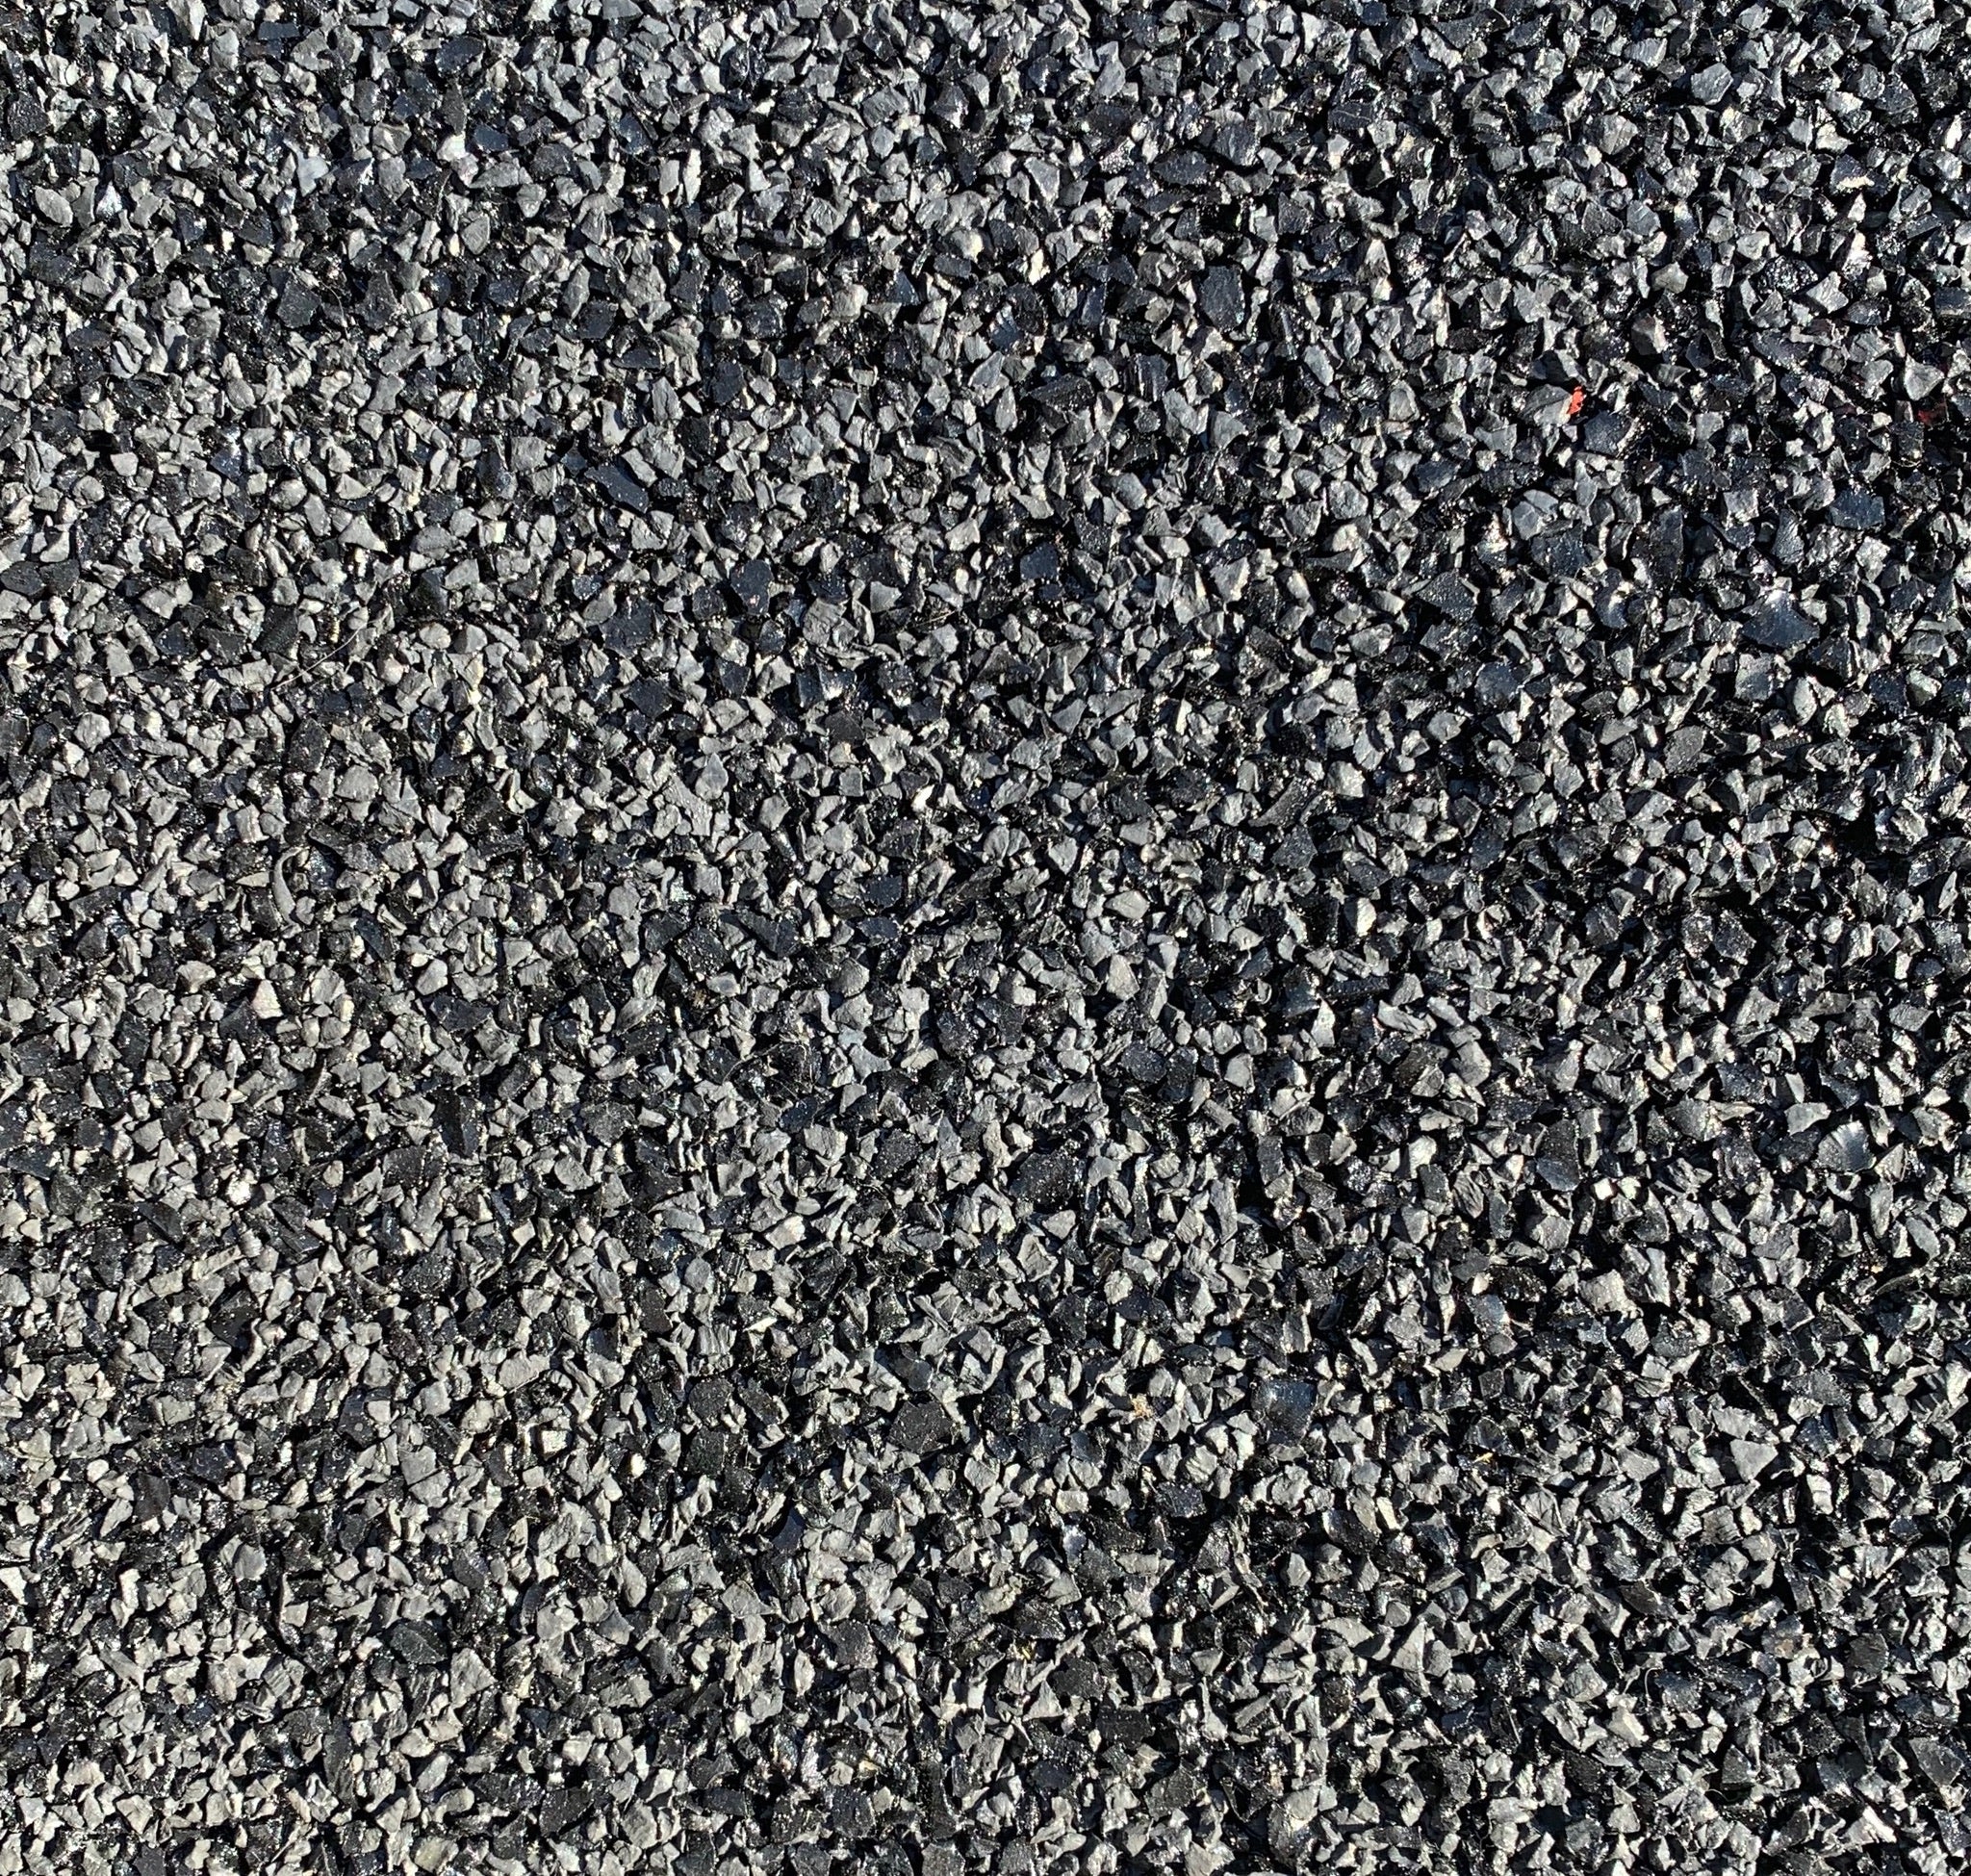
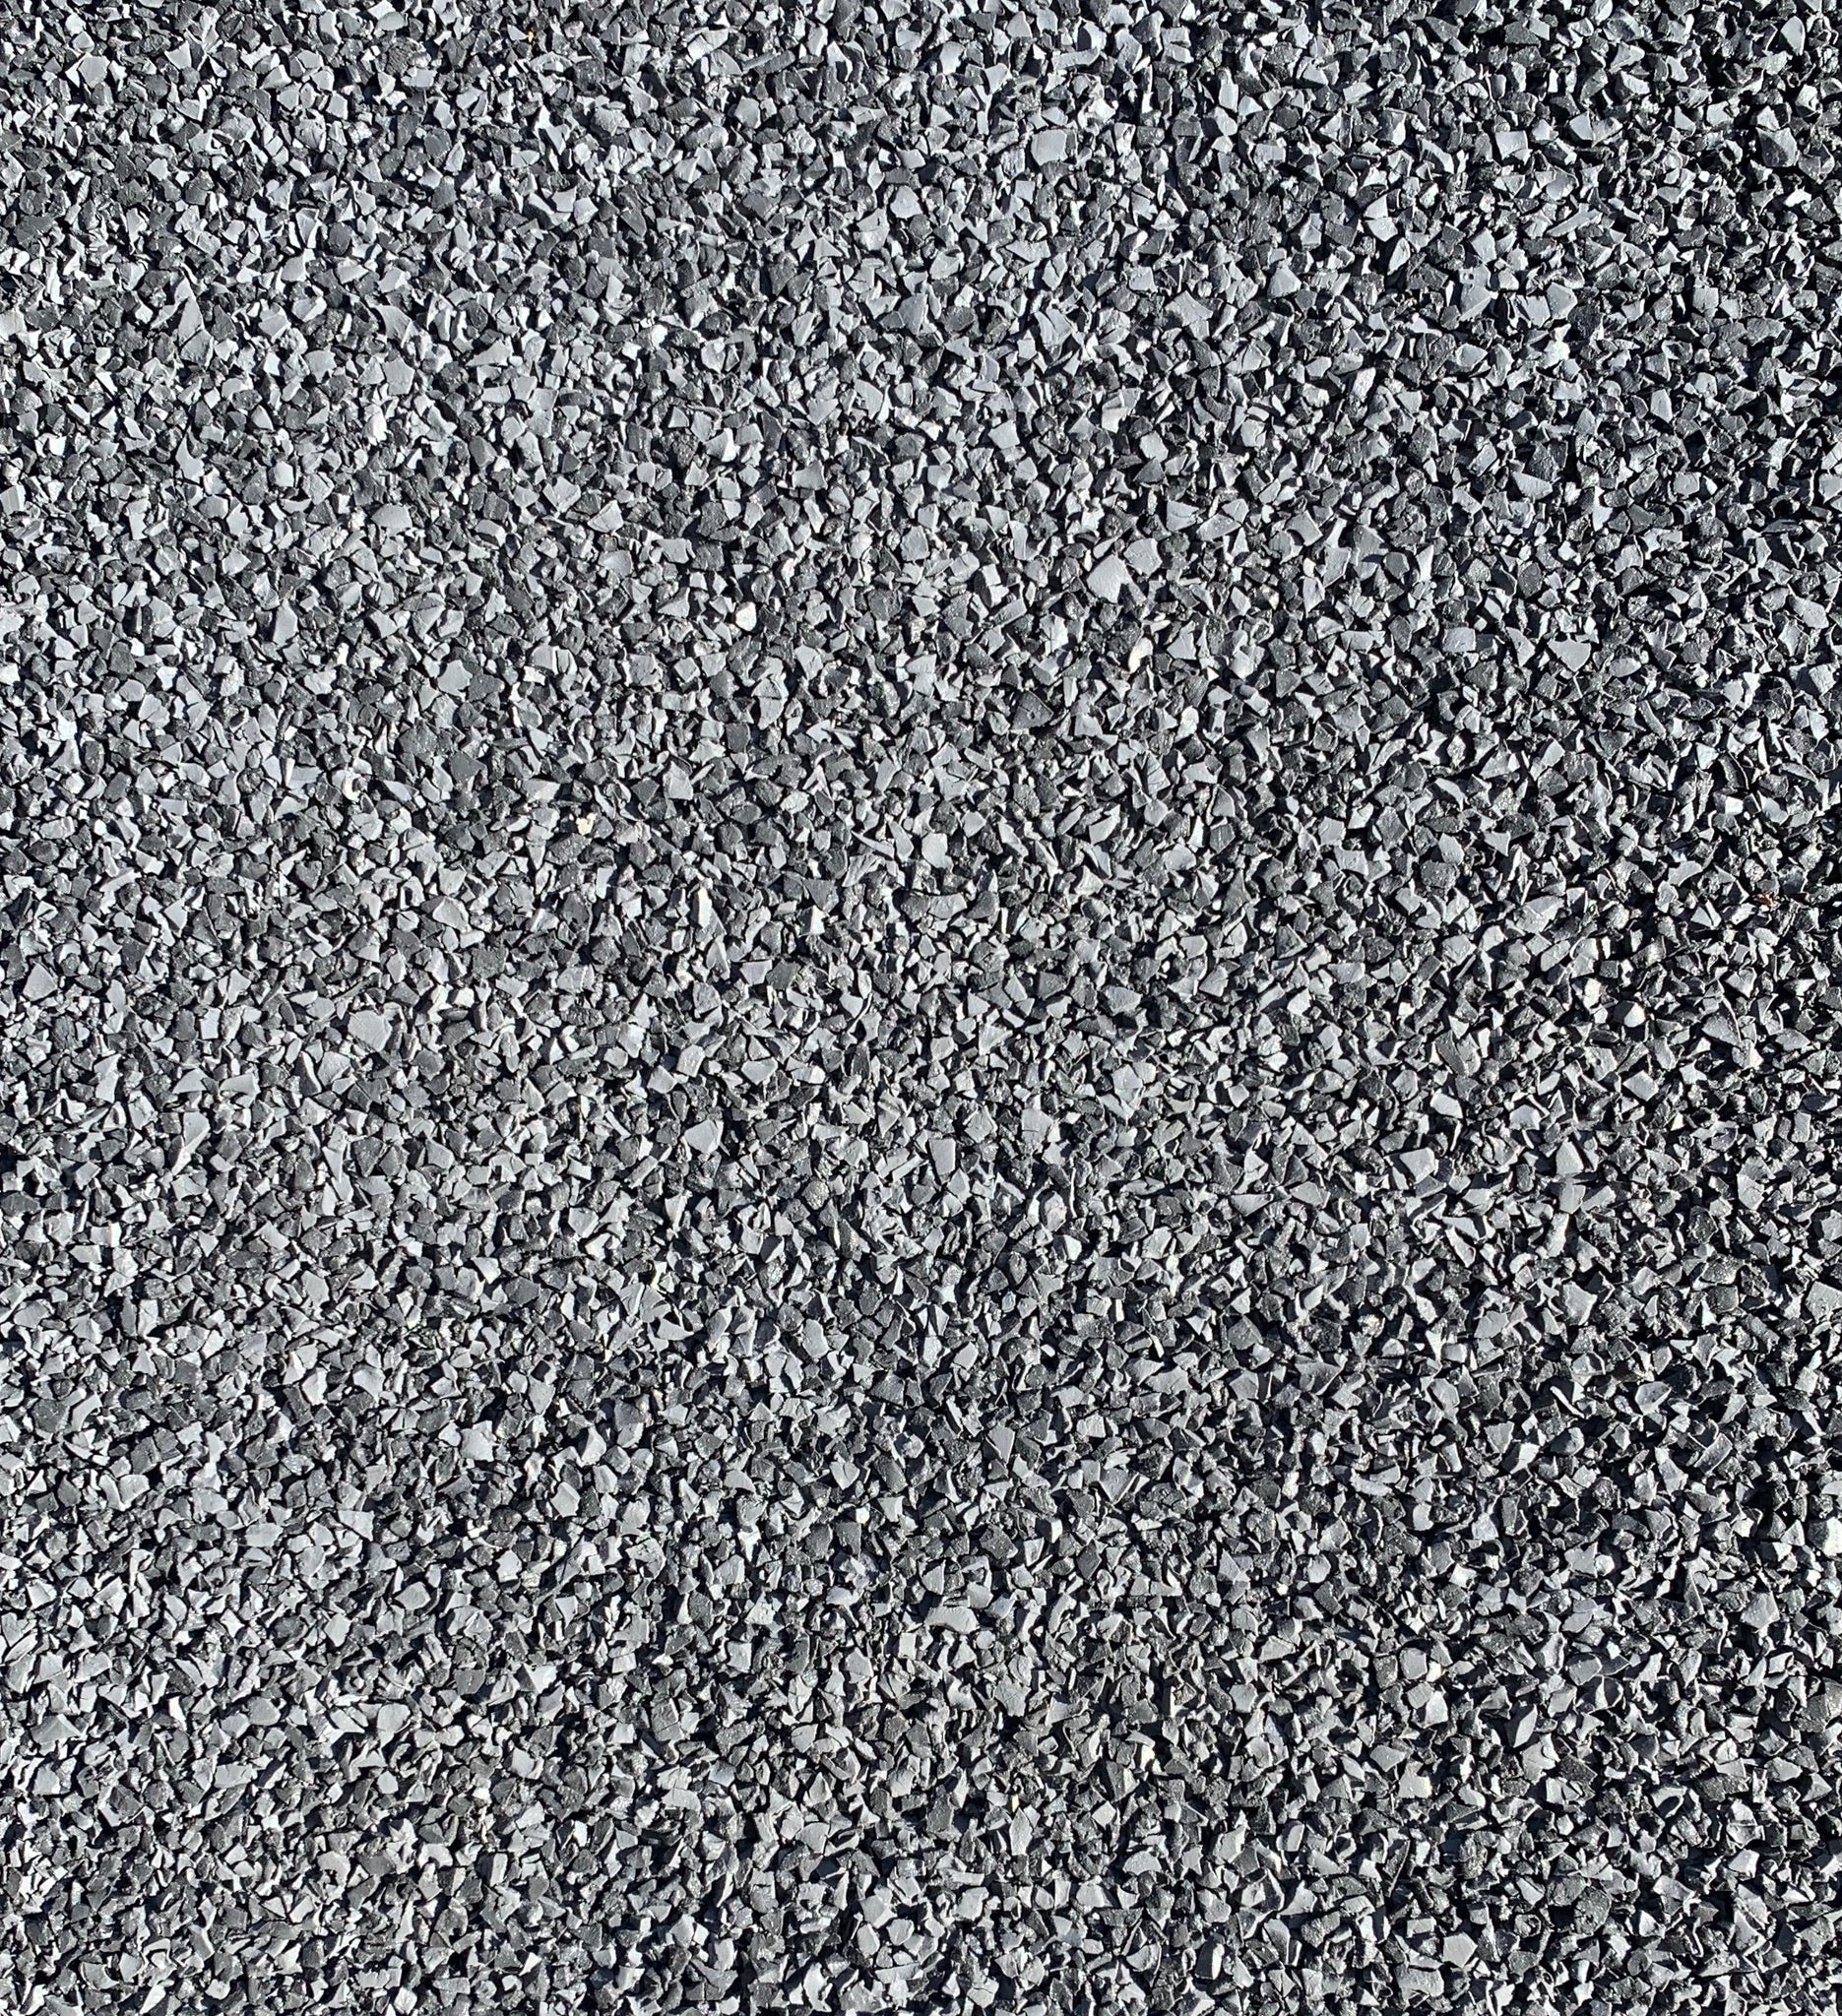
- Choose a single tone or a mixed “chip” blend for subtle texture.
- Add a contrasting border along the waterline, steps, or lounge edges for definition.
- Simple inlays (initials, compass point, lane mark) are available on request.
- We can bring samples to your home so you can see tones in your light.
Where it works best
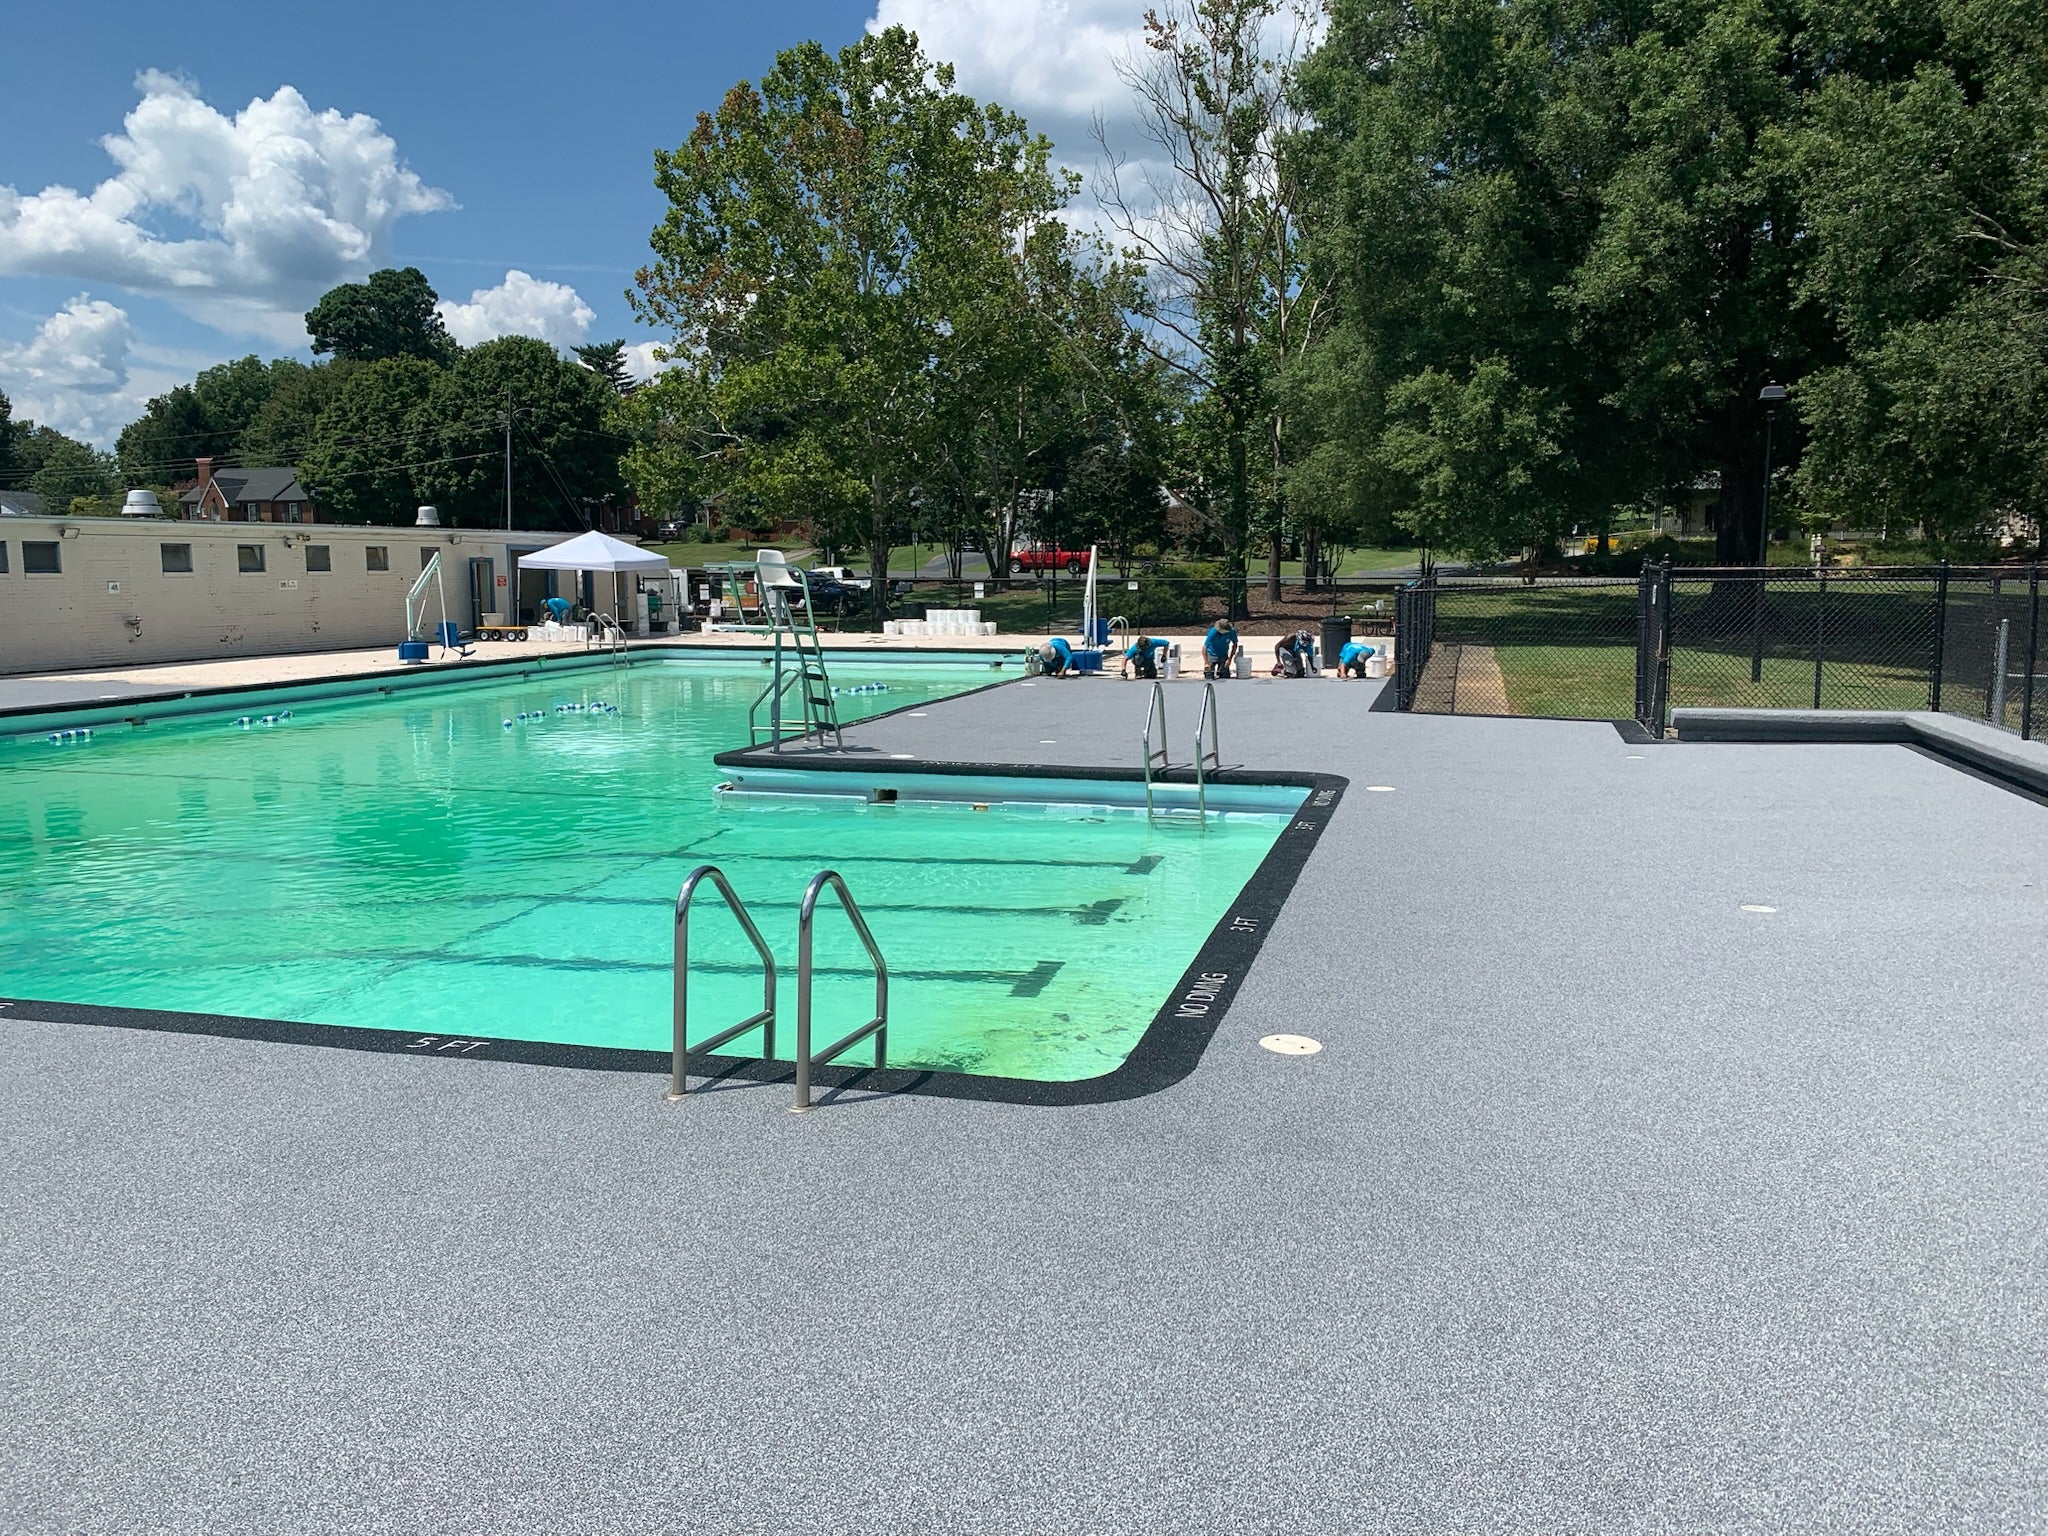
Pool Decks & Spa Areas
High traction and cooler underfoot comfort for families. The clean, uniform look elevates the amenity and photographs beautifully for newsletters and listings.
Clubhouse Entrances & Stairs
Improve wet-weather footing right where impressions are made. A refined, seamless surface that stays easy to clean through every season.
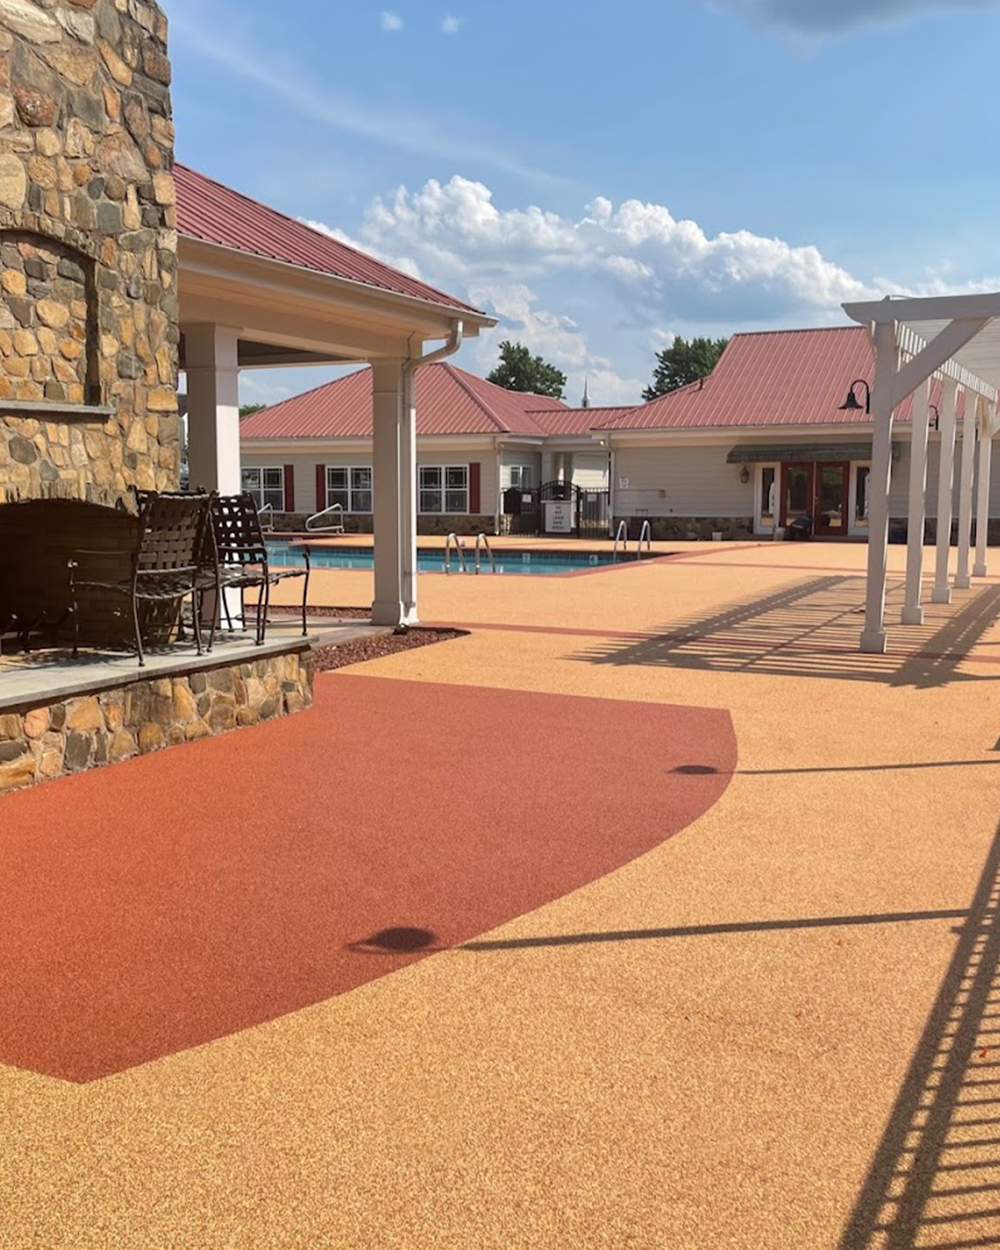
Mail Kiosks & Community Paths
Quiet underfoot, stroller- and cart-friendly, and built to handle sun and steady traffic while keeping a consistent, upscale appearance.
The men worked long hours, through some really bad weather and did a great job. They also cleaned their work area and the Amenity Center before exiting the site.
— Mike McKenna