Ashbury HOA Community
Project Snapshot
1. Board Walkthrough & Resident-First Game Plan
We met on-site with community leadership to walk the common areas, verify measurements, and review drainage and everyday resident traffic. From there, we built a simple plan focused on safety, clean aesthetics, and minimizing disruption—so the community knew what to expect at every stage.
2. Remove, Reset, and Create a Reliable Base
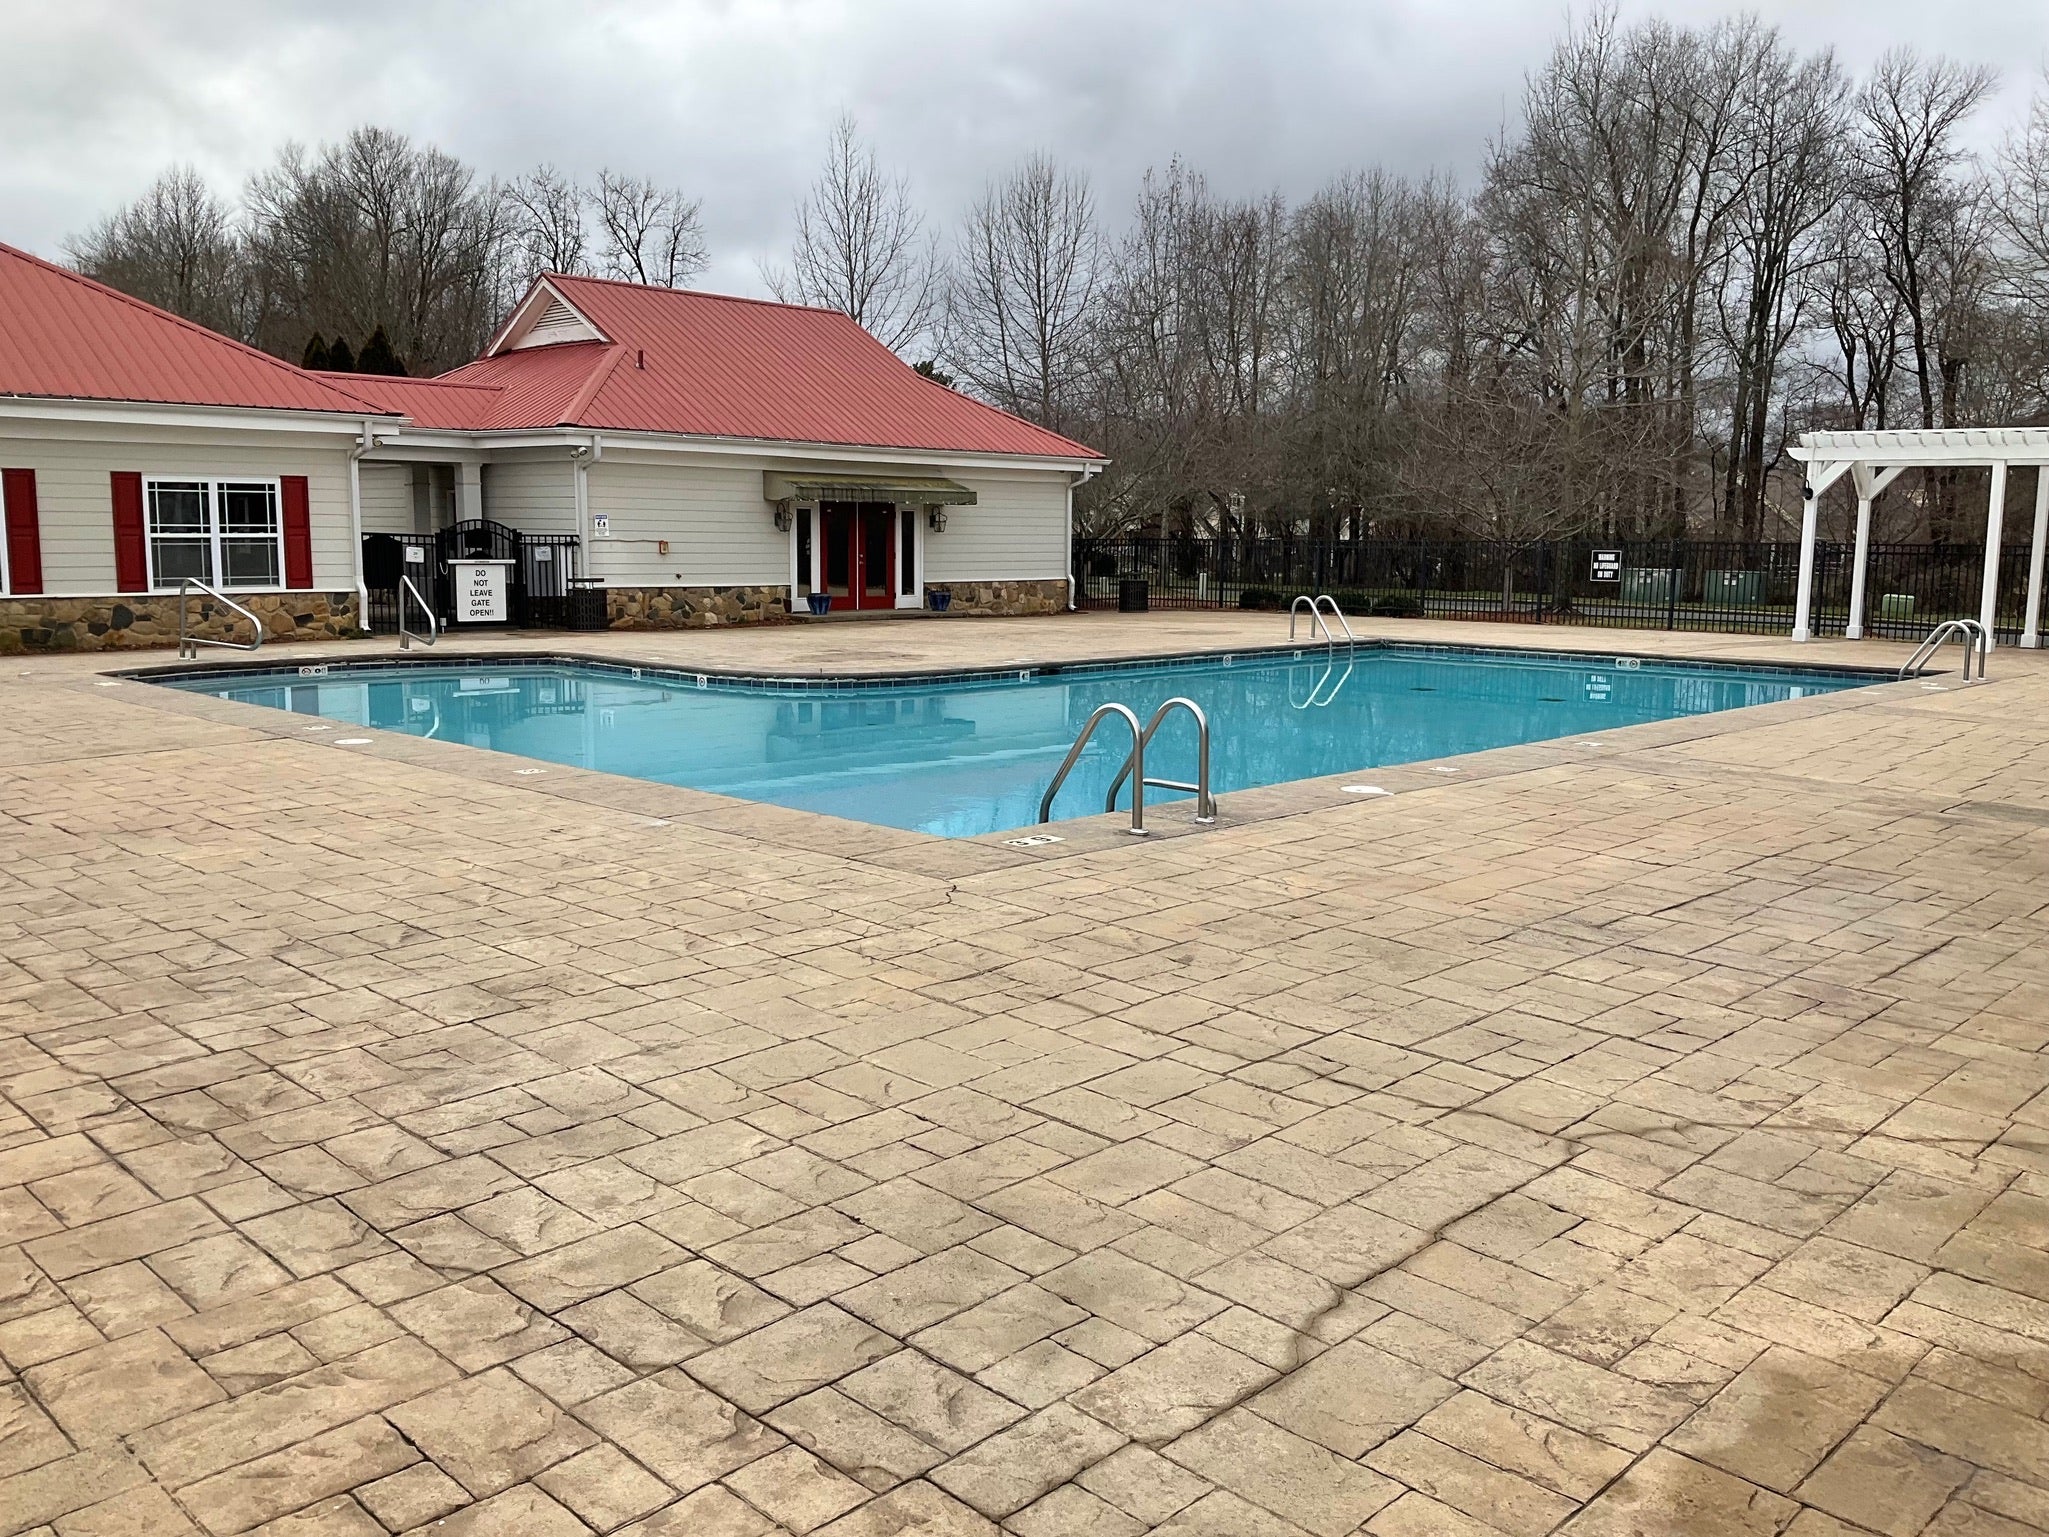
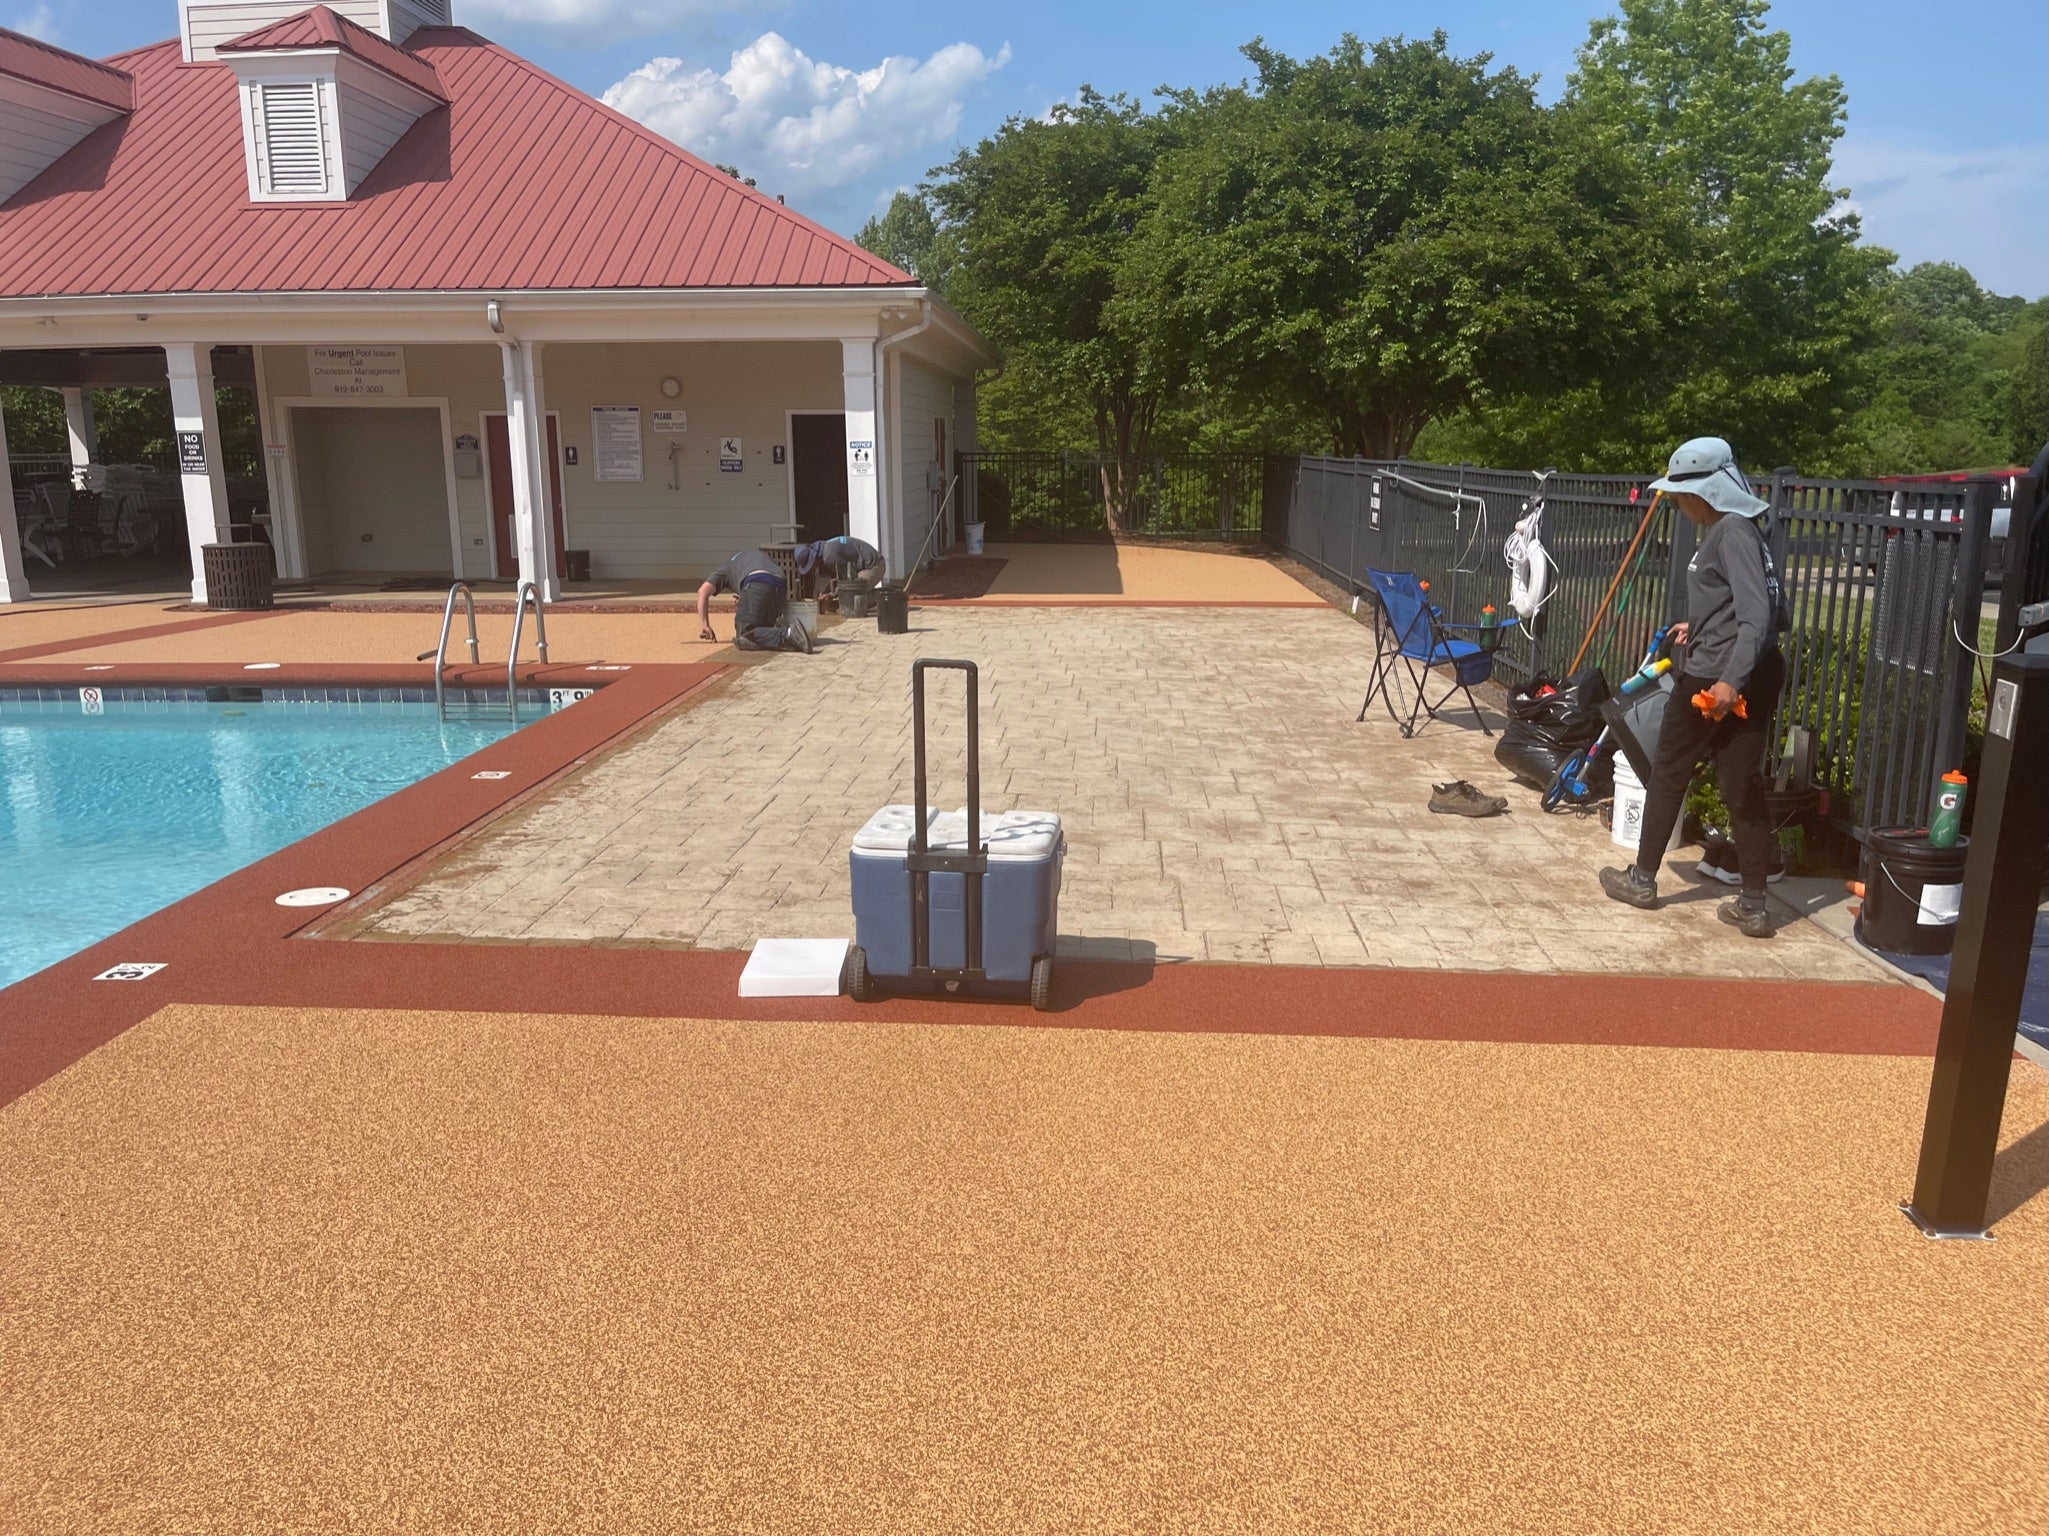
Where the existing coating/surface was failing, we removed it and brought the substrate back to a condition that could properly accept a new system. The area was cleaned thoroughly and prepped mechanically so the surface could bond consistently and perform over time.
3. Clean Edges, Controlled Zones, Clear Signage
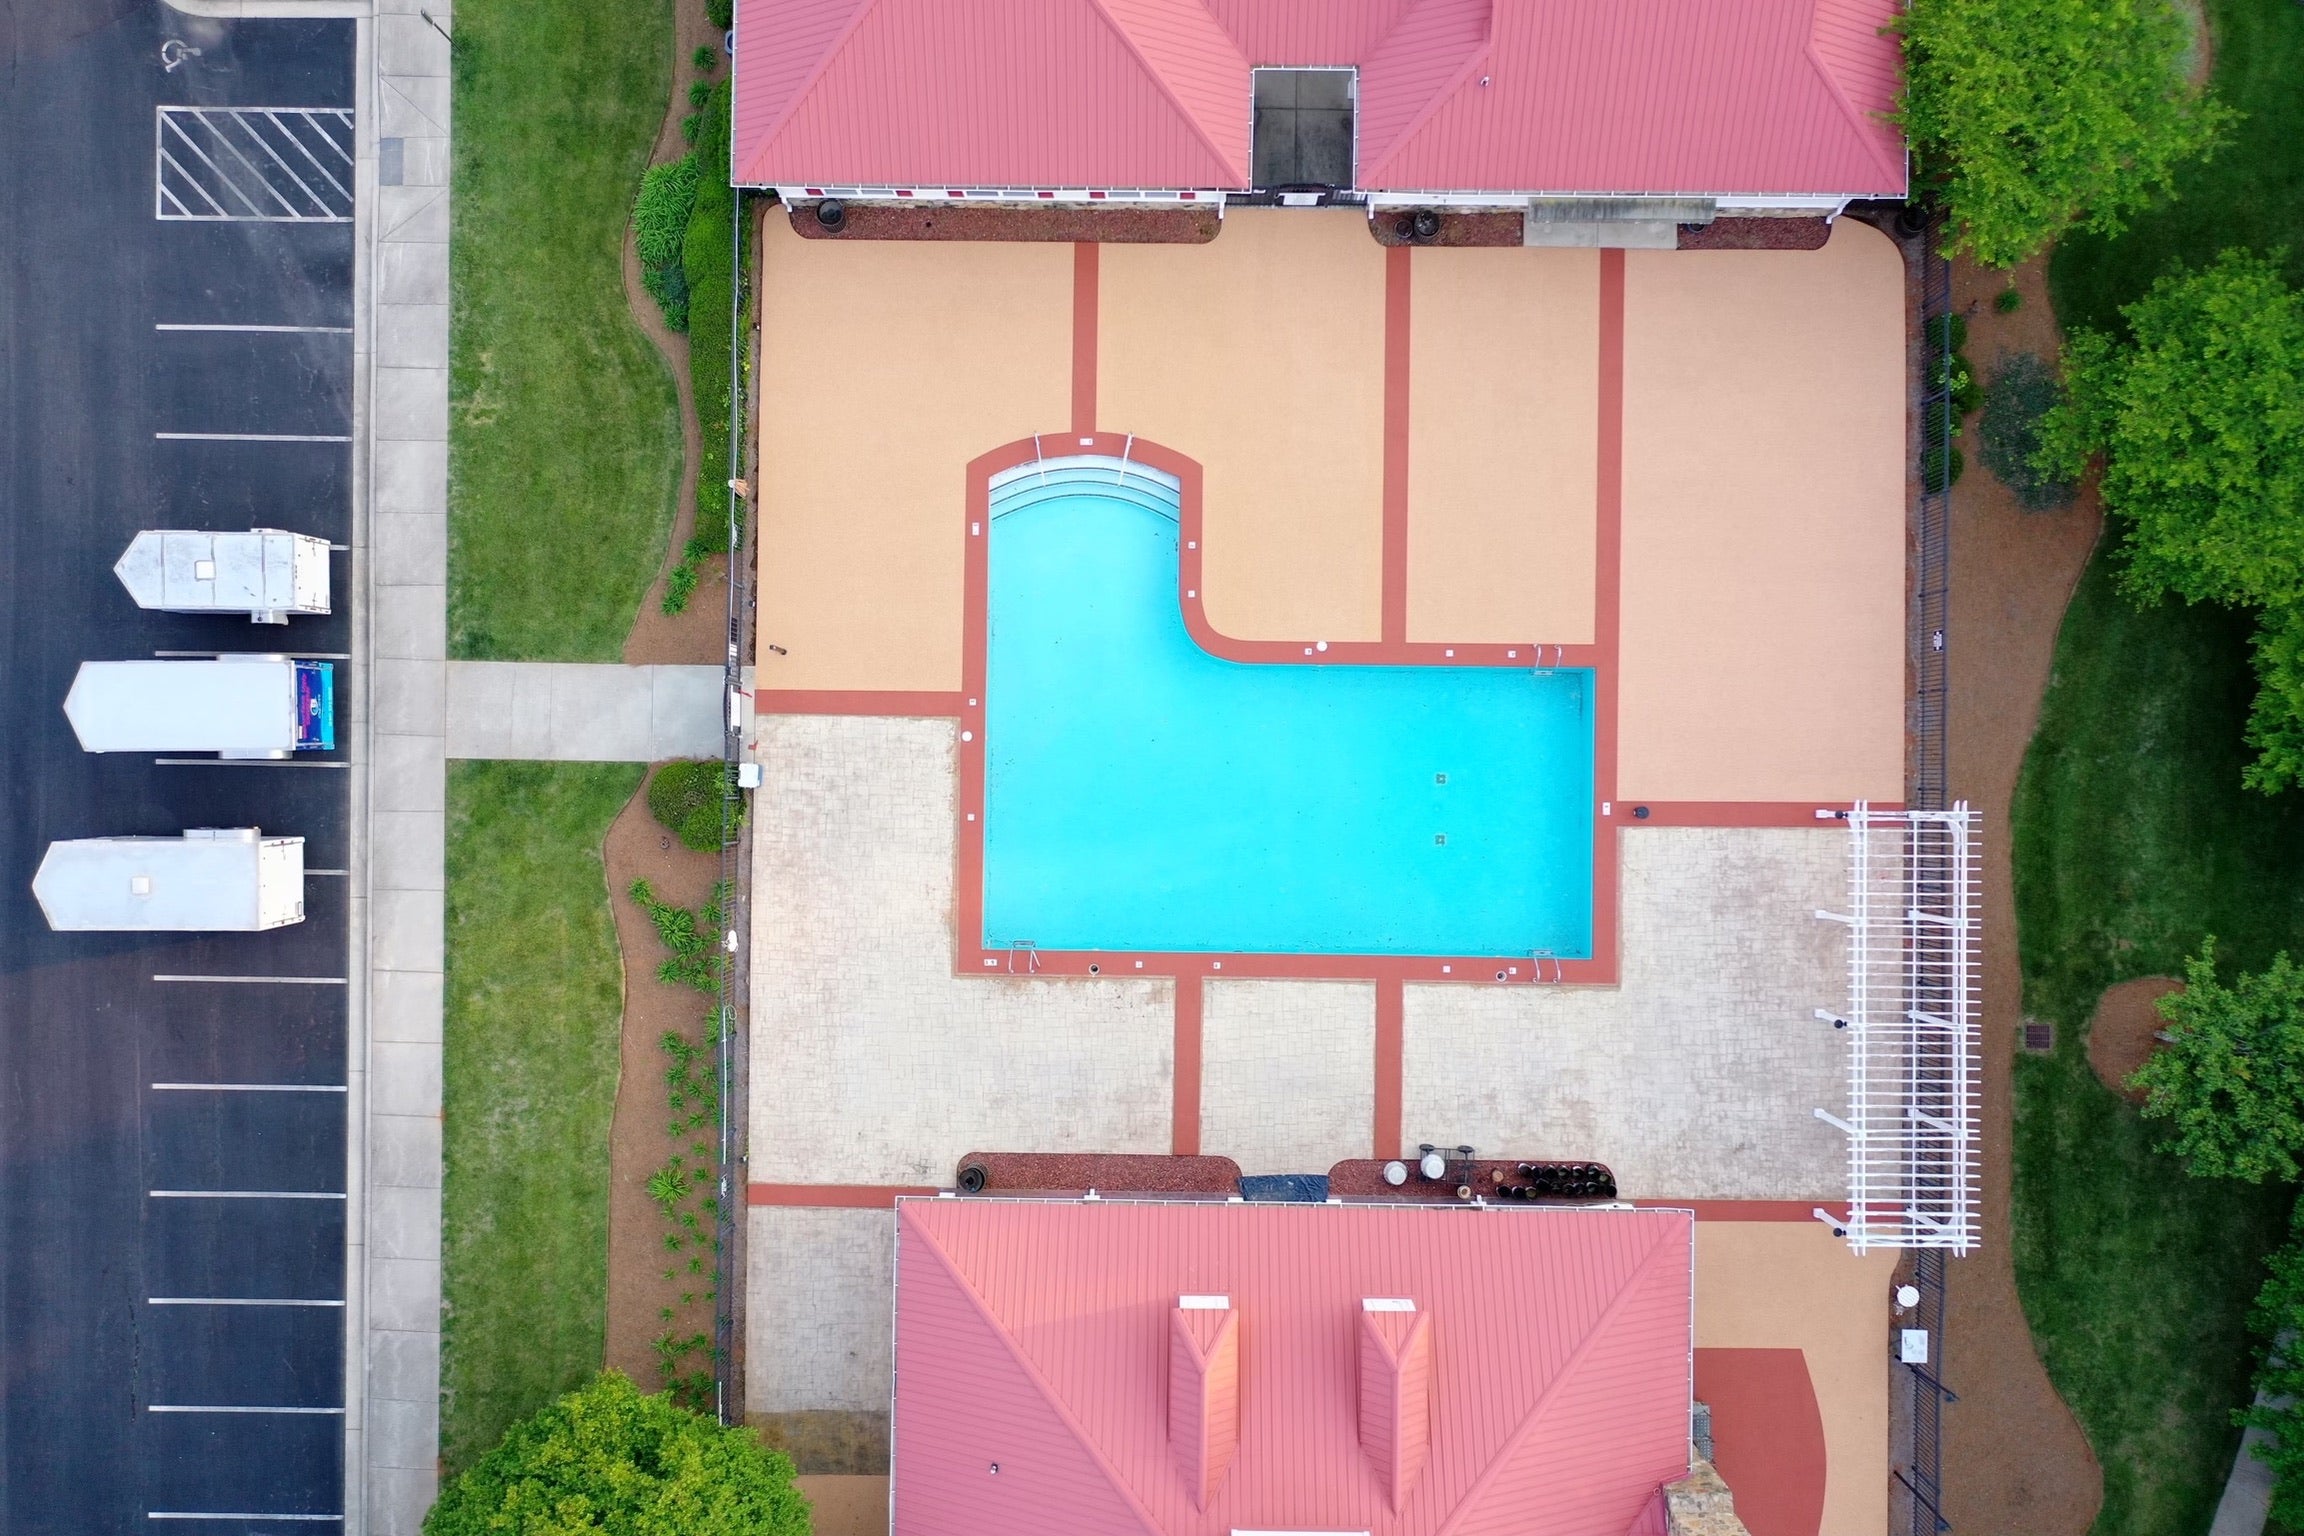
Before installation began, we protected surrounding finishes and set up organized work zones with clear boundaries. This kept the jobsite tidy and predictable—helping residents navigate safely while preserving a professional look throughout the process.
4. Bond Layer Built for Carolina Conditions
A high-performance primer/bond step was applied to lock in adhesion between the base and the new rubber system. This step is especially important in HOA environments where wet/dry cycles, humidity, and regular foot traffic can stress a surface year after year.
5. Community-Matched Color + Hand-Troweled Installation
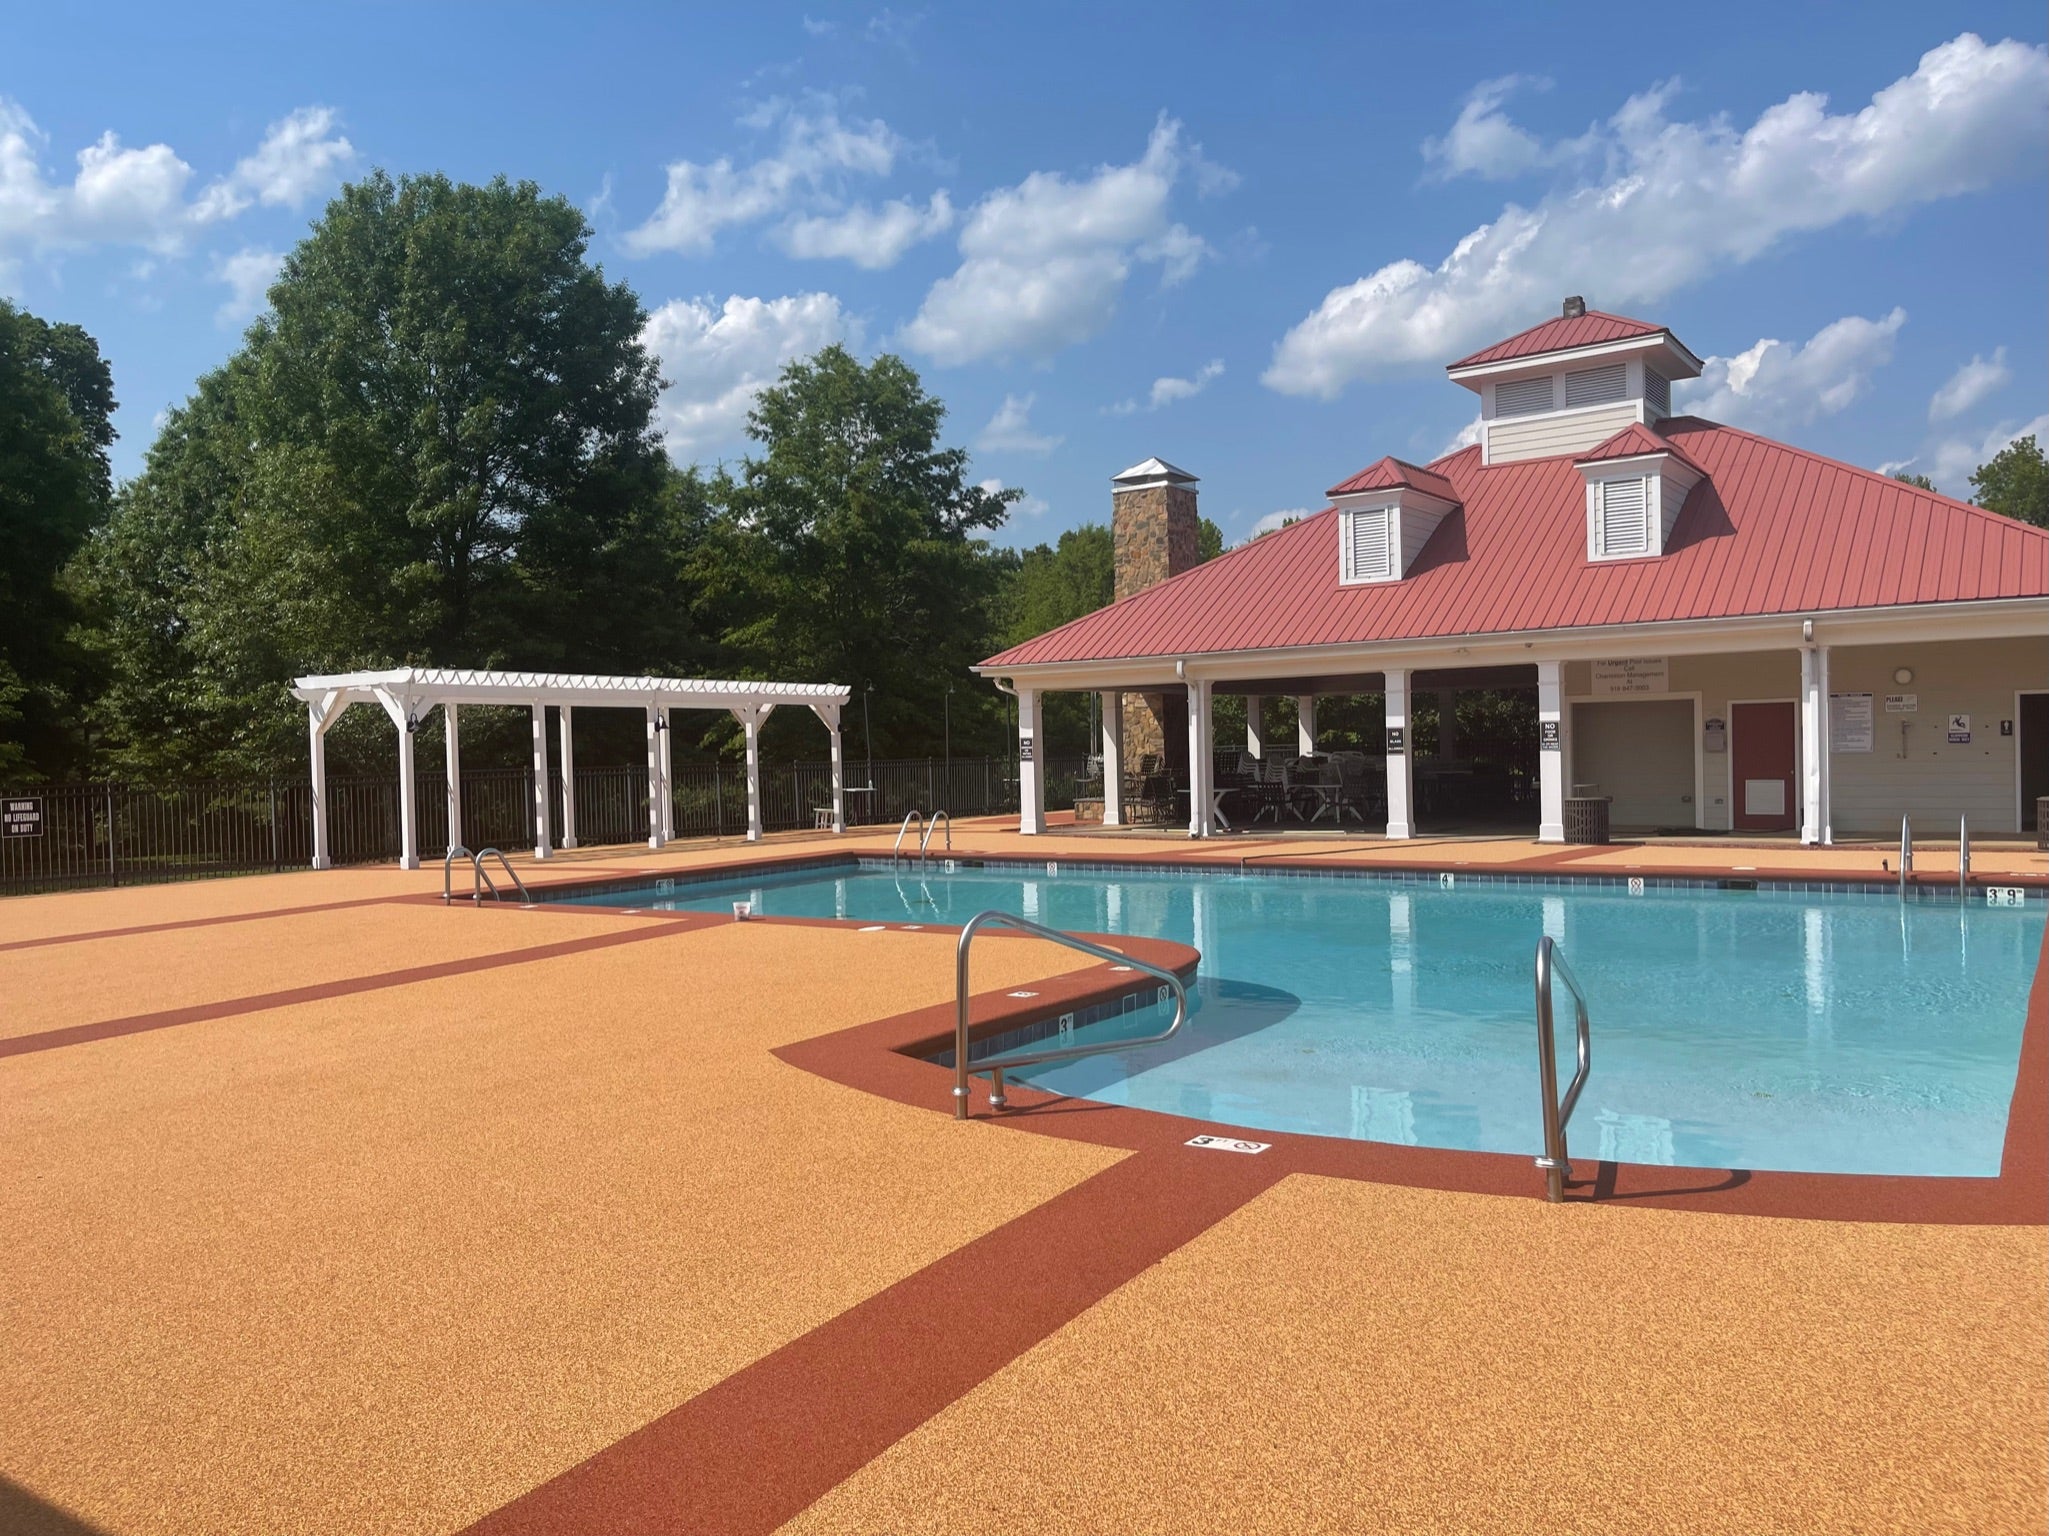
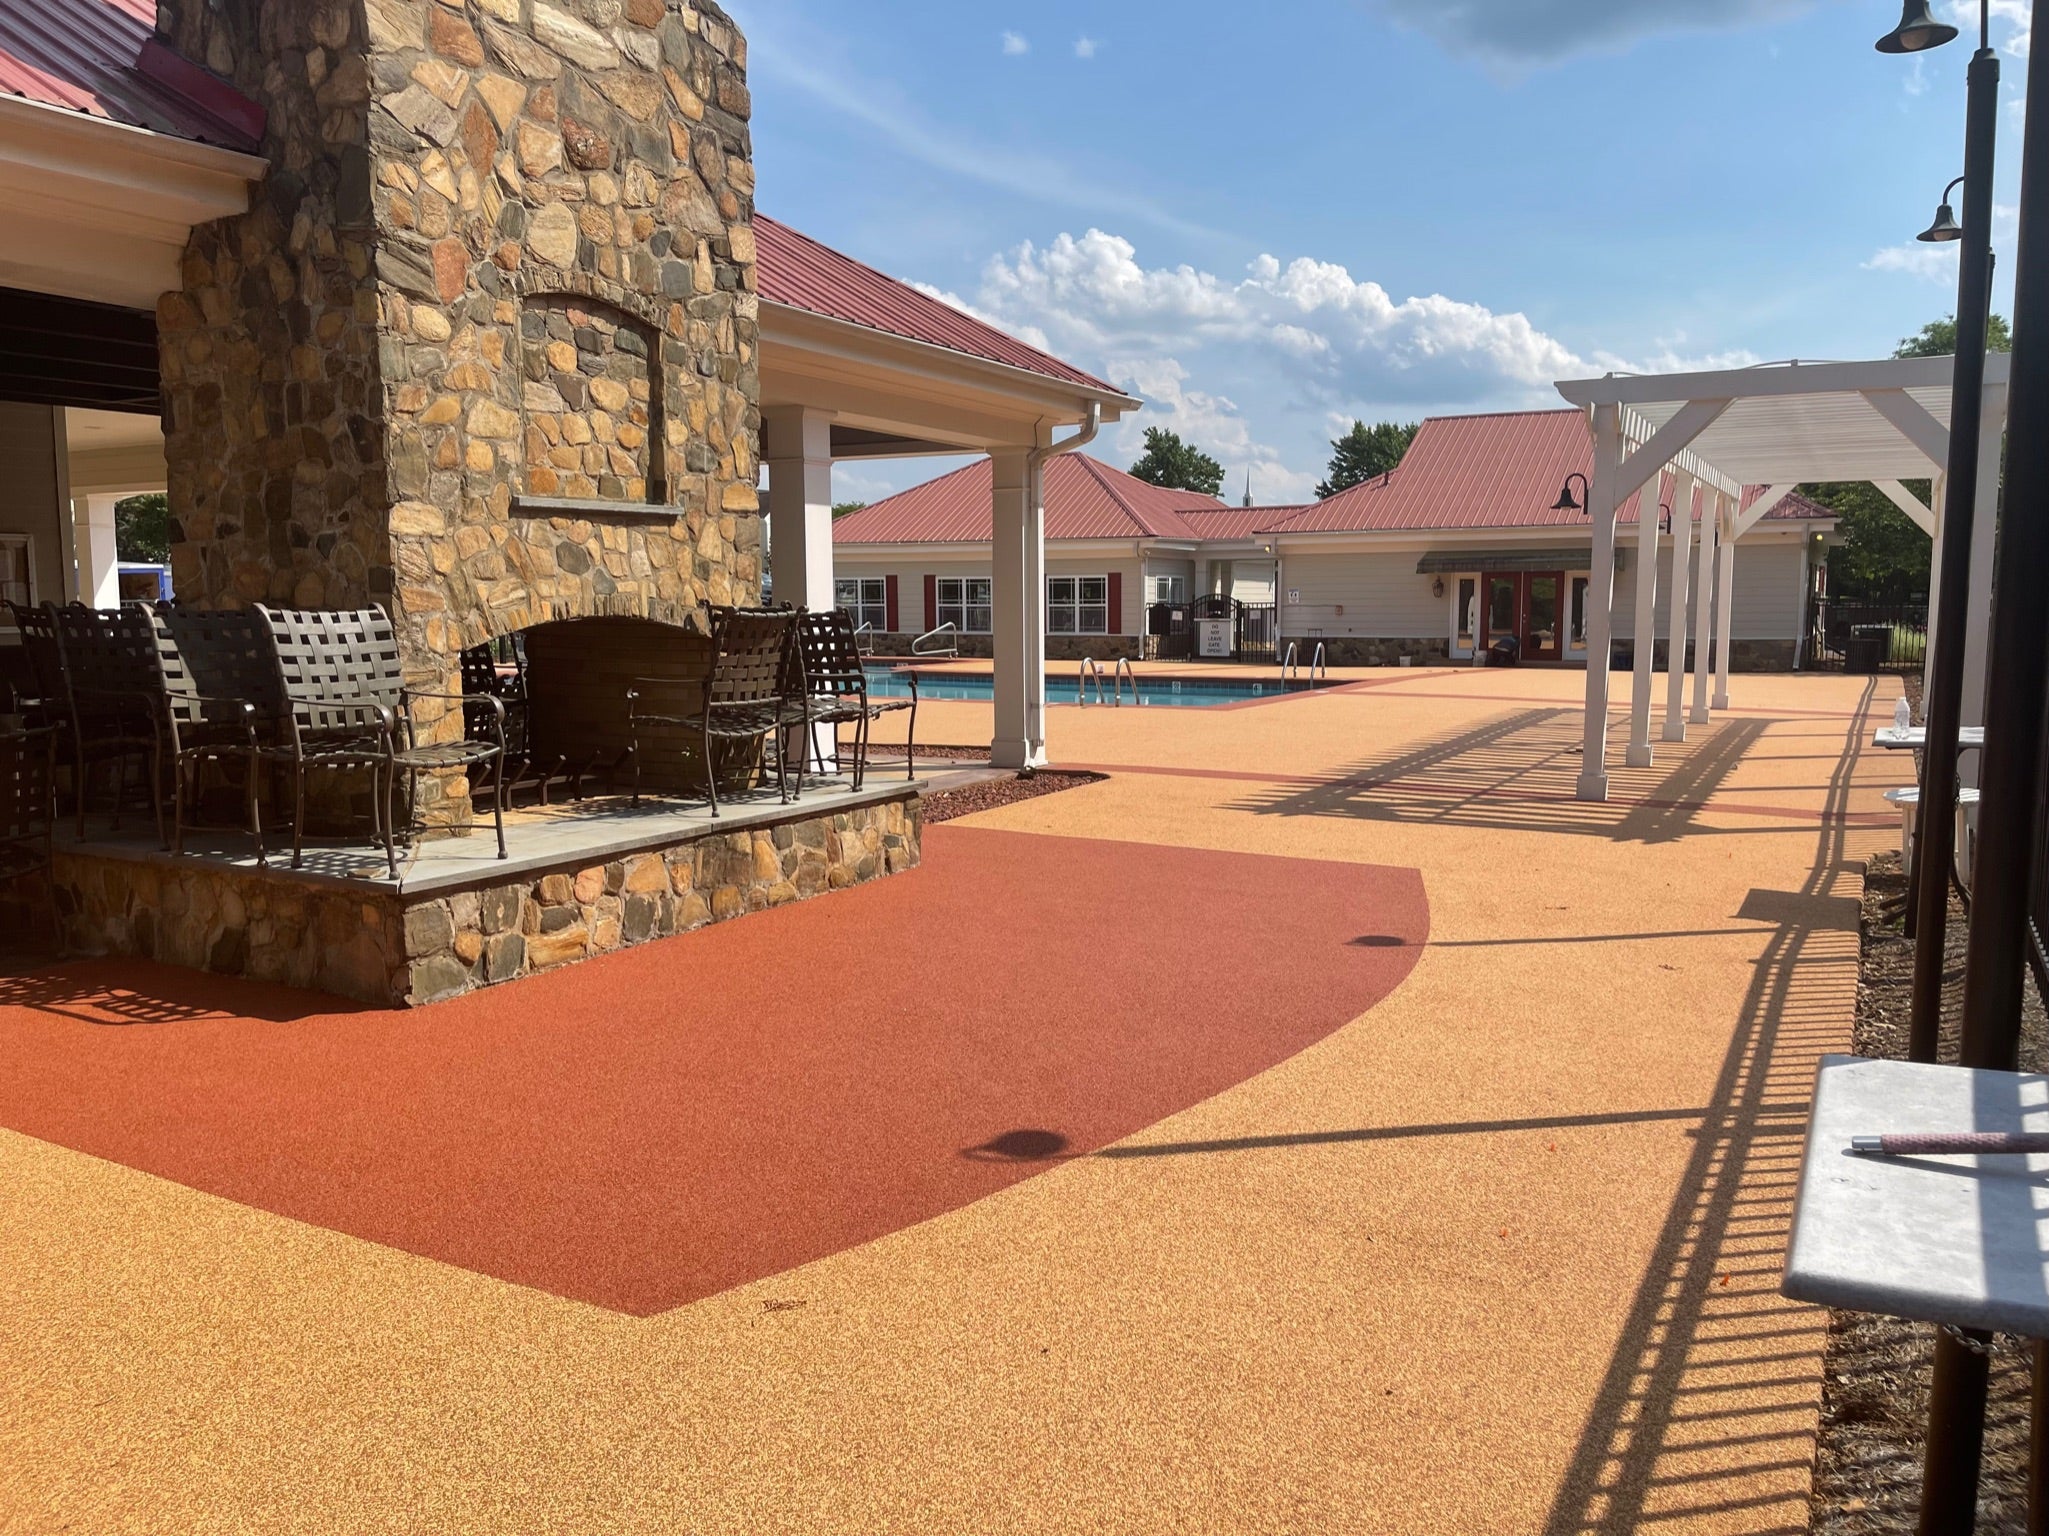
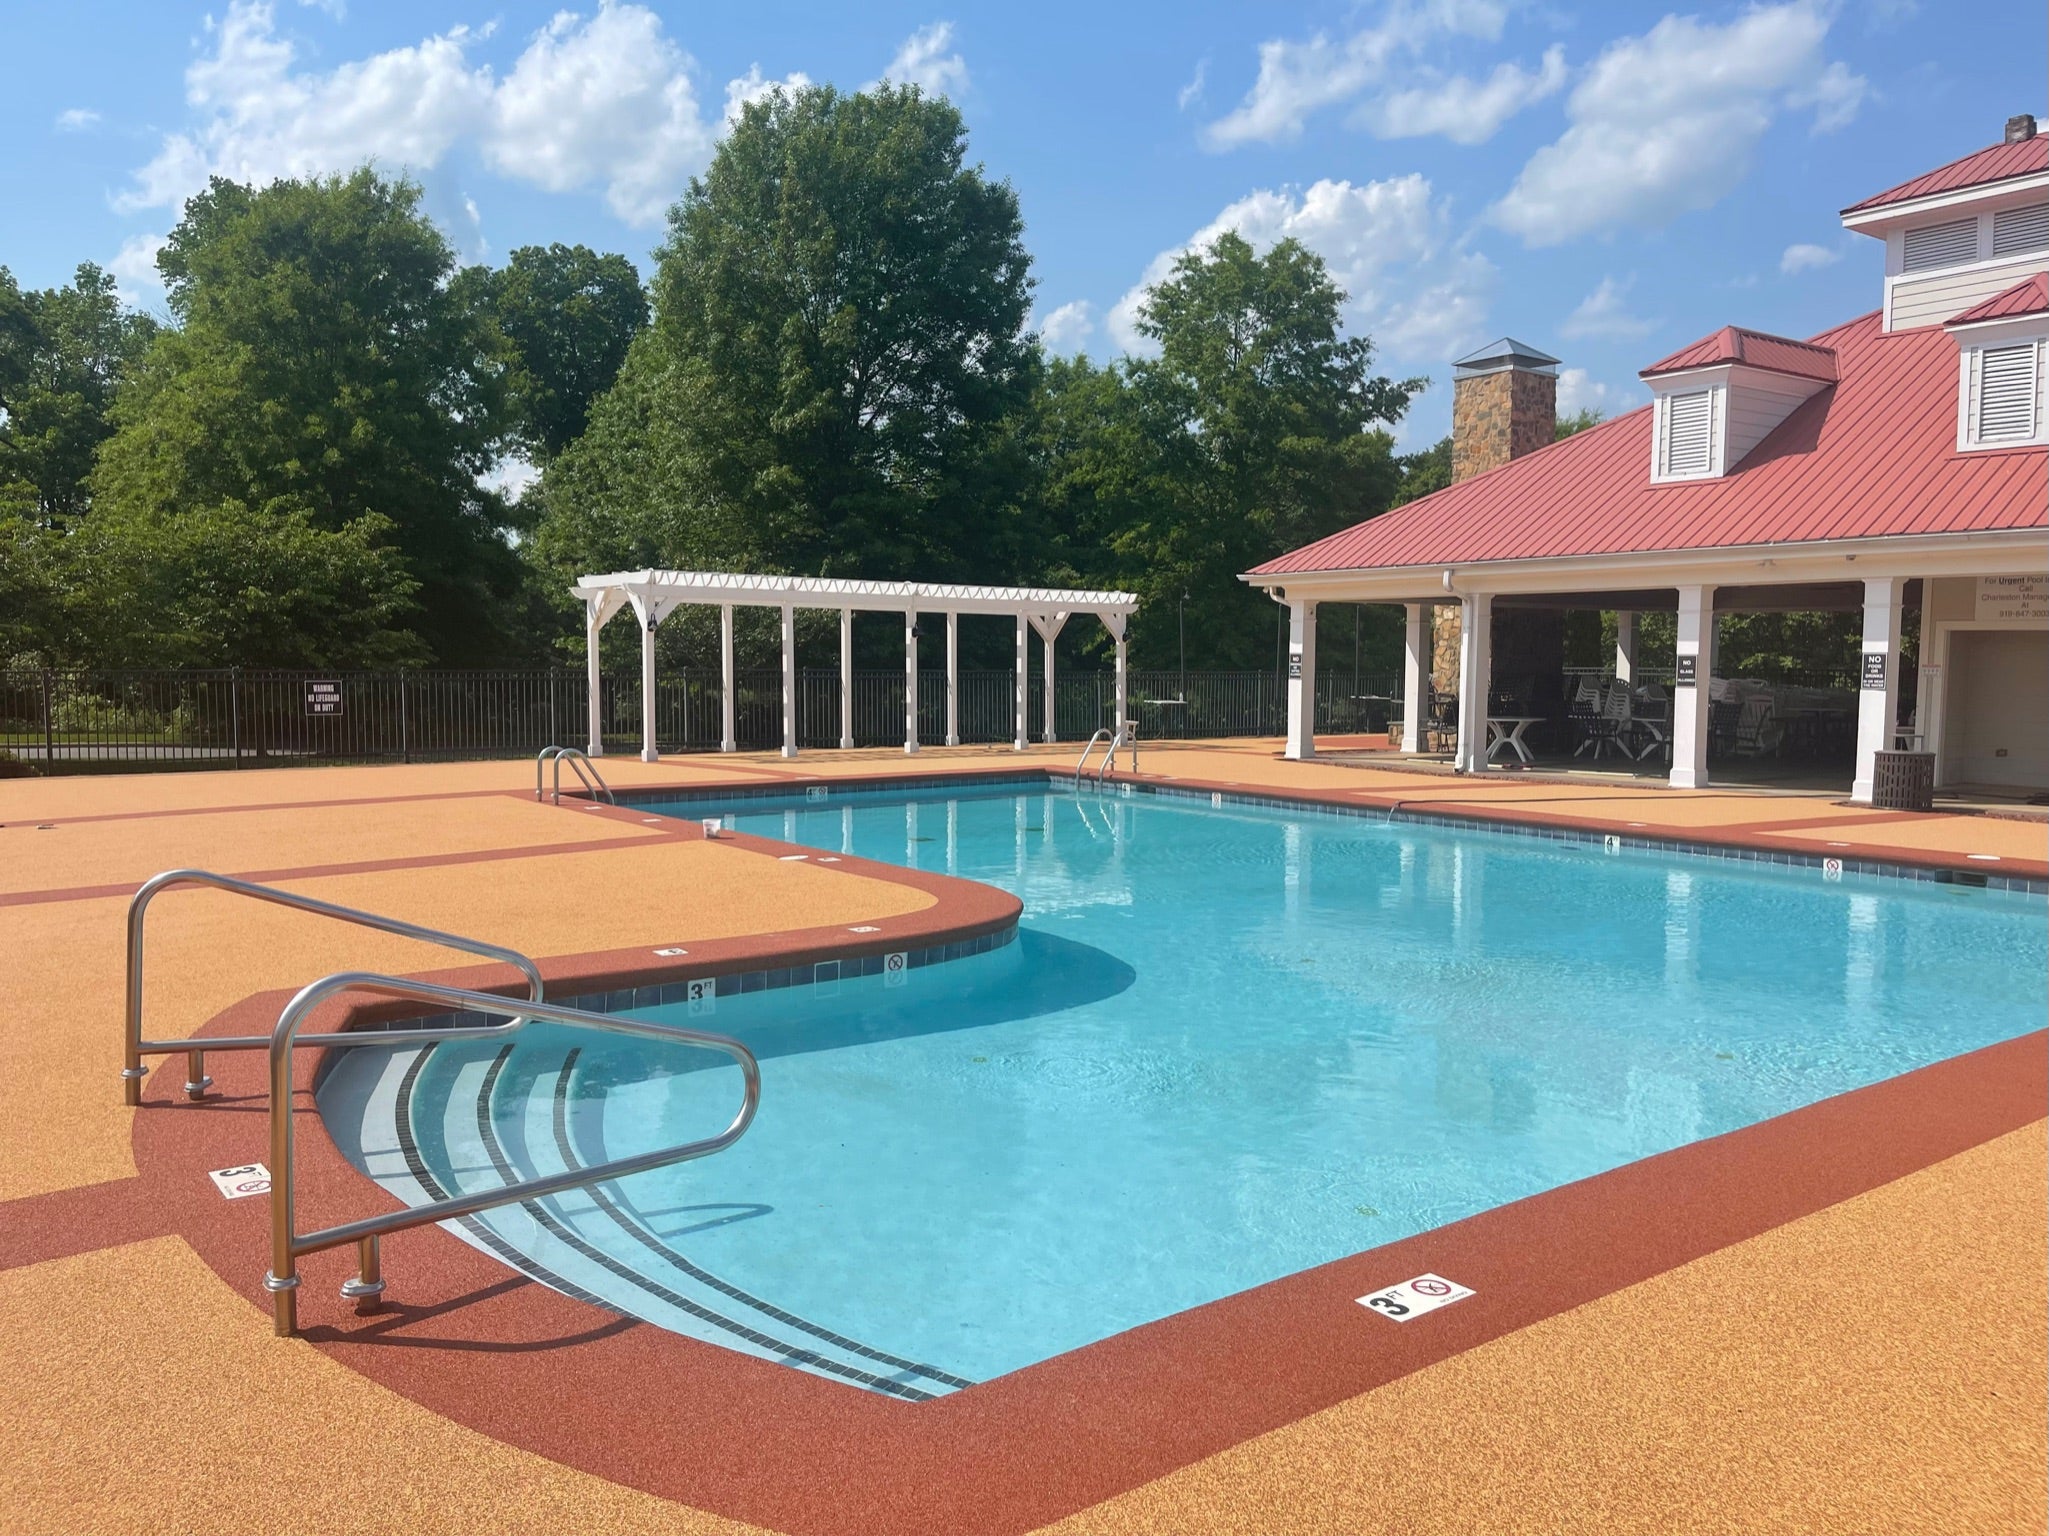
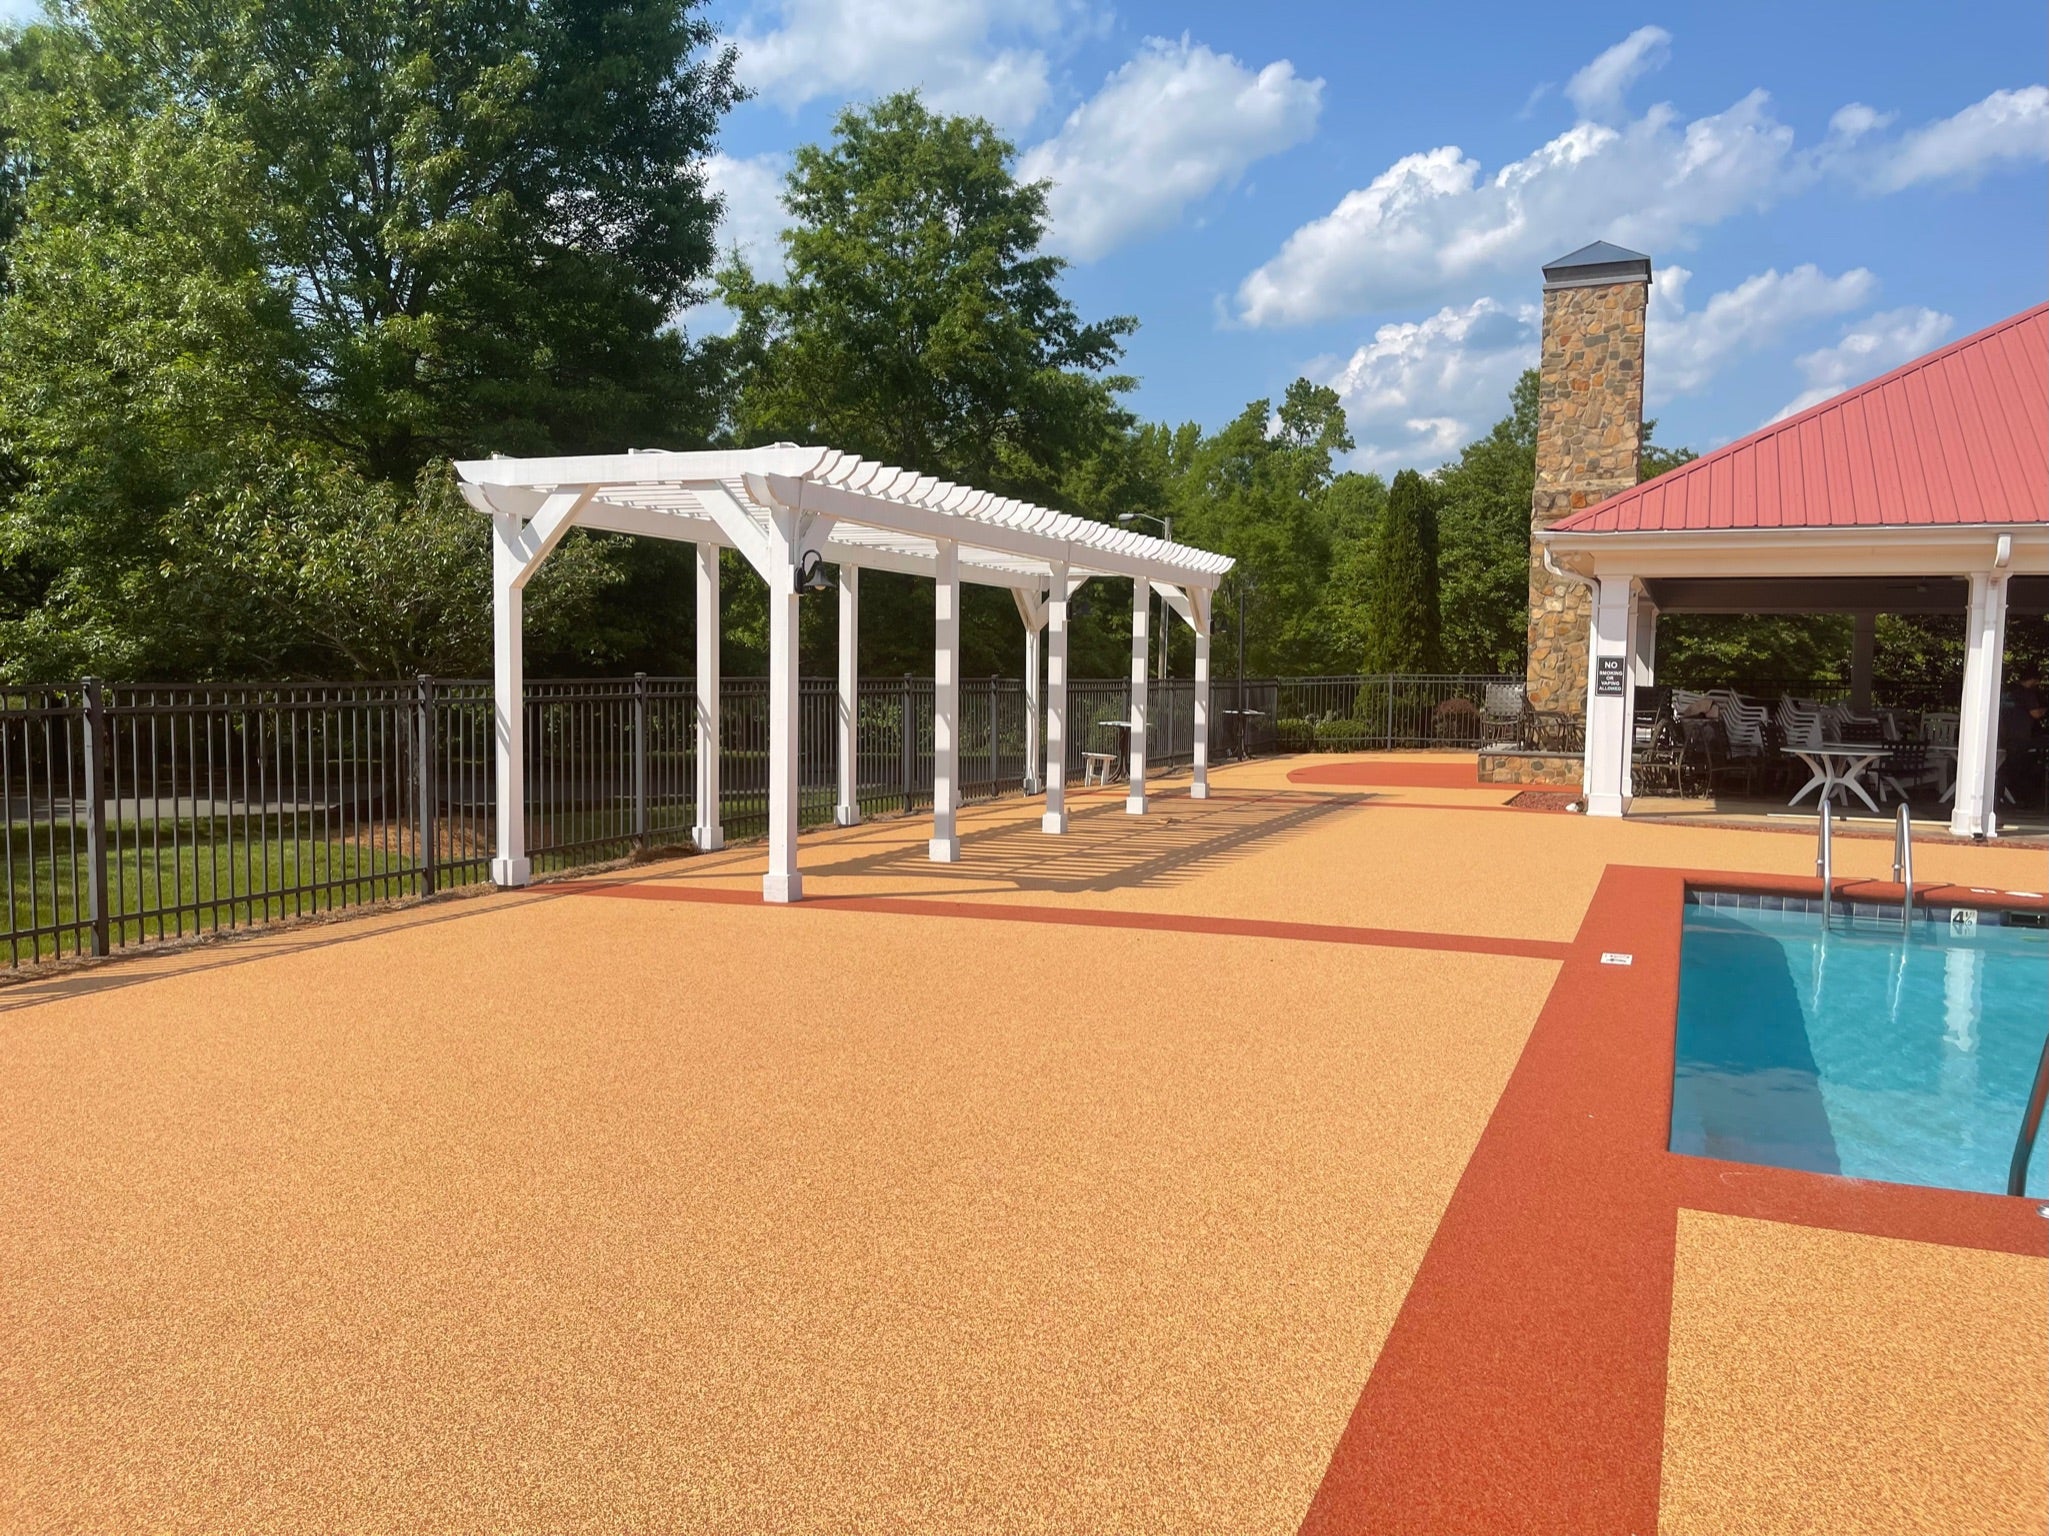
We selected a TPV rubber color blend that felt at home in the neighborhood and stayed visually consistent across shared spaces. The Carolina FlexShield™ system was hand-troweled to the specified thickness to deliver a smooth, slip-resistant finish designed for comfort underfoot and dependable traction in wet areas.
6. Finish Detailing & Property-Manager Closeout
We refined transitions and perimeter tie-ins for a seamless look, paying special attention to drains, thresholds, and any high-visibility edges. After proper curing, we completed a final quality check and closed out with care guidance and reopening notes so the community could return to full use confidently.